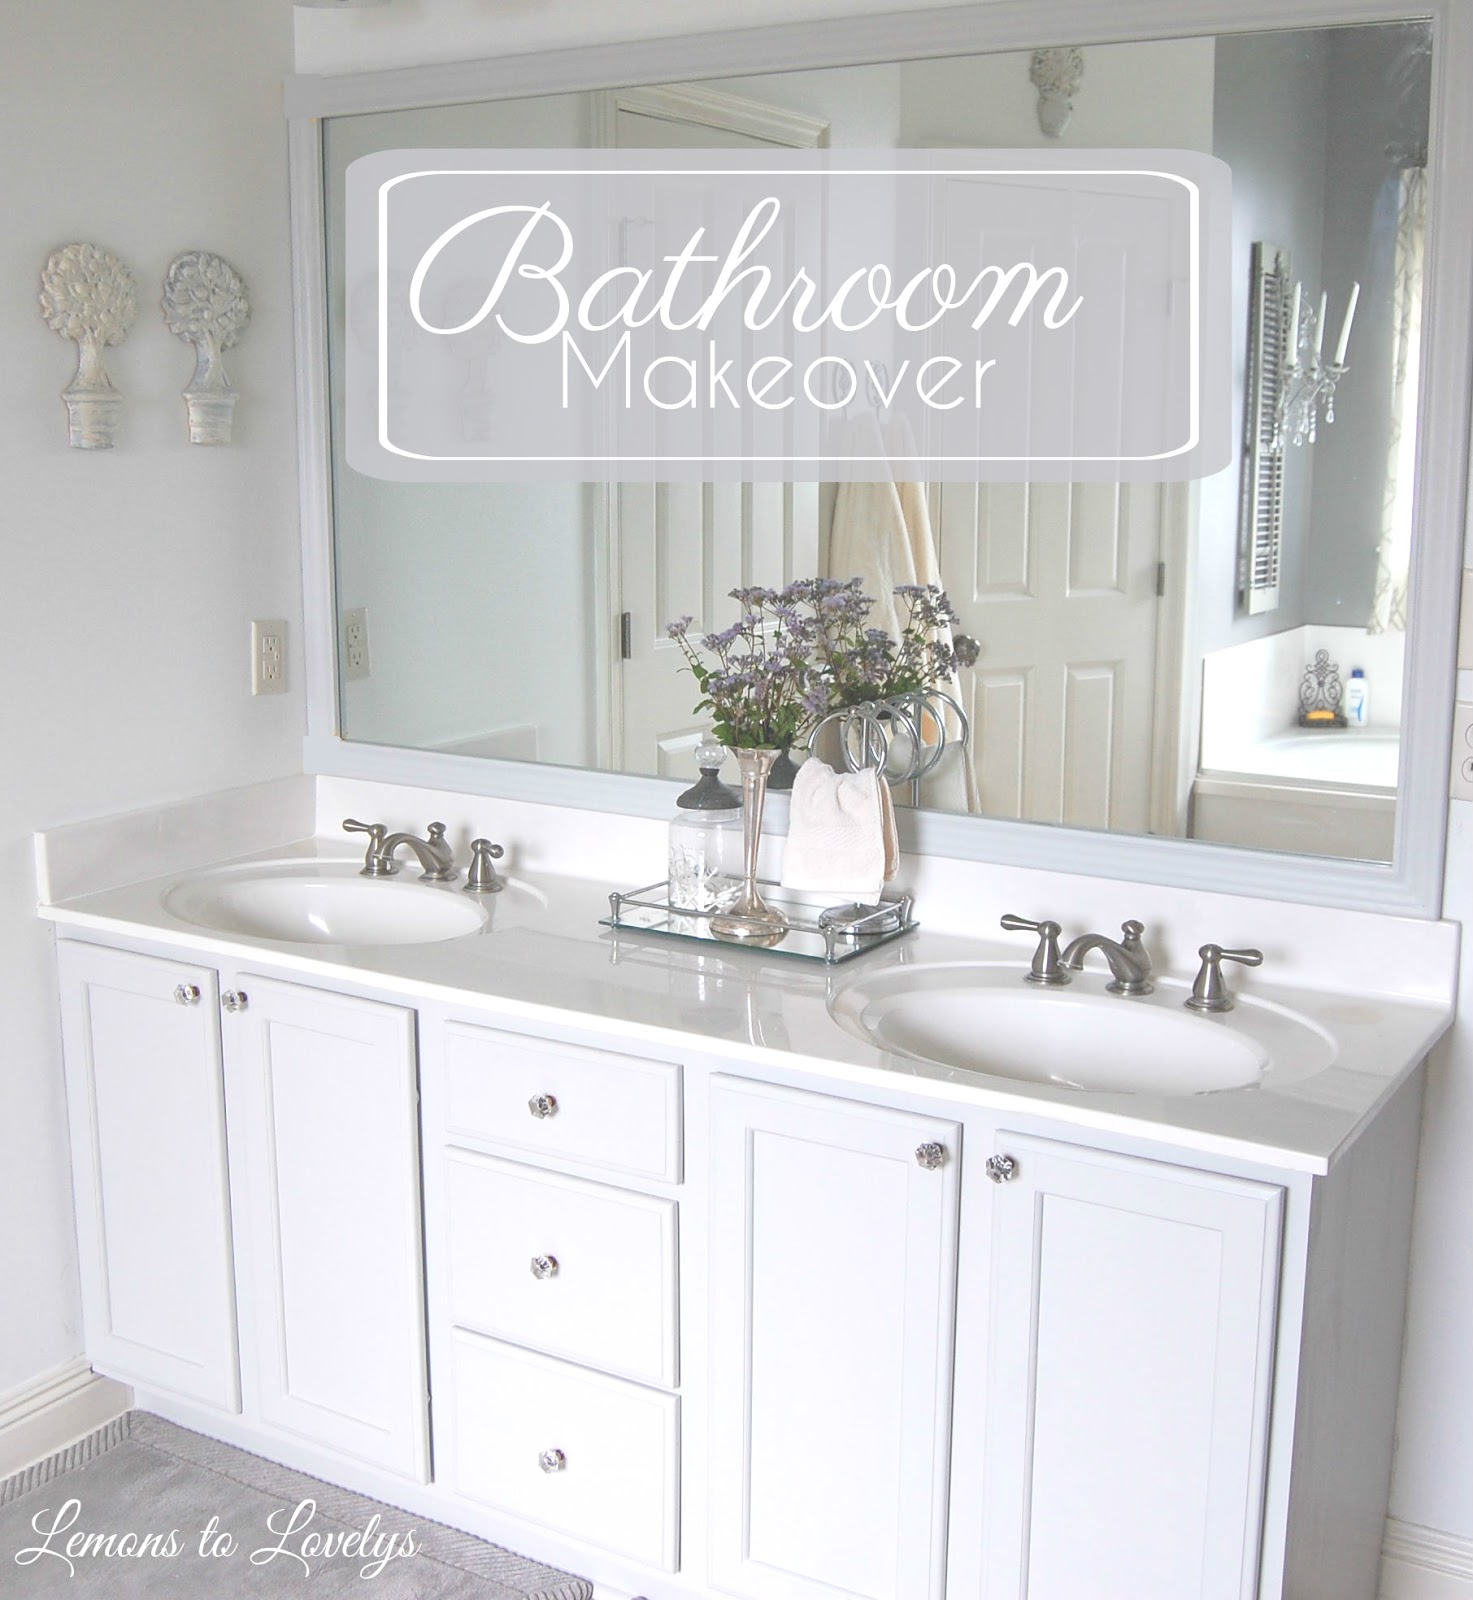
Today I have a post for you that I’ve been meaning to share for MONTHS! Back in the Fall of 2015, I decided to makeover the cabinet/sink/vanity area of our master bathroom. When we moved in, all of the cabinets in our home were dark wood, the light fixtures were outdated, and none of the bathroom mirrors had frames! This was ok at first but after living here for several years, I decided to lighten up the cabinets, change out the fixtures, and frame out the mirrors one room at a time; starting with our master bathroom…
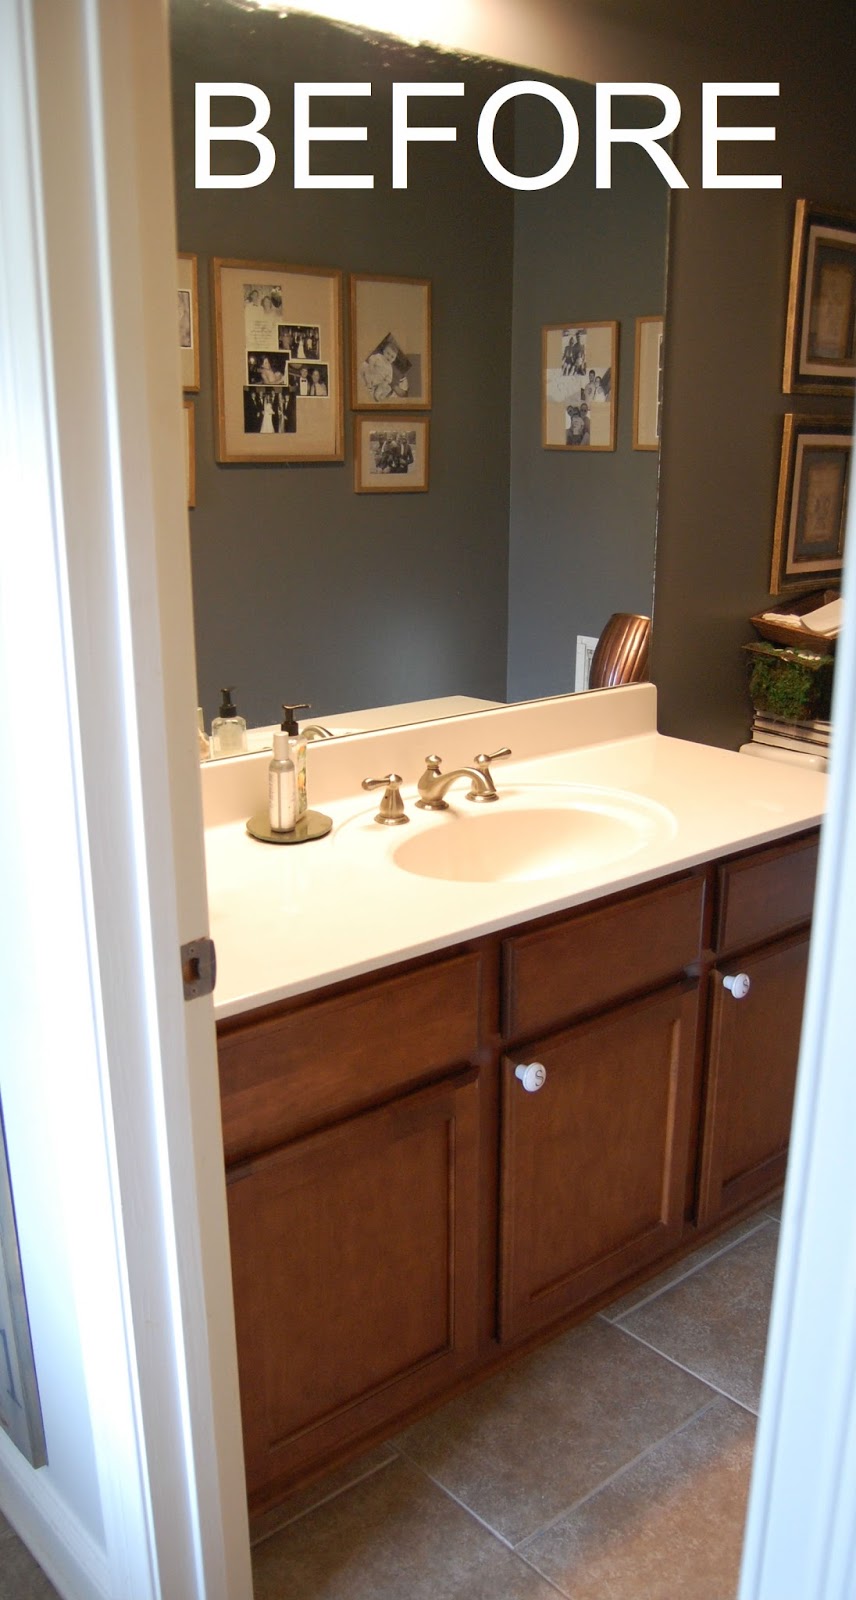
I really wish I had a true “before” picture to show you of our master bath. I am kicking myself for not taking one before I started this project! I could have sworn that I had one on my camera but I can’t seem to find it anymore. So, you’ll just have to use your imagination when I tell you what the “before” looked like. This is a picture of the sink/vanity in our half bath which is exactly what our master bathroom sink area use to look like except with a double sink…
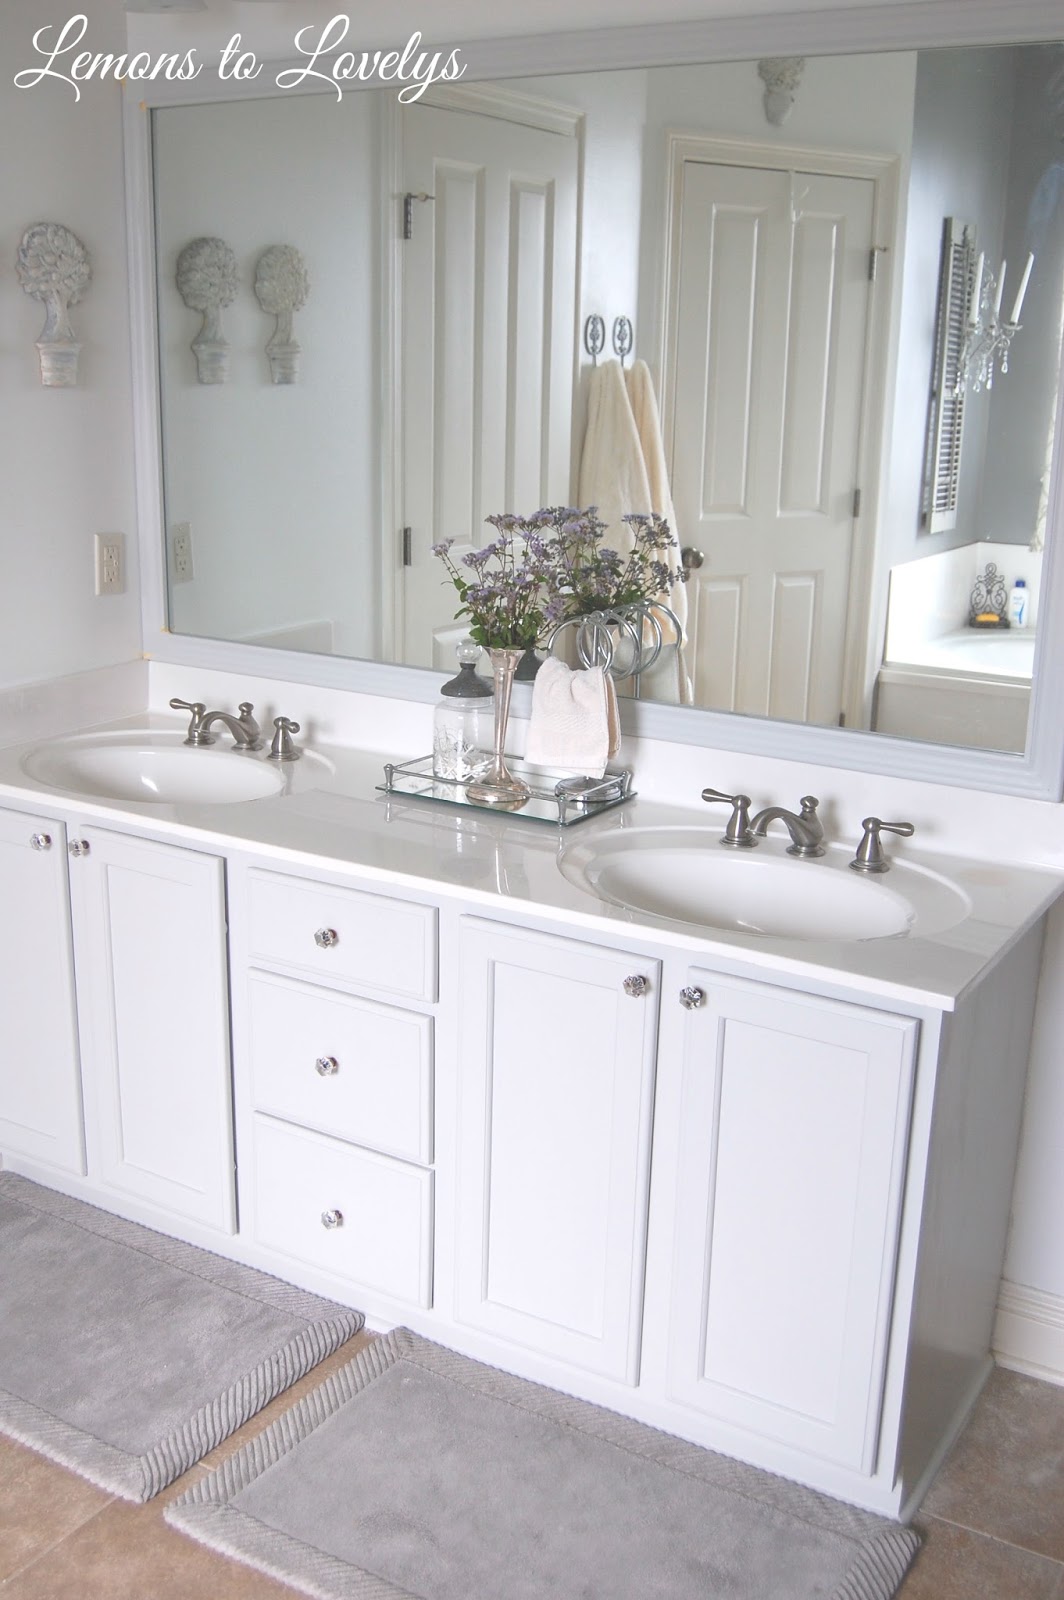
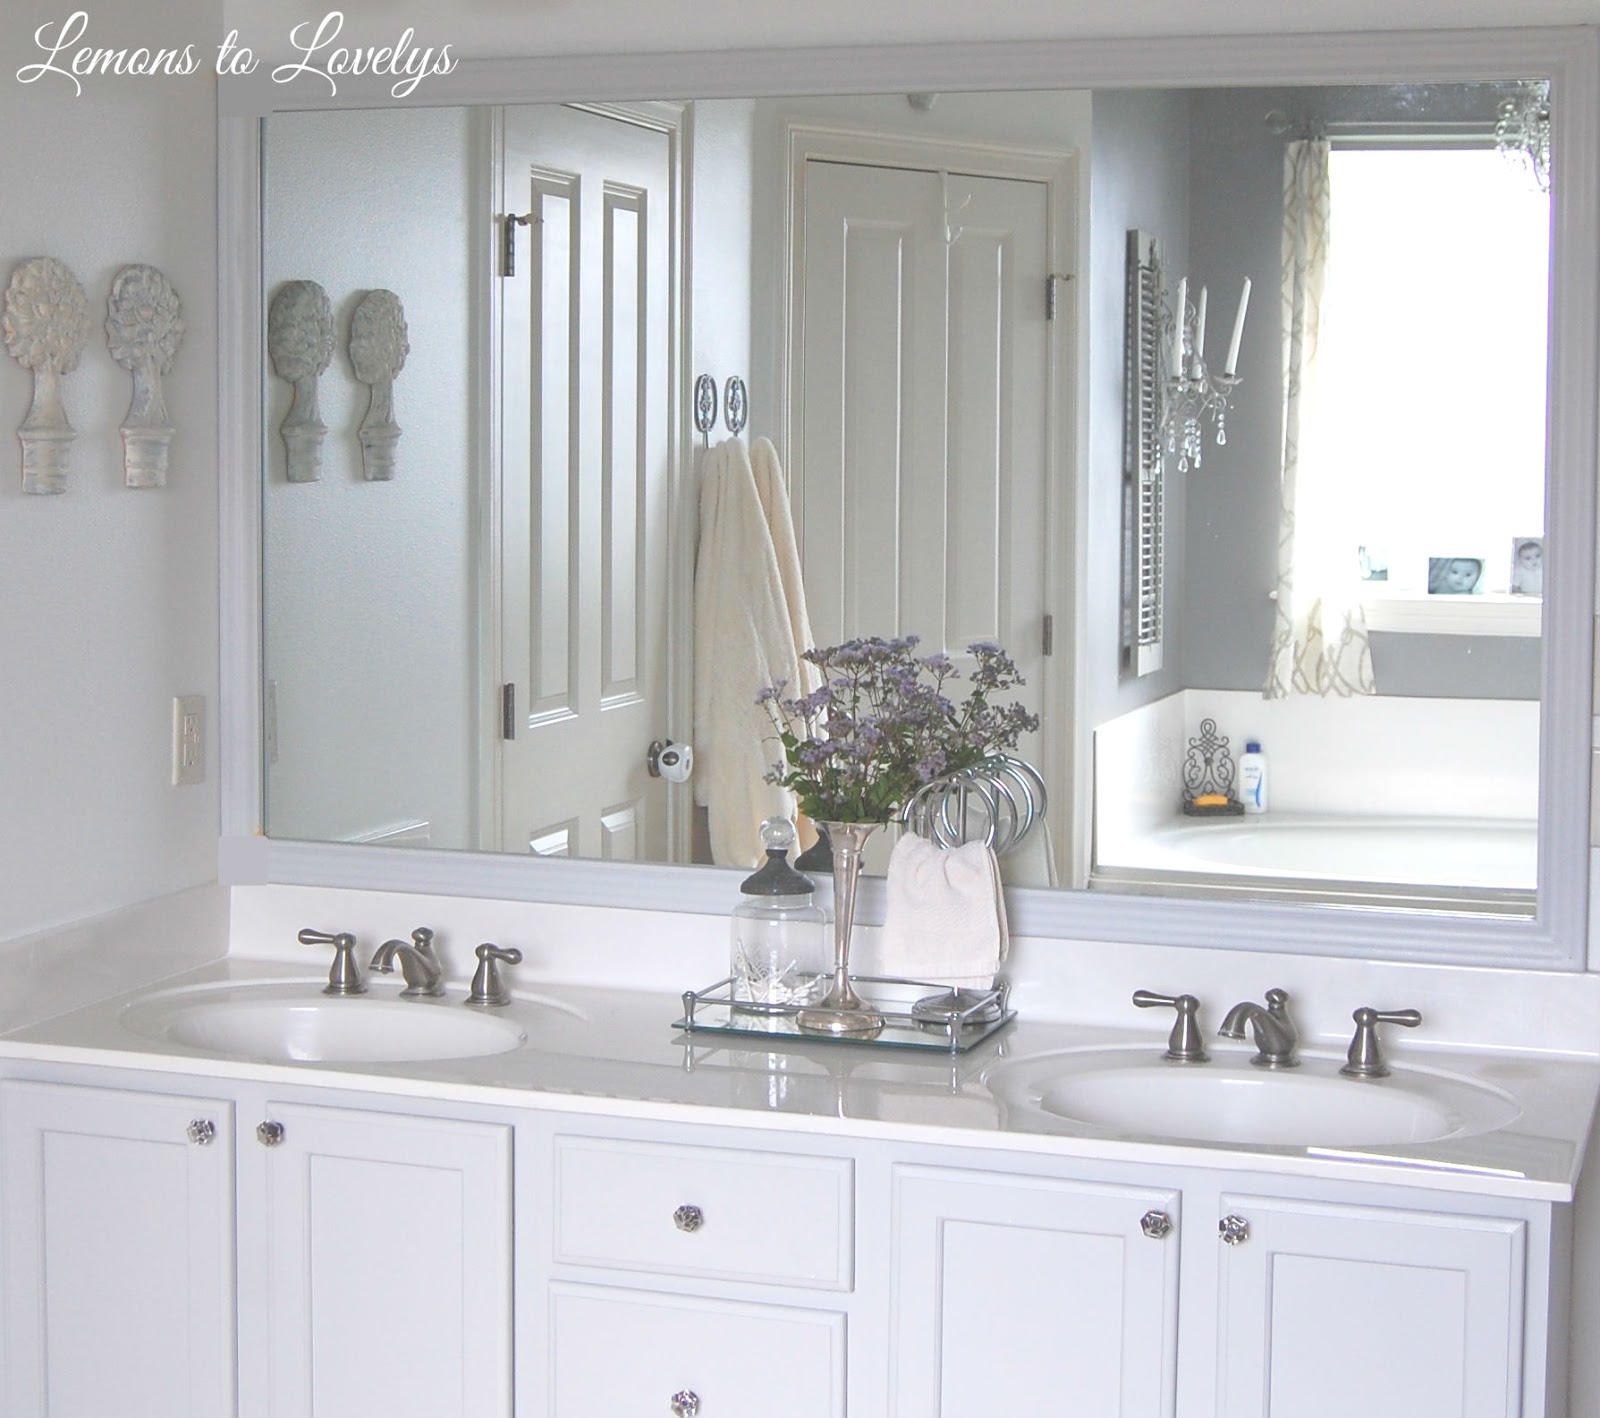
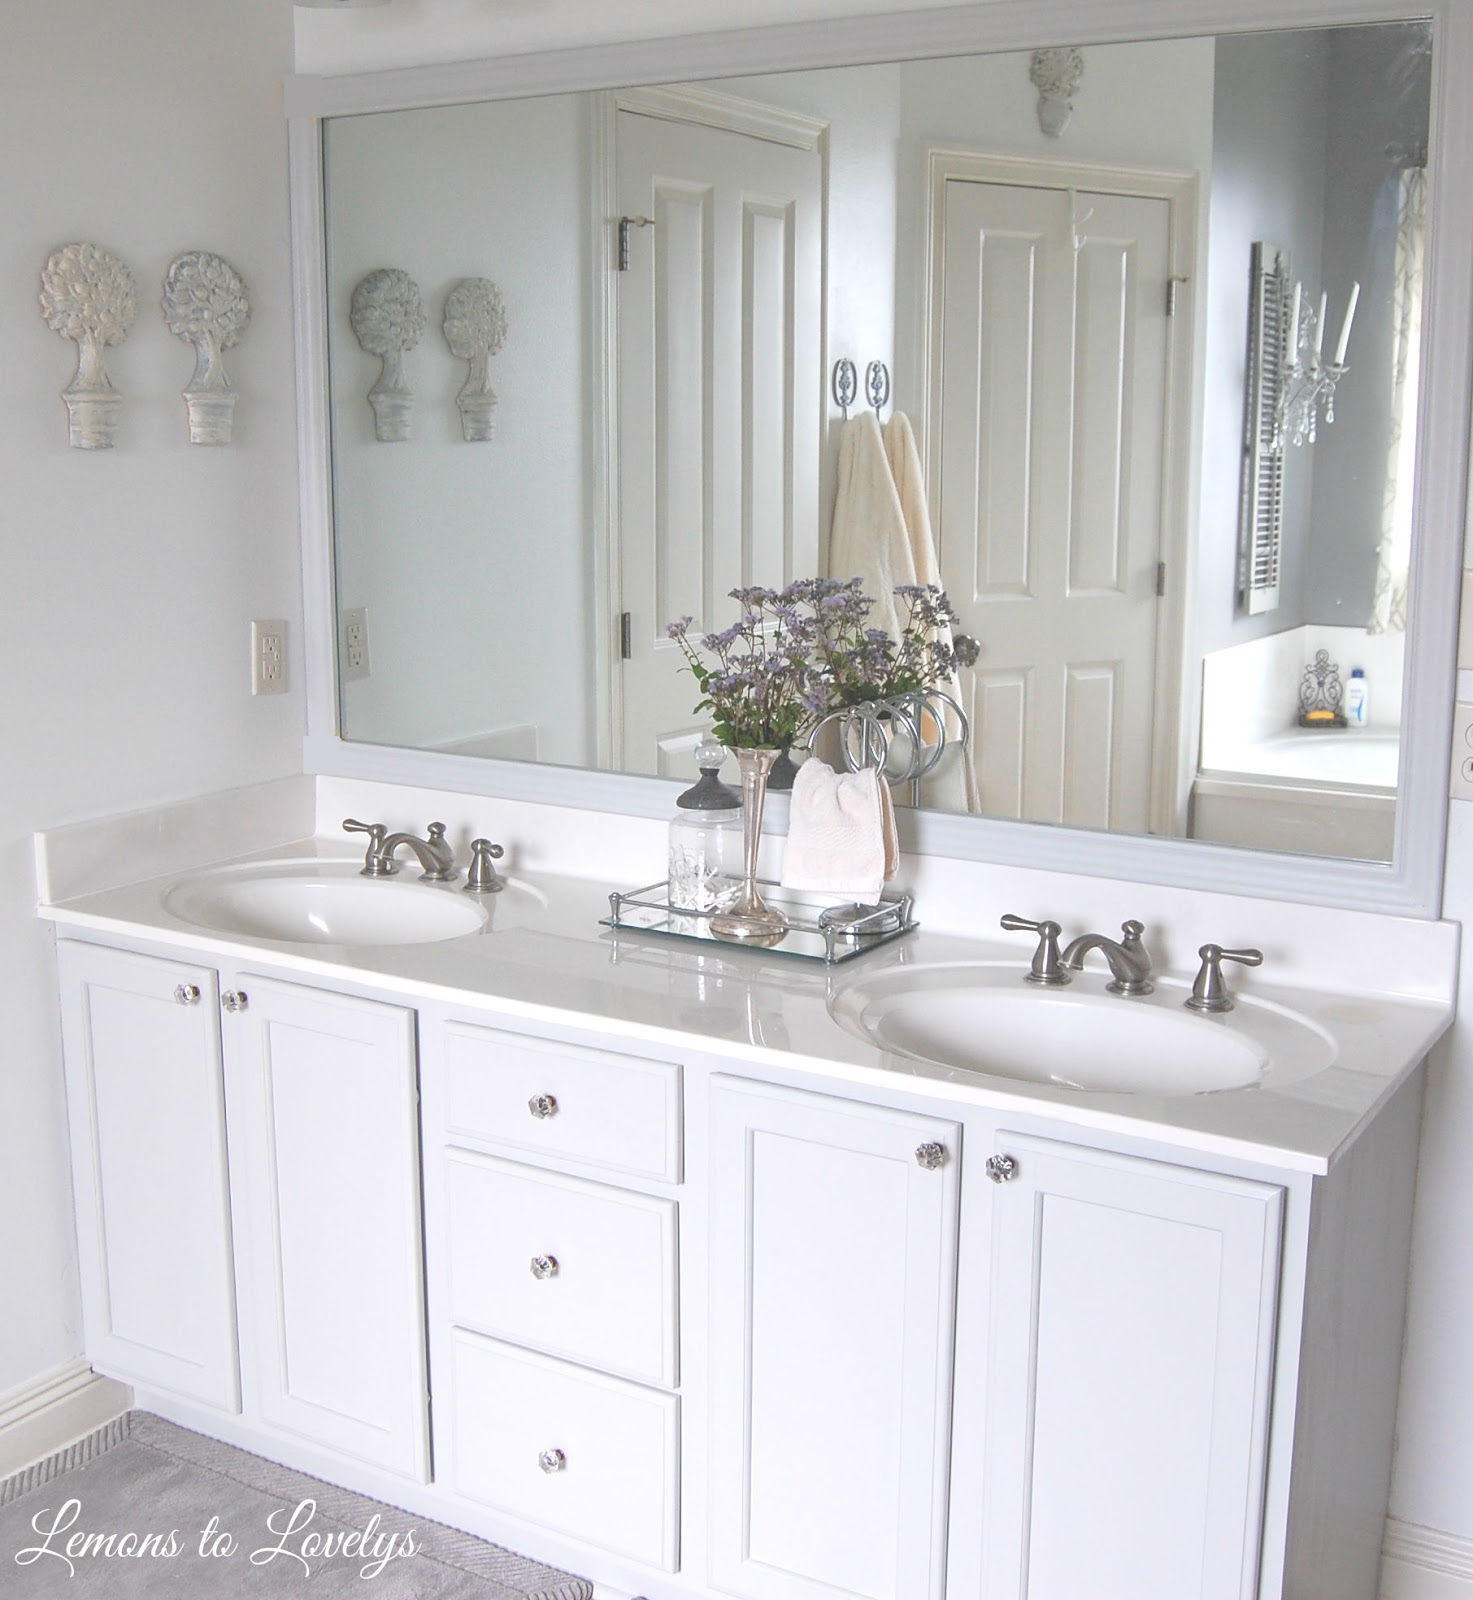
“Dark”, “dingy”, and “unfinished” are the words that come to my mind when I look at this! The mirror looked like an unfinished piece of glass just stuck to the wall and the cabinets were a dark wood color that faded due to sunlight and water spots. This entire side of the bathroom just looked dark and outdated. So I decided to spruce it up without spending a ton of money or creating a big mess! I knew I could probably achieve a fresh new look with just some paint, new hardware & light fixtures, a frame for the mirror. Here is the “after” picture without the new lights, I’ll show you those at the end…
paint color-Stonington Gray Benjamin Moore
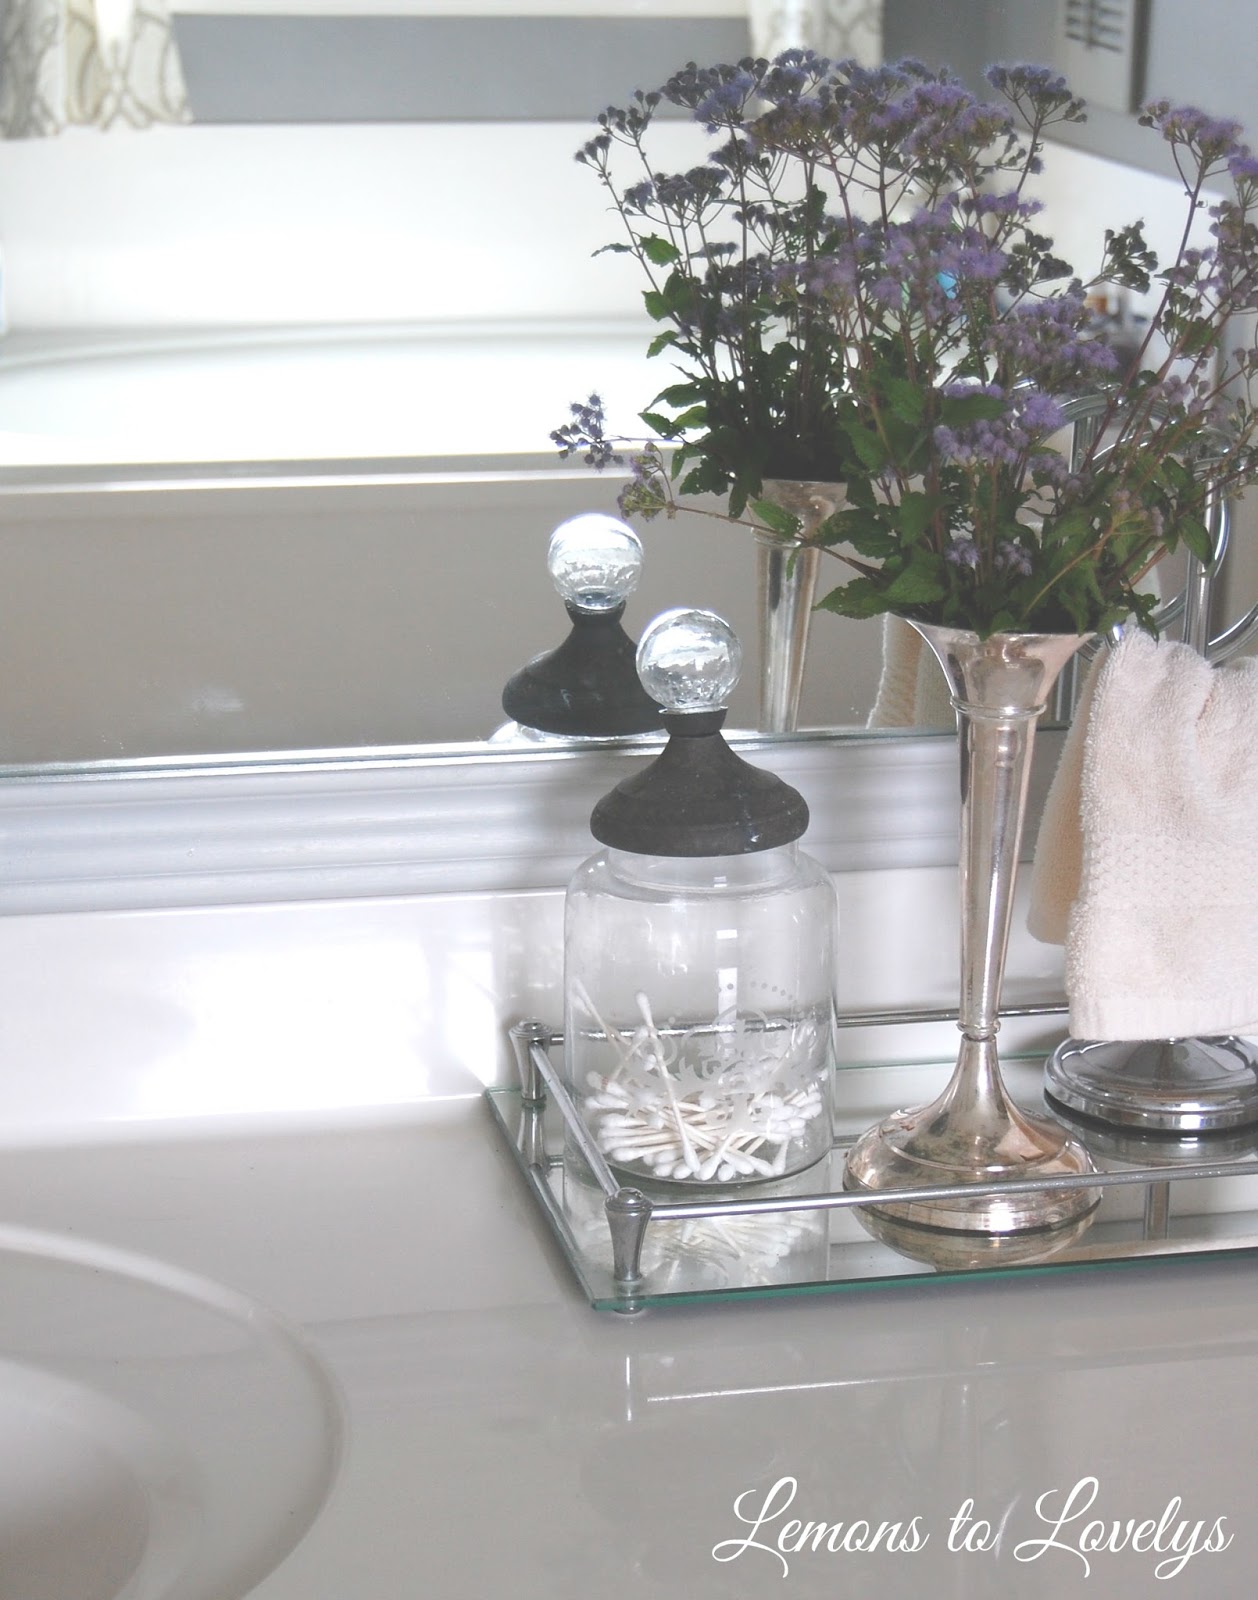
mirrored tray-gift but I’ve seen these at Stein Mart and Bed, Bath, & Beyond
silver vase-wedding gift
apothecary jar-local store
towel holder-TJ Maxx
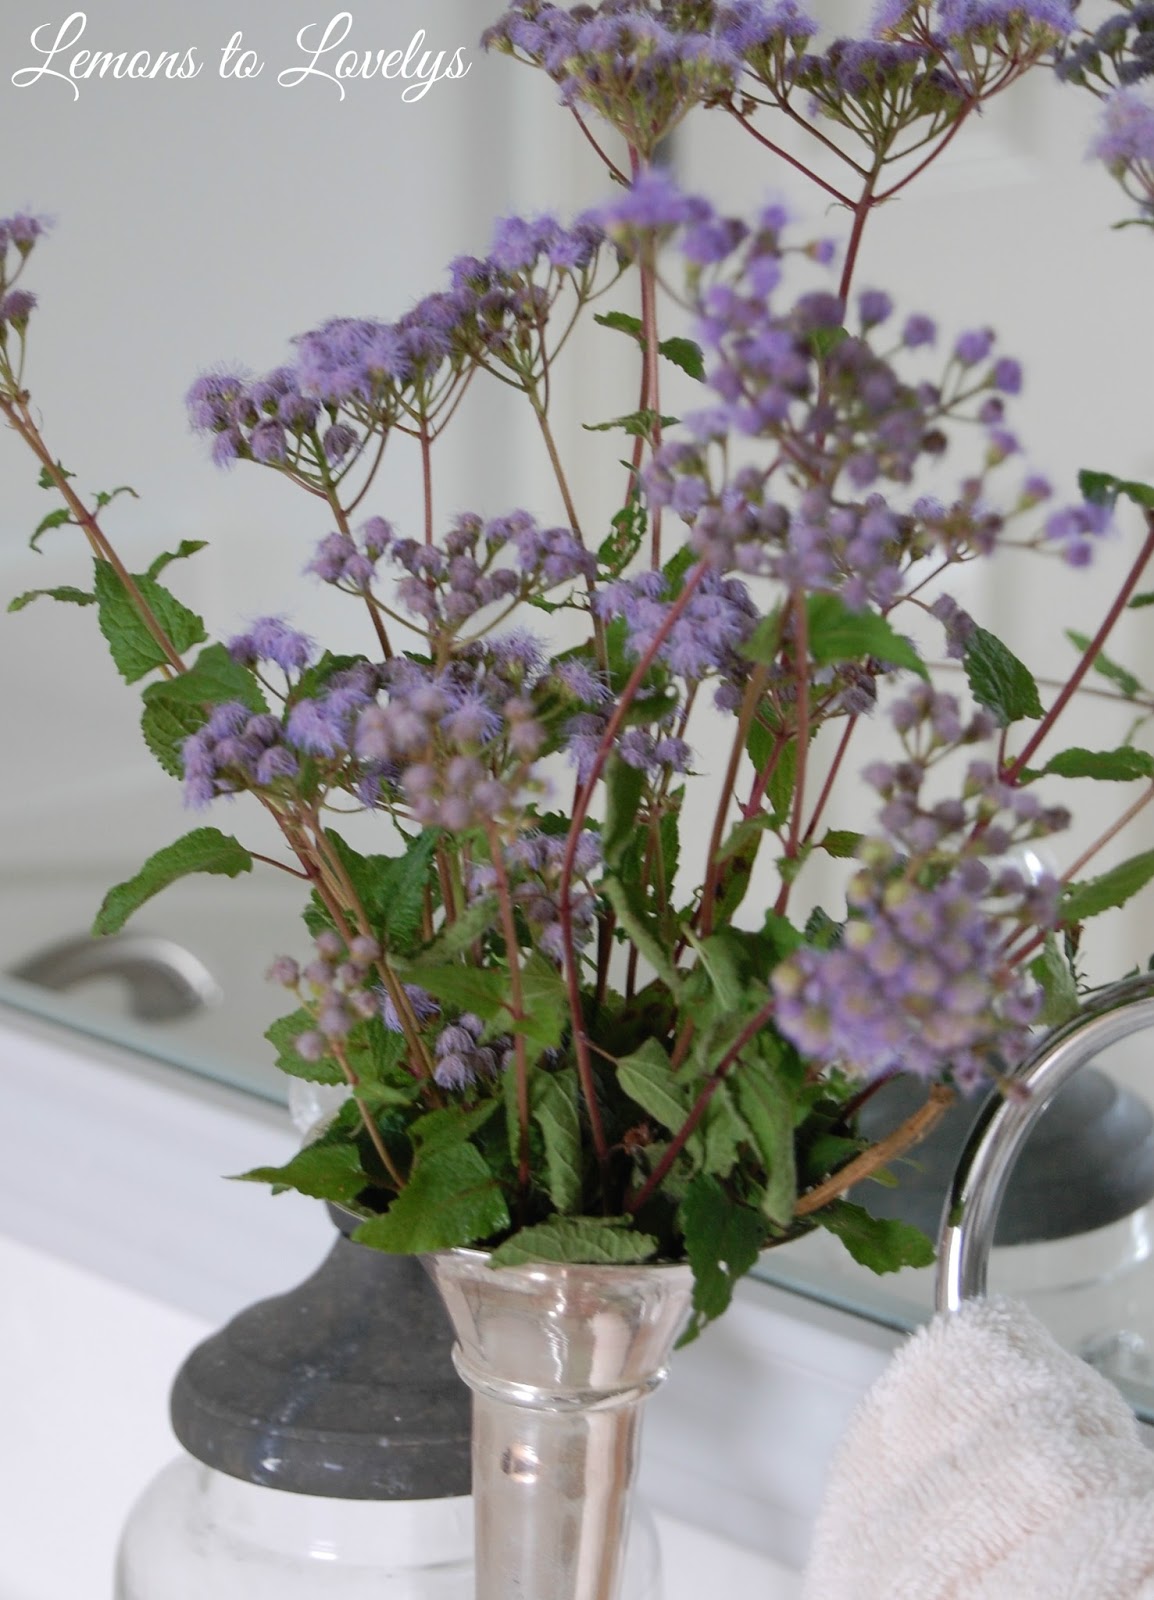
flowers-cut from outside
towels-Tuesday Morning
So the first thing I did to brighten up this space was to paint the cabinets.
These are the steps I followed…
1. remove all hardware from doors and drawer plates then remove doors and drawer plates from base
2. sand down all surfaces with 120 grit sand paper (sidenote-I used sand paper not a grinder. I just needed a scuffed up surface, not raw wood to prime)
3. prime with a thin coat of Xim Primer by Rustoleum
4. lightly sand areas that look too thick from primer (touch up primer afterwards if necessary)
5. let primer sit for 2-3 hours
6. paint first coat (I used Aura paint in Stonington Gray, satin finish by Benjamin Moore)
7. let first coat cure over night
8. lightly sand down areas that look too thick or where paint dripped/ran
9. paint second coat
10. let second coat dry over night
11. paint touch ups
12. let cabinet doors cure for several days ( I think I waited a week before putting the doors and drawer plates back on)
13. install newly painted cabinet doors and drawer plates
14. install new hardware
15. paint touch ups if needed
This may seem like a lot of steps and a lot of work, which it totally was, but it was definitely worth it! Looking back on it, I’m SO glad I took my time and did it the right way rather than rush and end up with bare spots and nicks. I must say that I LOVE the Aura paint line from Benjamin Moore!!! It was easy to apply, not too thick, but it dried and hardened with the perfect consistency for cabinets!!! I can already tell it’s a very durable paint meant to be used in high traffic areas.
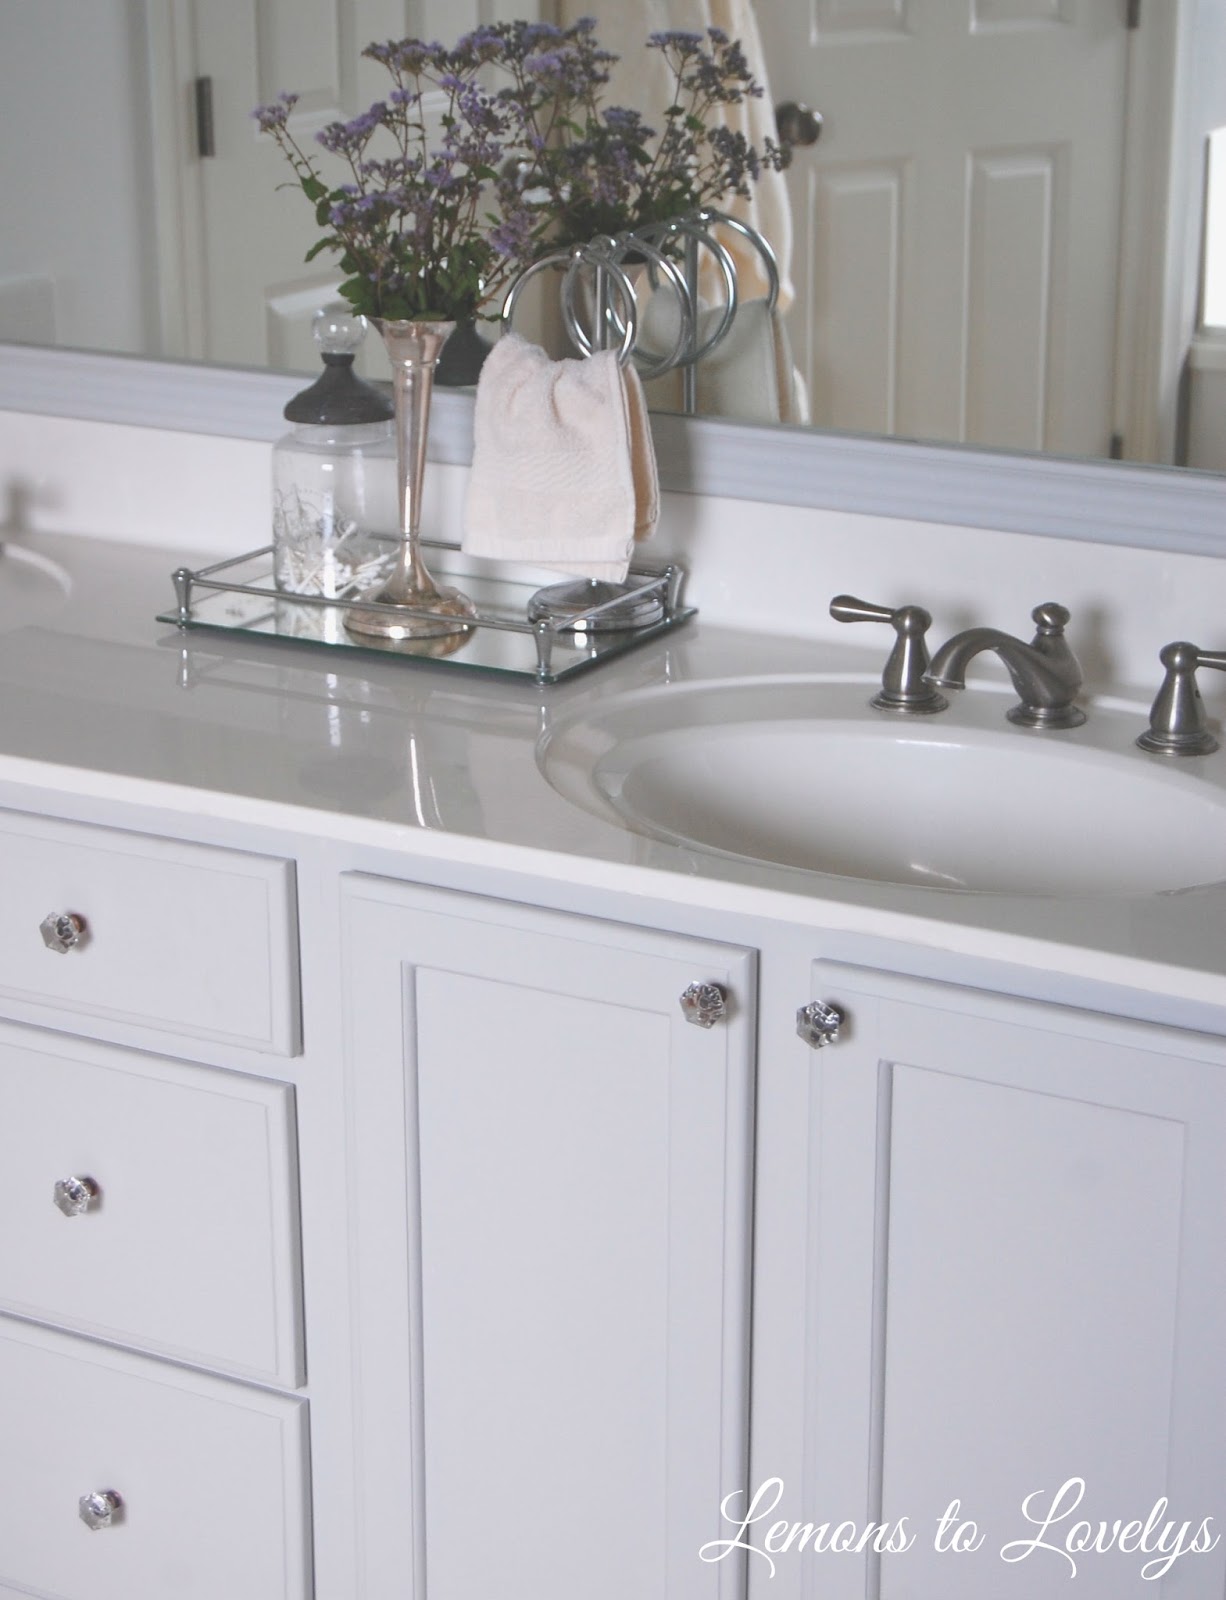
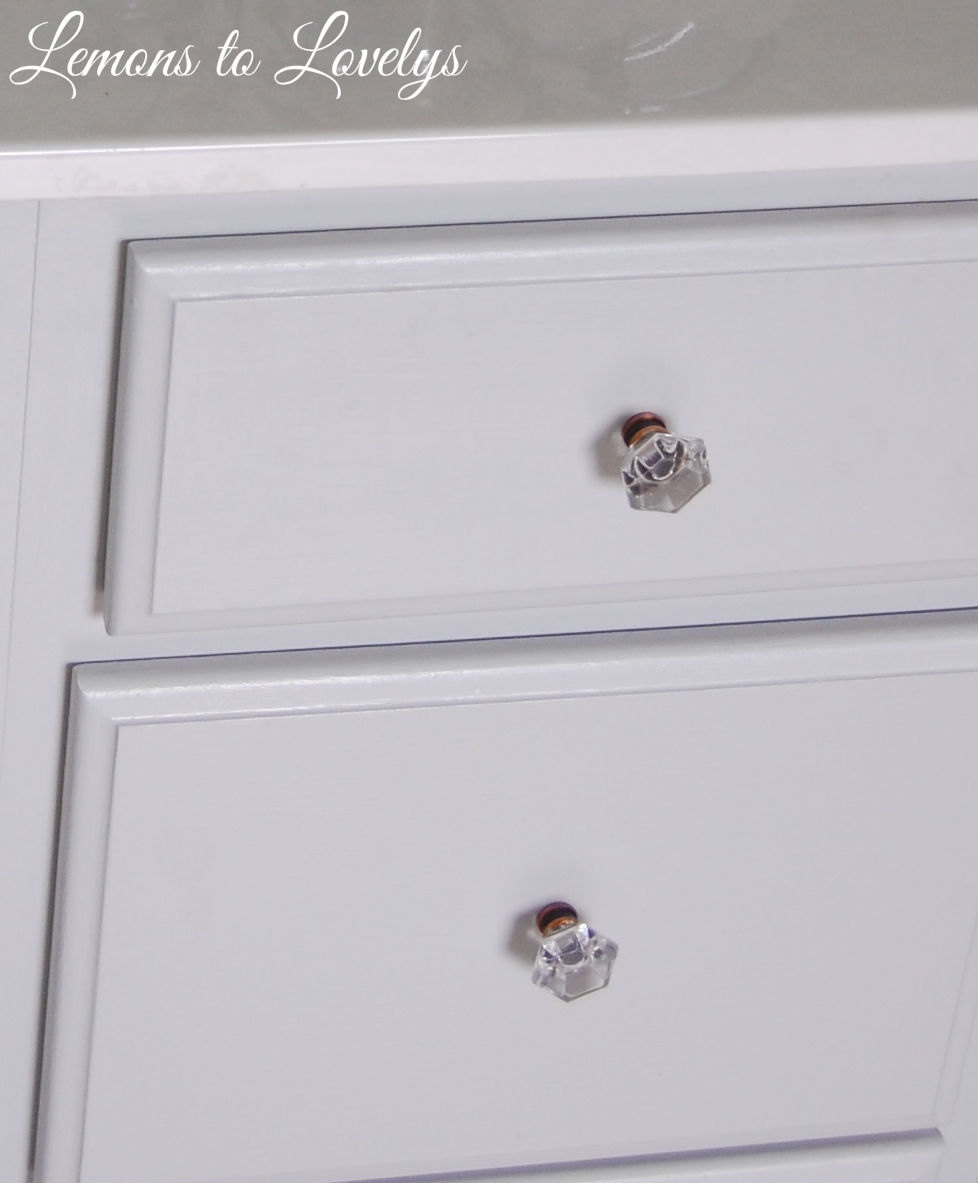
After finishing the paint, I installed these new crystal knobs from Home Depot…
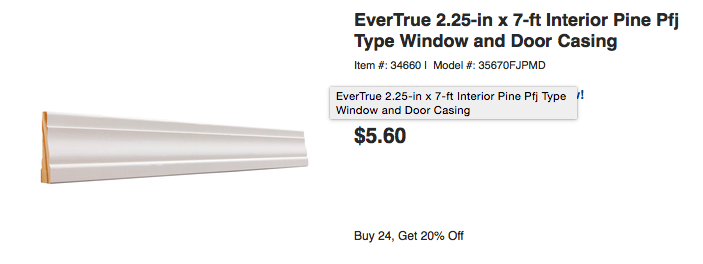
Next, I needed to frame the mirror. I wanted to do something very simple that I could complete by myself! I decided to use window/door trim and some trusty glue!
I bought 4 pieces of pre-primed trim from Home Depot…
**sidenote- if you try this project, make sure to get 4 pieces of trim that are perfectly level and flat. Otherwise they will not stay on your mirror by just using glue.
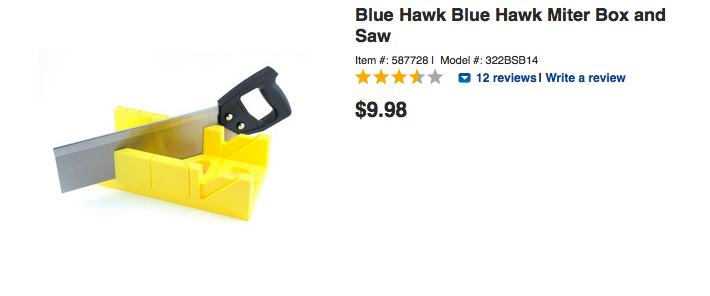
I also purchased this miter box and saw to make perfect angled cuts…
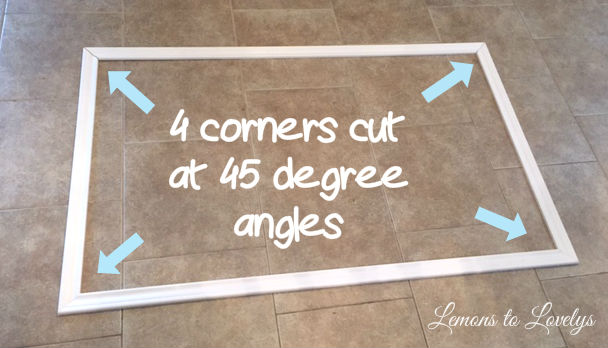
I followed this tutorial (minus the part about the “mirror clips” because our mirror didn’t have clips) using my own measurements and ended up with 4 pieces of trim to make a frame…
(sidenote-to make these 4 pieces the exact size I needed, I had to make 8 cuts with the saw)
Then I put them together on the floor to make sure that they fit together at perfect right angles to fit the exact size of my mirror…
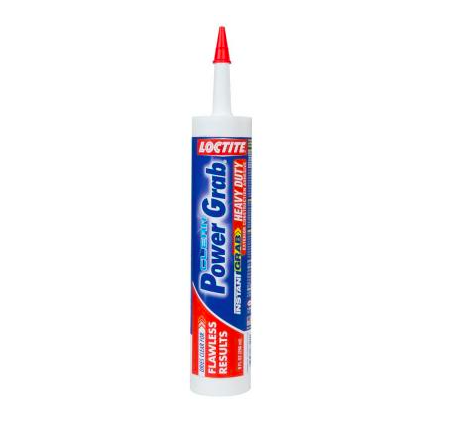
Then I painted the 4 pieces of cut trim with 2 coats of the same color paint as the cabinets, and glued them on the mirror with Clear Power Grab Glue that I purchased from Home Depot….
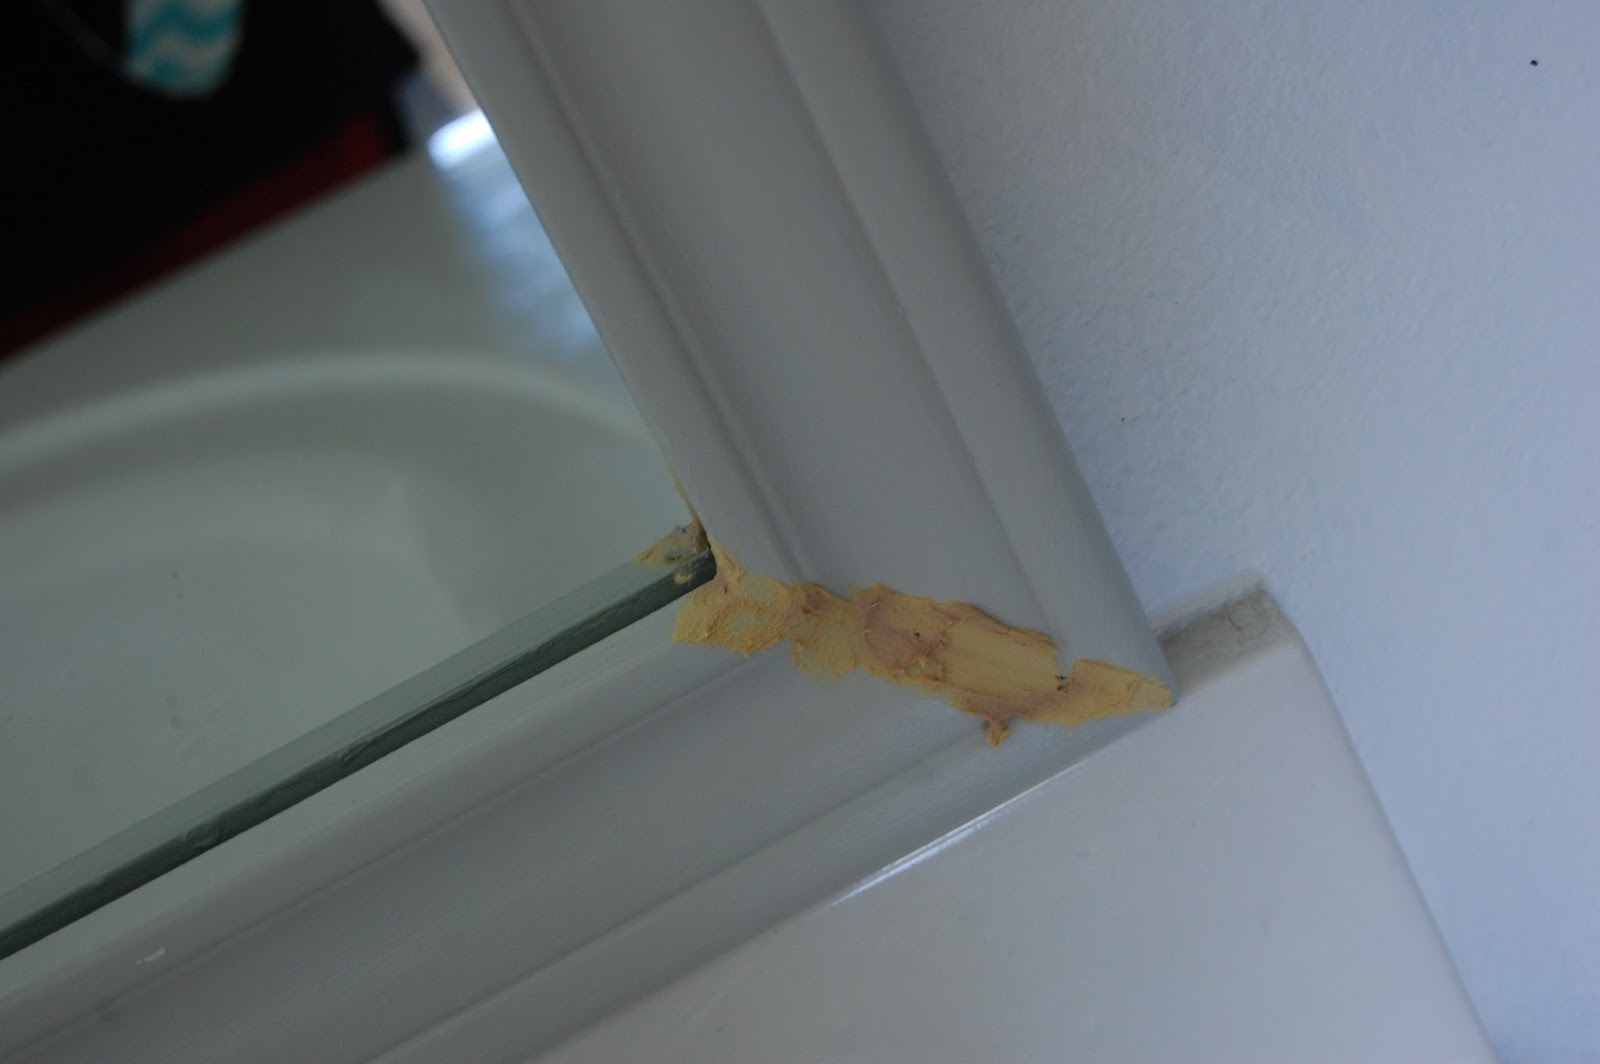
Last, I patched the corners/seams where the 2 pieces of trim meet up together with color changing wood filler…
not a great shot, took it with my cell phone
I let this dry until it changed colors from pink to yellow. Then I went back to each seam and sanded down the excess to make the entire surface completely smooth. (sidenote-this was a total mess! If I were to do this all over again I would use paintable caulk instead) Then I painted over the wood filler with more of the Aura paint, in the same color to match the cabinets, until everything blended together and looked like 1 continuous frame…
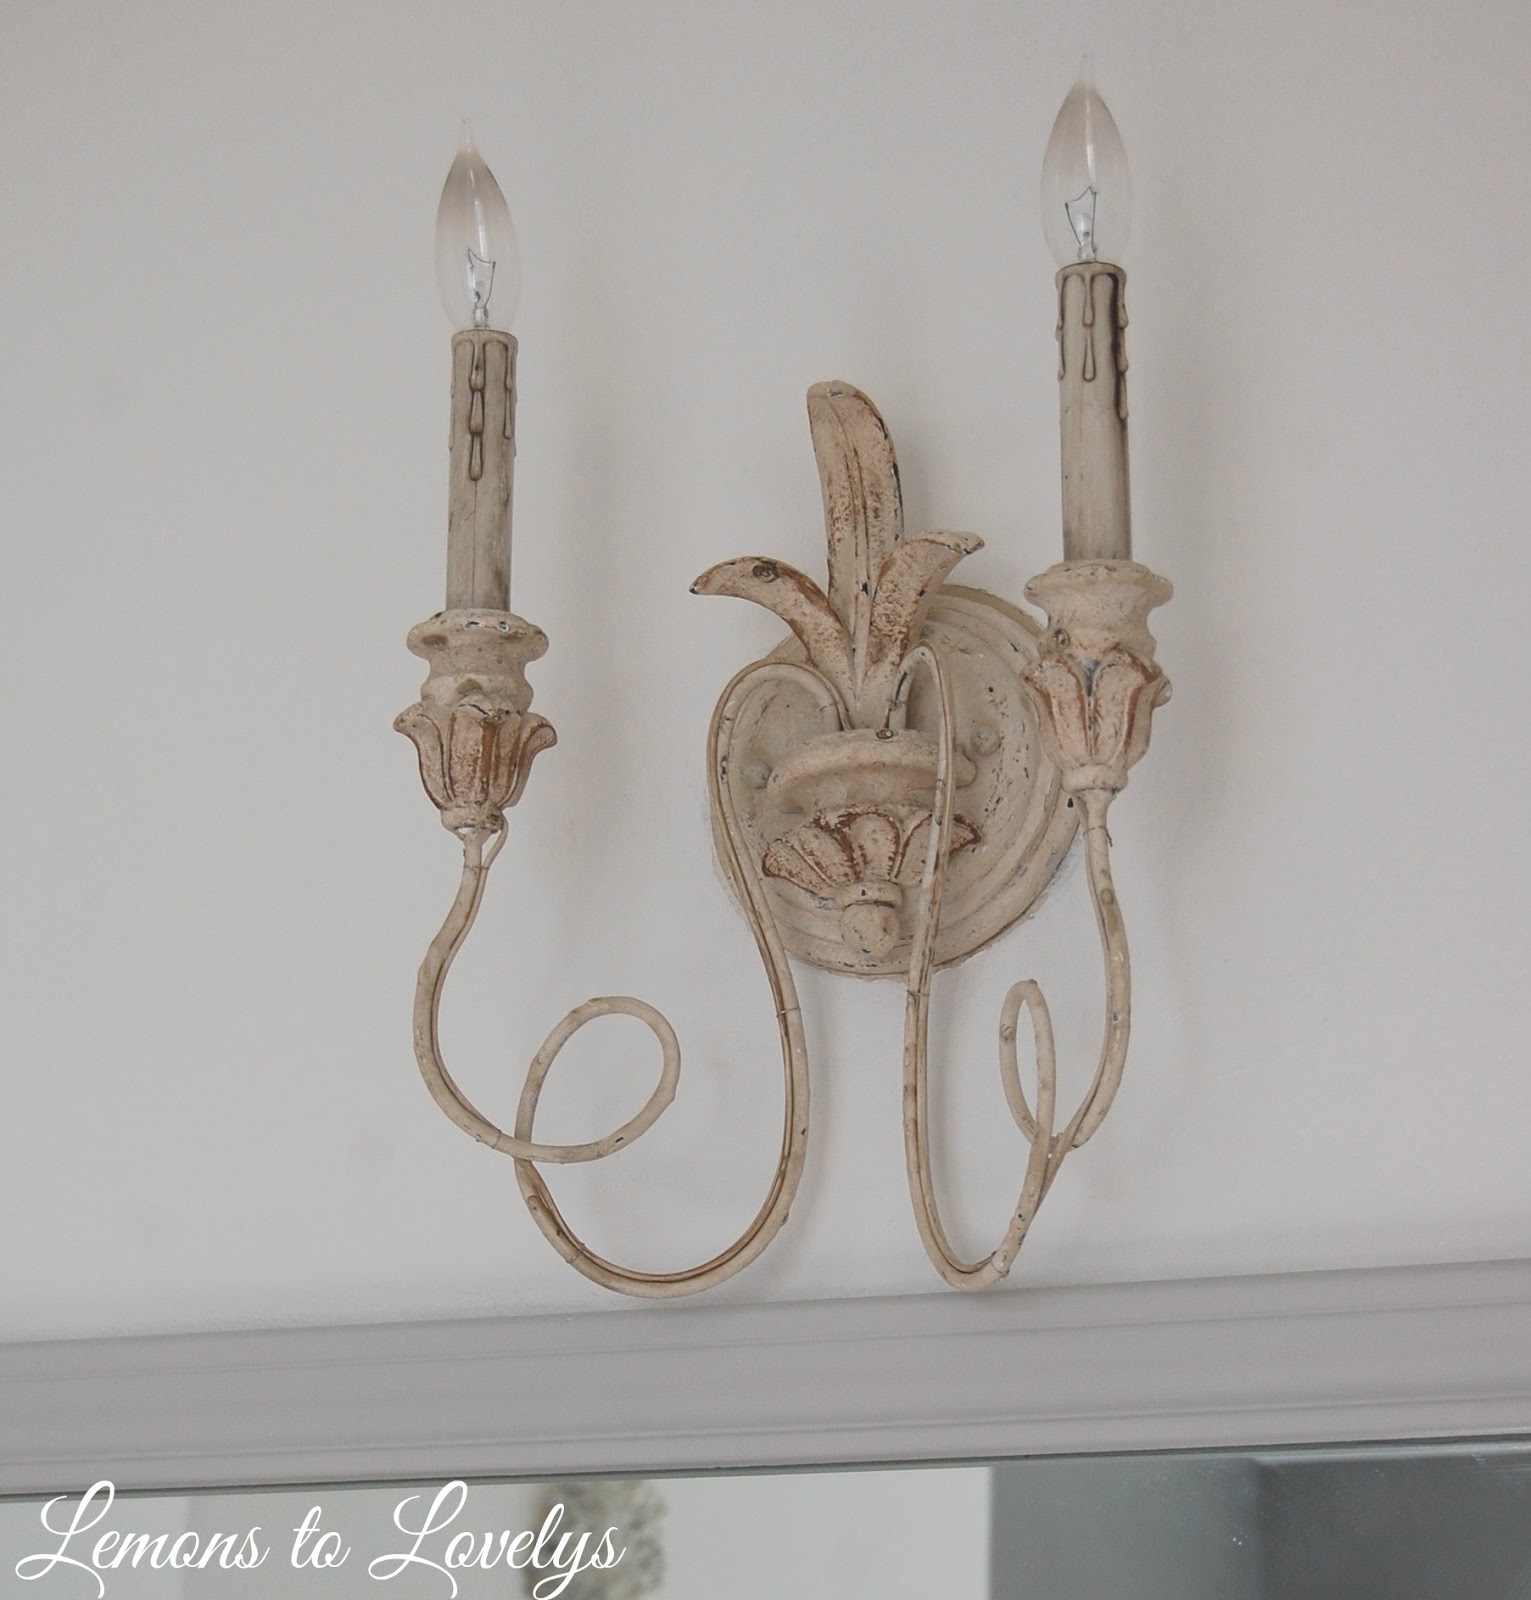
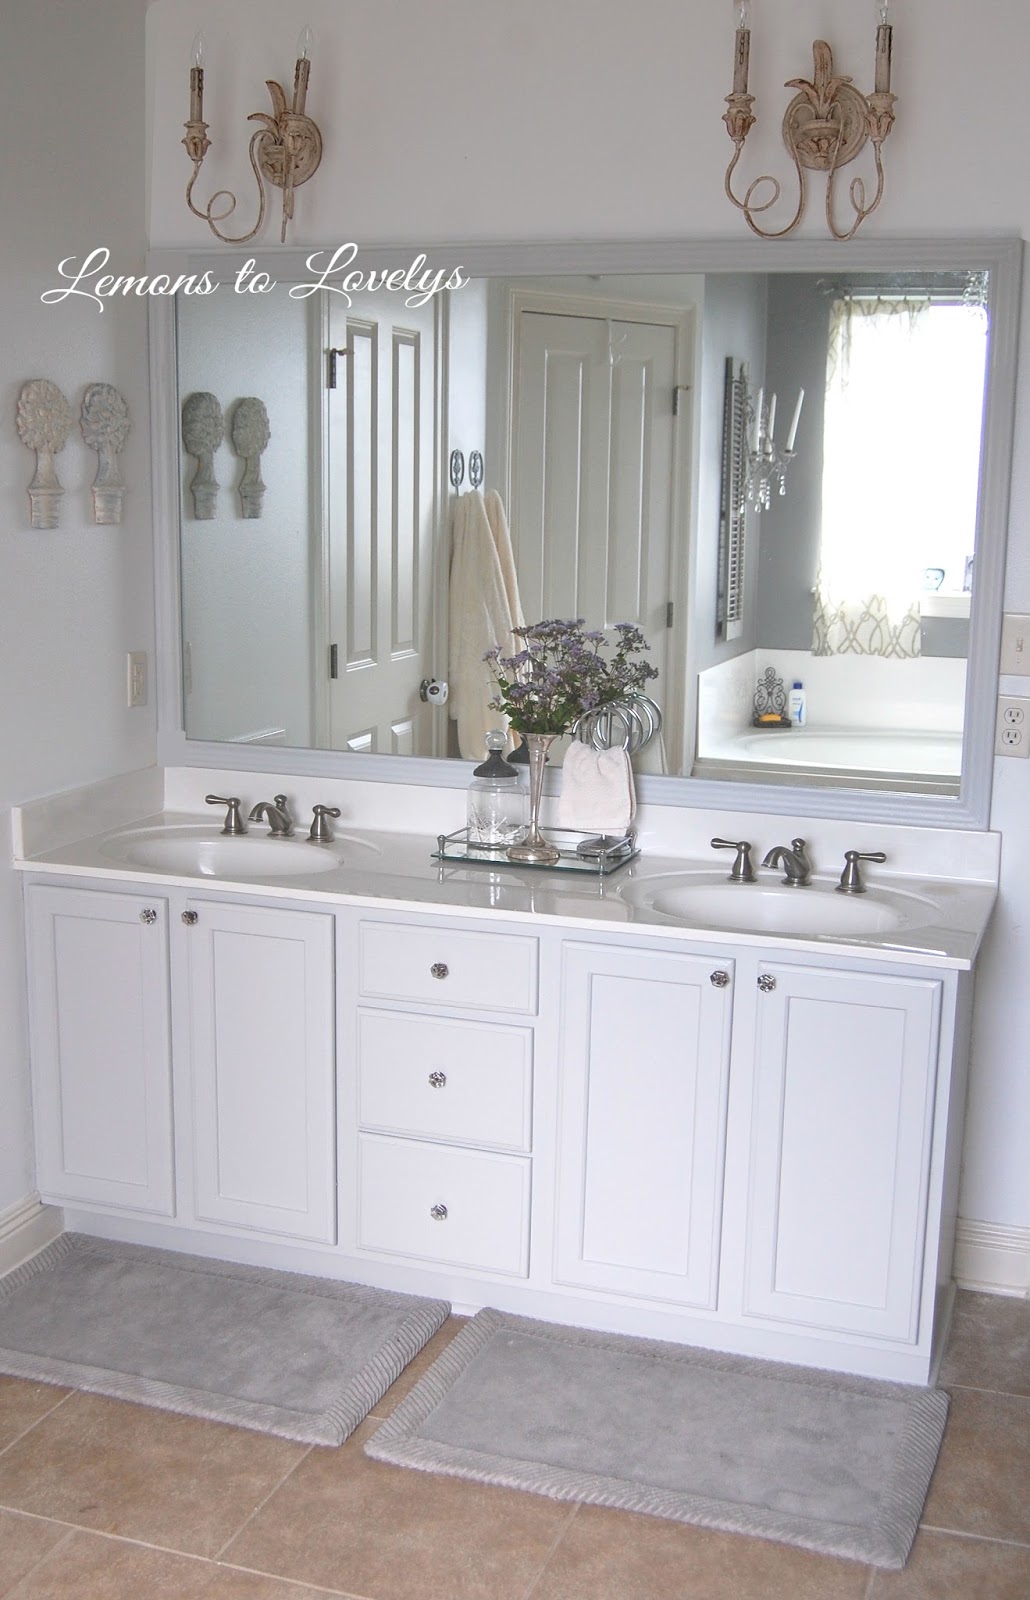
And for the final change to soften up this bathroom, my lovely husband switched out the light fixtures for me!!! I found these beautiful sconces at a discount lighting store here in town for cheap…
I absolutely love the way it turned out!! It’s 10,000 times brighter and didn’t cost us an arm and a leg.
So far, the Aura paint has held up VERY well! I would definitely use this paint again for cabinets!
Well that’s it for today. I’ll be back soon with a similar post about our son’s bathroom makeover.
One Comment
I love the whiteness of your "new" bathroom. White rooms are fantastic canvases, ready to take all kinds of color and texture from artwork, towels and fixtures. Your mirror now looks complete with a frame, a finished piece that fits well above your vanity. I bet that the room seems bigger now, with all the airy whiteness.
This website uses cookies to improve your experience. We'll assume you're ok with this, but you can opt-out if you wish. Cookie settingsACCEPT
Privacy & Cookies Policy
Privacy Overview
This website uses cookies to improve your experience while you navigate through the website. Out of these cookies, the cookies that are categorized as necessary are stored on your browser as they are essential for the working of basic functionalities of the website. We also use third-party cookies that help us analyze and understand how you use this website. These cookies will be stored in your browser only with your consent. You also have the option to opt-out of these cookies. But opting out of some of these cookies may have an effect on your browsing experience.
Necessary cookies are absolutely essential for the website to function properly. This category only includes cookies that ensures basic functionalities and security features of the website. These cookies do not store any personal information.
Any cookies that may not be particularly necessary for the website to function and is used specifically to collect user personal data via analytics, ads, other embedded contents are termed as non-necessary cookies. It is mandatory to procure user consent prior to running these cookies on your website.

I love the whiteness of your "new" bathroom. White rooms are fantastic canvases, ready to take all kinds of color and texture from artwork, towels and fixtures. Your mirror now looks complete with a frame, a finished piece that fits well above your vanity. I bet that the room seems bigger now, with all the airy whiteness.
Wilfred Andrews @ LB Plumbing and Heating