How to Add Decorative Moulding to a Bathtub
This post may contain affiliate links. Please read my Privacy Policy.
Decorative moulding on the front of your bathtub adds an instant facelift to an outdated tub and really improves the overall look of a bathroom. Read on to see how to easily add moulding to your bathtub and give your bathroom the makeover it needs!
This post is brought to you by The Home Depot

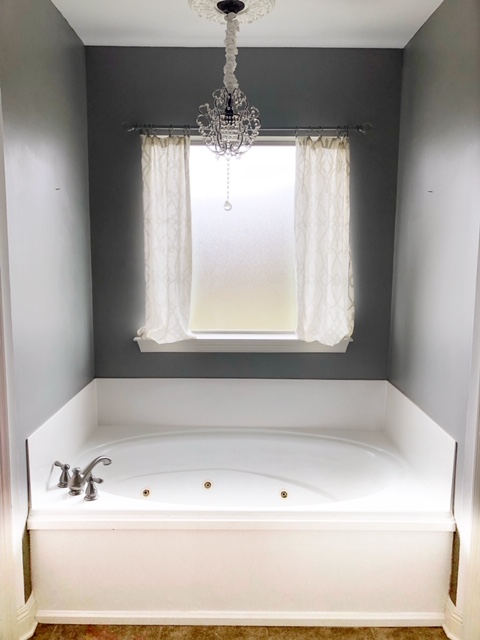
My bathtub in our master bathroom is my sanctuary. Before purchasing our house, I made a list of all the “deal breakers” our new home had to have and a nice, large master tub was at the top of the list! Well, we found the perfect house for us but the only negative was that the front of the master bath was never fully finished. Take a look at the “before” picture and you’ll see what I mean. The builder literally just dropped a prefabricated bathtub in place and said, “see ya”! Sound familiar?

BEFORE
Don’t get me wrong, it’s a great bathtub! It’s just that every time I walked into our bathroom to take a bath I found myself wishing it had more of a “finished” look. I spend so much time in here pretending I’m a mermaid and hiding from my family that I had to dress it up and make it look more custom. So, I added decorative moulding to the front to give our bathtub the facelift it needed.
Thank you Home Depot for sponsoring this project! They have all of the supplies and tools needed to get the job done! Not to mention, the friendliest and most helpful staff members to lead you in the right direction. I could not be more thrilled with how it turned out!!
Go check out what our bathtub looks like now over on The Home Depot blog by clicking here. The Before and After will SHOCK you!
You’ll also find a full tutorial and a list of products and tools we used in the process.