Wood-Look Porcelain Tile from QuicTile by DalTile
This post may contain affiliate links. Please read my Privacy Policy.
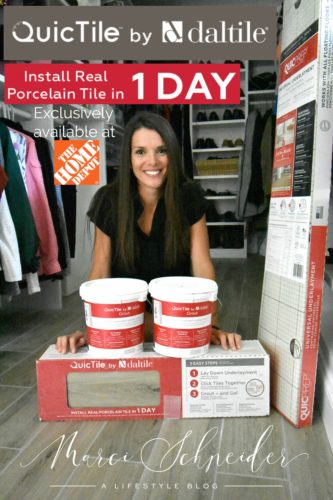
Wood-look porcelain tile flooring is a great way to get the wood floor look you want with more durability. QuicTile by DalTile installs in 3 easy steps. Read on to see how!
When QuicTile by DalTile approached me about using their locking porcelain tiles in our new house, I jumped at the opportunity! I’ve been considering the option of using wood-look porcelain tile flooring in our master closet for some time now because of the durability and beautiful look of hardwoods. I also knew I wanted something that could easily transition between the tile in our master bathroom to the flooring in our master closet. QuicTile is sold exclusively at Home Depot and you already know I’m a big Home Depot fan! Wood-look porcelain tile flooring by QuicTile is a great fit for our flooring needs.
What are the benefits of using QuicTile by DalTile vs. traditional wood flooring?
- QuicTile installs in one day because of the 3 step process: underlayment, click together tile, grout!
- It is real porcelain tile which makes it durable against scratching and chipping
- Wood-look porcelain tiles by QuicTile have a beautiful wood finish with a waterproof surface that you cannot get with real wood

How to Install Wood-Look Porcelain Tile Flooring using QuicTile by DalTile
- Prep- Clean the subfloor and make sure it is smooth, flat, and dry for underlayment
- Step 1- Lay out underlayment material from wall to wall letting the sheets touch each other but not overlap. Tape the sheets together at the joints using adhesive tape (we used duck tape).
- Step 2 – Start laying the tiles in a corner and work left to right. I worked with a tile installer on this project to insure it was done correctly. (See directions provided by QuicTile by clicking here for more detailed instructions). Using a mallet and tapping block, tap in the short side of the second tile until it completely locks into the first. Make sure the pieces are locked all the way through with no gap visible. This is probably the most important step in the entire process. Also, make sure the tapping block lip sits on the edge of the tile and not the click profile to prevent damage to the profile. Repeat this method for the remaining tiles in the second row and so on until all rows are finished.
- Step 3- Walk over the tile and make sure all pieces are clicked well together. Check for gaps and uniformity of gap joints. Thoroughly mix grout with margin trowel and follow packaging instructions before use. Do not add water. Make sure to use the recommended flexible, pre-mixed grout or epoxy grout only; do not use regular cementitious grout. The grout color I used is called “Mist”. To purchase the same grout click here.

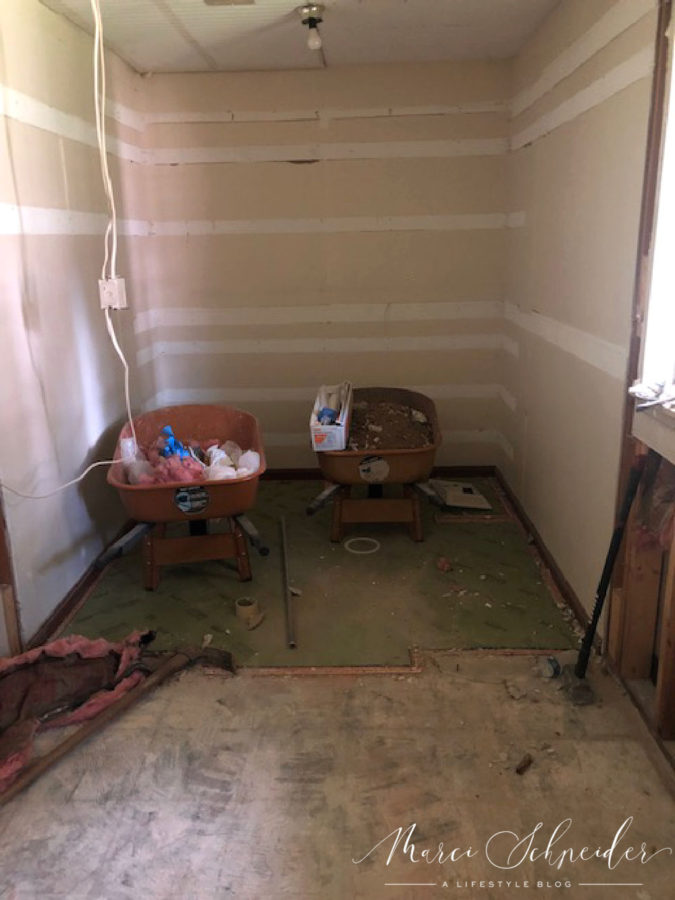
BEFORE
AFTER

How I Chose My Wood-Look Porcelain Tile from QuicTile by DalTile for our Master Closet
There are several different color and pattern options that QuicTile has to offer, all of which are beautiful! I knew that I wanted a wood look for our master closet but we also needed something in a matte finish so that we wouldn’t slip when walking from our shower to the closet. The “River Wood Matte Porcelain” caught my eye because of its beautiful white oak looking finish. It pairs great up against white bathroom floor tiles and creates a pretty transition between the two.
I also wanted something that was going to be easy to clean and care for. Wood-look porcelain tile flooring is perfect for this reason! To purchase my exact wood-look porcelain tile flooring click here.

Where to Purchase QuicTile by DalTile
QuicTile is sold exclusively at Home Depot. It comes in various sizes, patterns, and colors and can be installed in 1 day! Check out all of the styles they have to offer at your local Home Depot today or browse all of their options online by clicking here.
Thank you for following along with our home renovation! I’ll be back soon with more details on other rooms! In the meantime, you can see more about this particular closet project on my Instagram highlights.