Kitchen Nook Update To Accommodate More Seating
This post may contain affiliate links. Please read my Privacy Policy.
A kitchen nook is a great way to designate a space for light meals. Add lighting, an area rug and accessories to complete the space. If space is tight, use a comfy bench and chairs to accommodate more seating!
After posting some updates that I made to our kitchen nook on Instagram , I got A LOT of DM’s asking about the frames and new bench. So, I decided to write a blog post about it, that way you can have all the details and links in one place! Sidenote, Here is the post that I promised on how to style a charcuterie board. It’s great to have when guests come over and need something to nibble on in your newly updated kitchen nook!
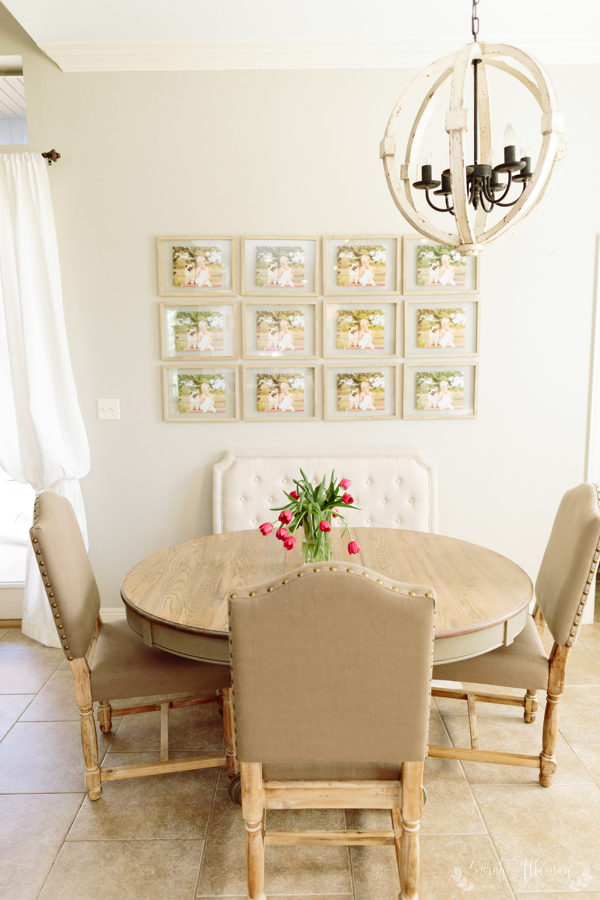
All photos in this post taken by Sarah Alleman Photography
What is a Kitchen Nook?
- Noun. Also known as a “breakfast nook“ – a place for light meals usually near a kitchen
- usually has built in tables and/or seats
- a part of a structure having some specific characteristic or function
Our Kitchen Nook
If you remember, our kitchen nook started with a set of hand me down chairs and a table. Then, that evolved into me going out and purchasing a round table from a consignment shop and having it refinished. Which then lead to me tracking down some chairs from World Market on killer sale to go with it.
Well, after having our second child and tons of visitors over to see the new baby, I found myself always pulling up a chair from somewhere else to accommodate everyone at one table in a casual setting. So, to remedy this problem, I decided it would be best to add a bench seat to one side of the table to allow for more seating. Also, I wanted to break up the darkness from the dark green chairs and dark-ish wood table. I lightened it up and created more seating with this bench….
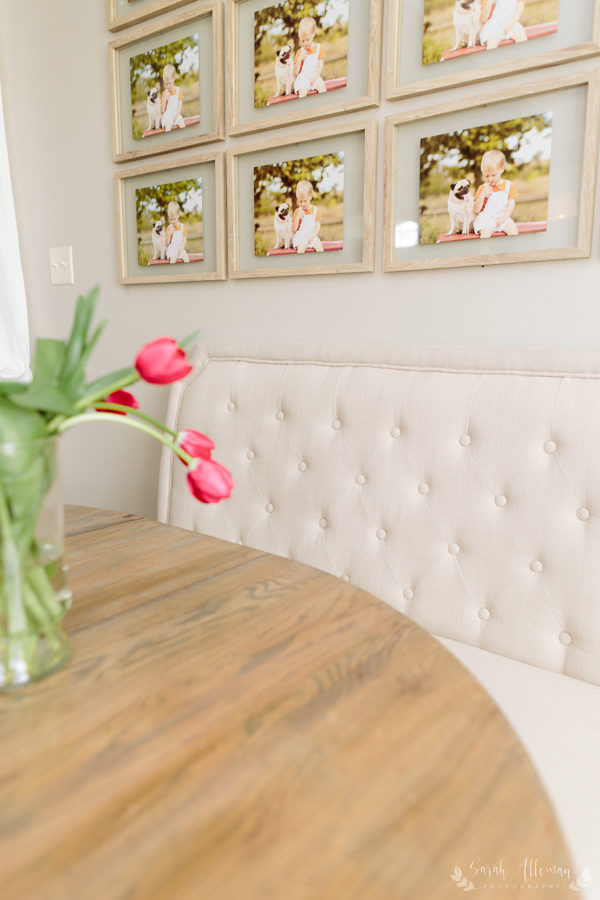
And great news everyone!!!!!!!!!! IT’S ON BIG TIME SALE!!!!!!!!!!!!!!!!!!!!!!!!!!!!!! To purchase the bench click here…..
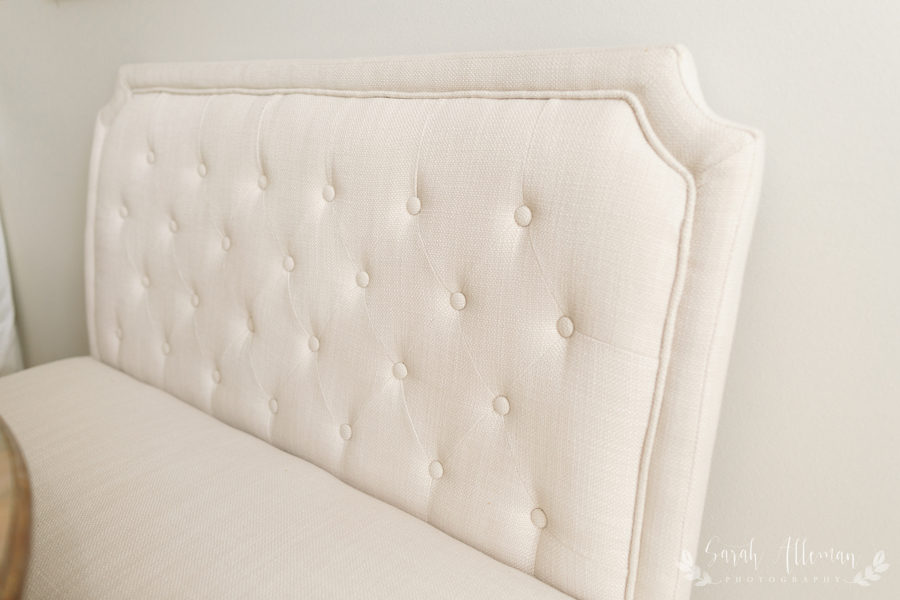
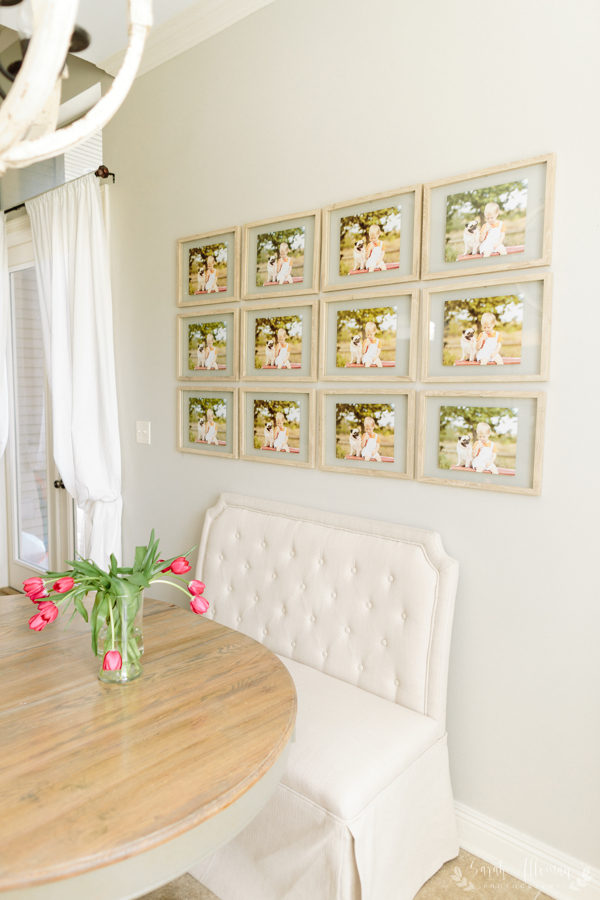
Our New Bench Seat
It was super easy to put together (came in 2 pieces plus legs) AND was free shipping! If you are looking to add more seating to a table you already own, OR if you need a bench to put in your entry way or back hallway, hurry and grab this bench before the sale ends!
I paid $400 for this bench and it’s now on SALE for $280.49!!! Hurry and snatch it up though because I don’t know how much longer this sale is going to last. Regardless of the price, it’s worth every penny! It seats 2 adults and 1 child comfortably, or 3 if you squeeze. I LOVE the pipeing detail and upholstered buttons on this bench. I’m also completely obsessed with the detail on the frame/headboard!!
Gallery Wall
The entire time we’ve lived in this house, I have hung random things on this wall that I was never 100% happy with! After finally finding a bench and table that dress this space up, I decided it was time to get something on the wall that I actually liked.
I wanted to add a gallery wall to this space to frame some of the beautiful pictures I have taken of my babies over the last 4 years. Until now, I have had so many great photos and no place to put them.
I searched long and hard for the perfect frames at all of my typical spots and finally found the perfect ones I was looking for at a really great price.
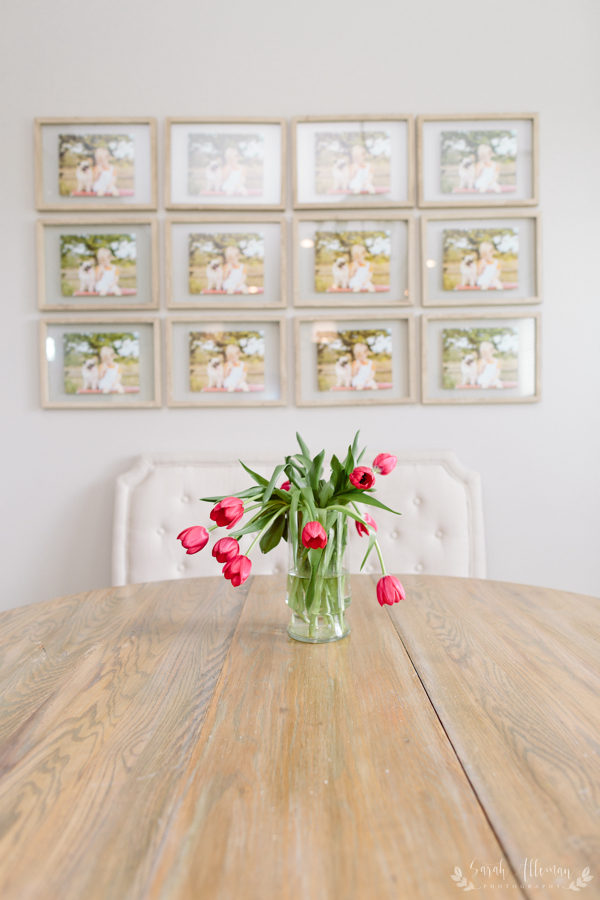
To purchase these frames click here .
They are “floating frames” that hold 8×10 photos, perfect for a gallery wall! They come in 3 colors: black, white, and light beige. Mine are the light beige which look like alabaster oak. I cannot wait to get some black and white prints in them!!
How to Hang A Gallery Wall
If you need a quick trick for hanging gallery wall frames, I have a video saved in my story highlights on Instagram of me hanging these frames called “Gallery Walls”. Tap on it and watch to see how I hung them, perfectly spaced out in less than 30 mins without turning my walls into Swiss chese!
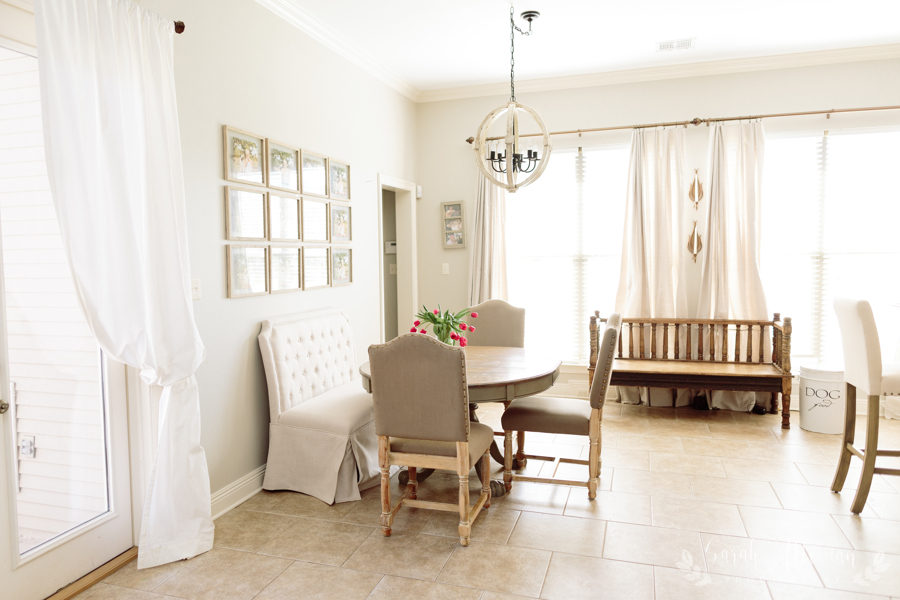
The rest of our chairs I found on major sale at World Market but they are no longer available. However, here is a post I wrote about my favorite upholstered chairs available on line, most of them on sale!! Click here to read.
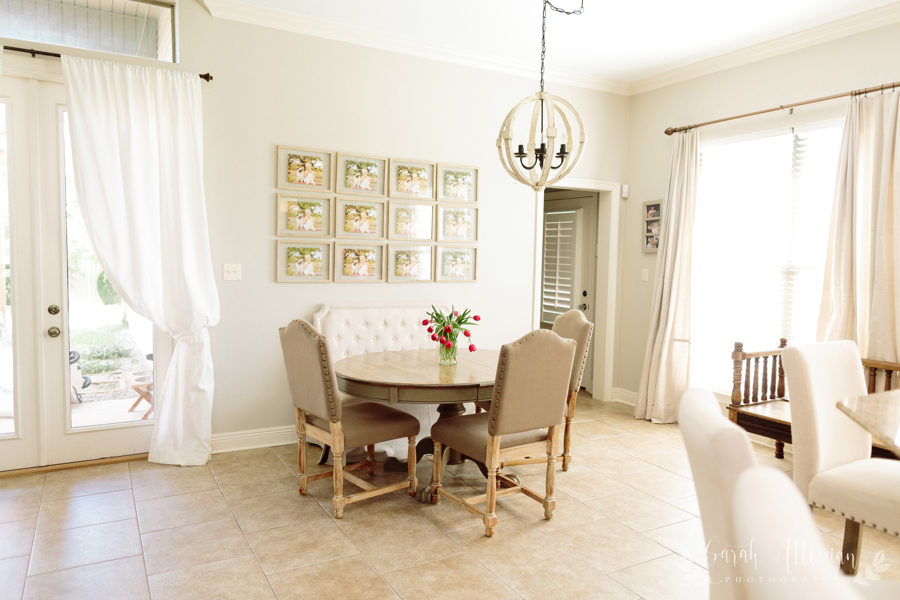
Well that’s all for today.
I’ll be back next week with a fun post on how to style a charcuterie board!