Pumpkin Decorating Idea- Painting Cinderella Pumpkins
This post may contain affiliate links. Please read my Privacy Policy.
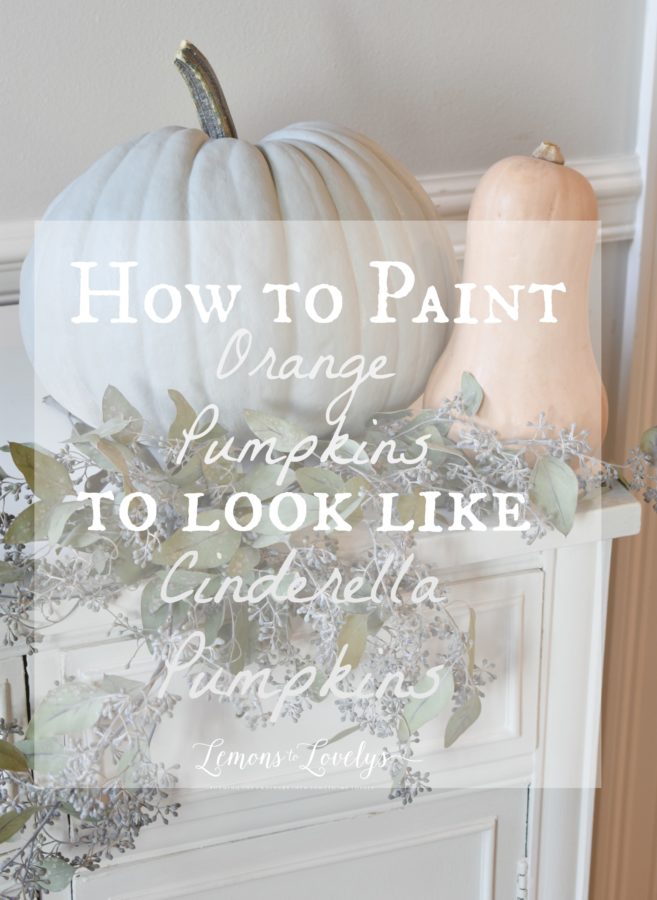
Pumpkin decorating is a fun alternative to carving pumpkins. Read on to see how to paint orange pumpkins to look like Cinderella pumpkins.
Hope you’re having a lovely Fall day!
We got our first taste of Fall weather and I’m loving it!!!! I was starting to really worry that summer was never going to end. Nothing thrills me more right now than to wear pants and not sweat!
My Favorite Fall Posts
How to Paint Cinderella Pumpkins
DIY Fall Window Box For Your Door
Pumpkin Decorating Idea – DIY Cinderella Pumpkins
I’m going to show you how I painted bright orange, real pumpkins to look like Cinderella pumpkins.
First, if you are just joining me and didn’t see my most recent Fall Home Tour where I showed you my new pumpkin-fied sideboard, you can view it by clicking here.
To quote what I found on Allaboutpumpkins.com …
“Cinderella pumpkins are a unique French heirloom whose correct name is ‘Rouge vif D’Etampes’ the source of their nickname is that they resemble the pumpkin that Cinderella’s fairy godmother transformed into a carriage” …. yadadyadayada …. they “make good pies and Fall decor” .
A real Cinderella pumpkin, also known as a “Jarrahdale Blue Pumpkin” looks like this….
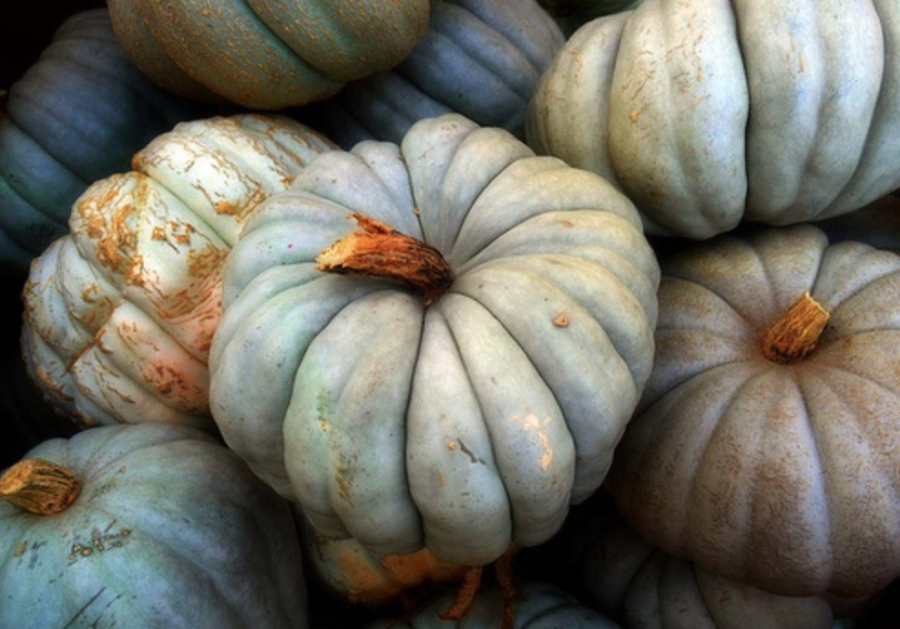
Aren’t they so pretty!?!
Why I Want to Paint Cinderella Pumpkins
- They are so gorgeous! I’ve been seeing them all over blogs, magazines, and Instagram for the last 2 years and kept telling myself “I’m going to buy some next year”. Well this year I decided to bite the bullet and actually do it
- After perusing Pinterest for fall inspiration, I came across this gem of a pin.
- The fake ones from Michael’s just aren’t going to cut it for me anymore, I want some real pumpkins!
- I want a fun activity to do with my son
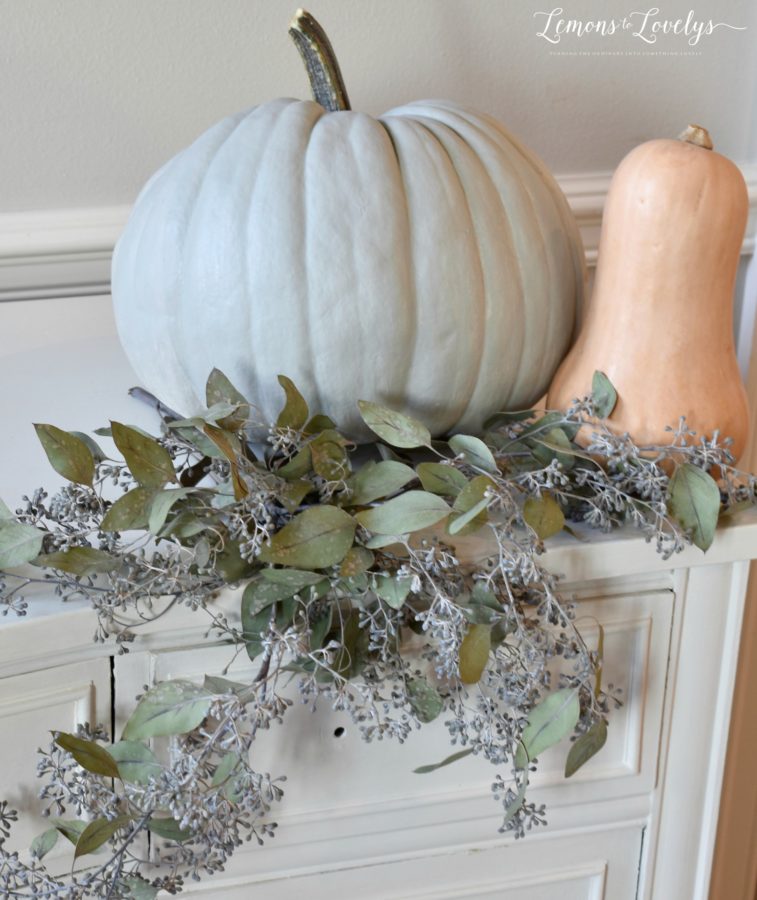
So, following a combination of that tutorial I found on Pinterest and some of my own ideas, this is what I came up with…..
Pumpkin Decorating Idea- Steps for Painting Cinderella Pumpkins
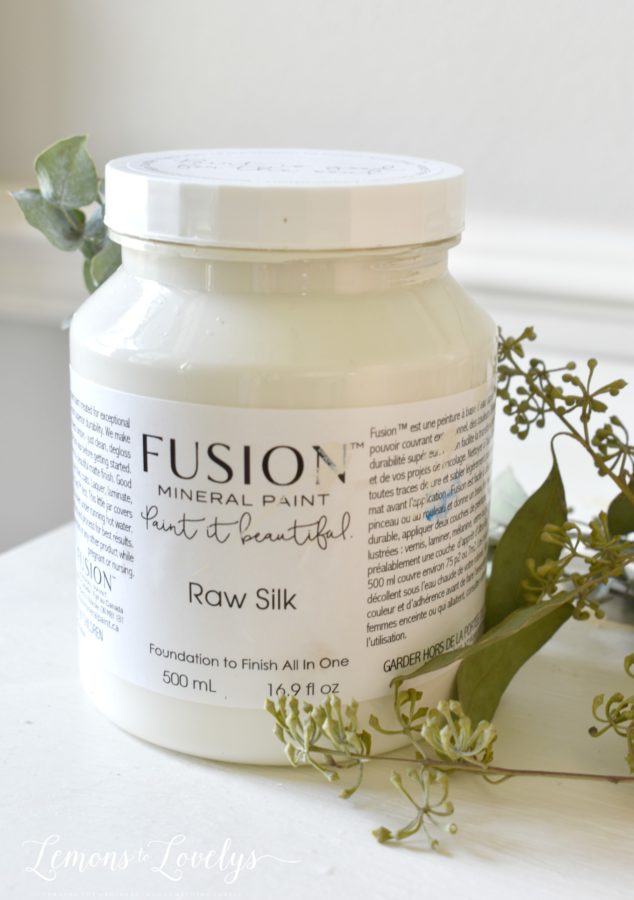
- First, paint 1 coat of white paint as a “primer” onto real orange pumpkins…
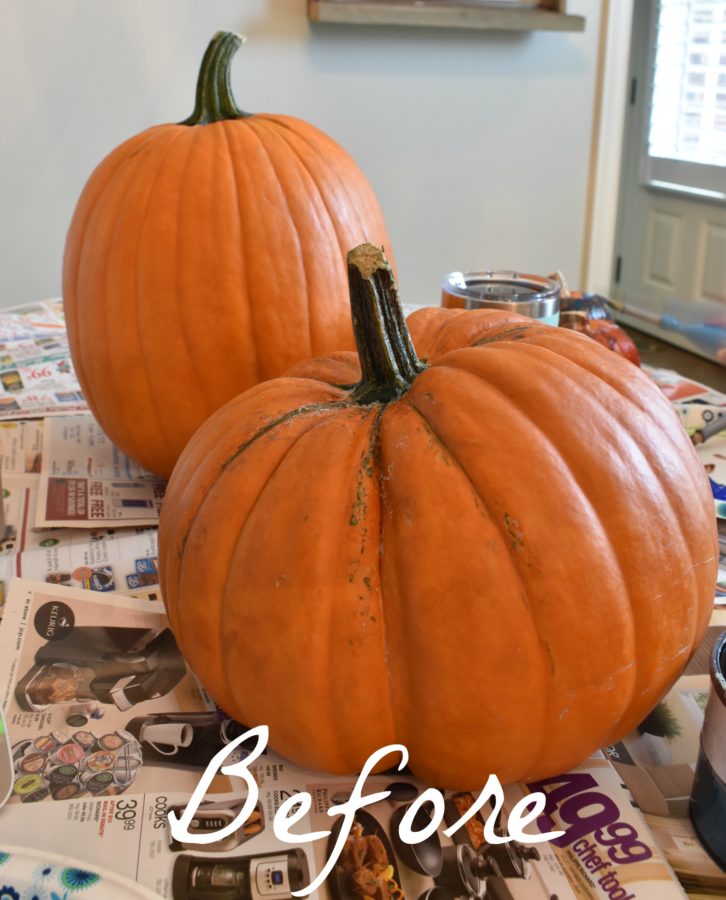
I used Fusion Mineral Paint in Raw Silk because it is the whitest paint I had in my paint drawer and I knew it was the most likely of all of my paints to stick, considering the fact that it is “mineral paint”…
Sidenote…..my 3 year old son was very helpful in priming these pumpkins for me so if you want to do this project but are worried it may take up too much of your time away from your family, get them involved and have them help! We had a ball together painting pumpkins and he felt like mommy’s big helper!
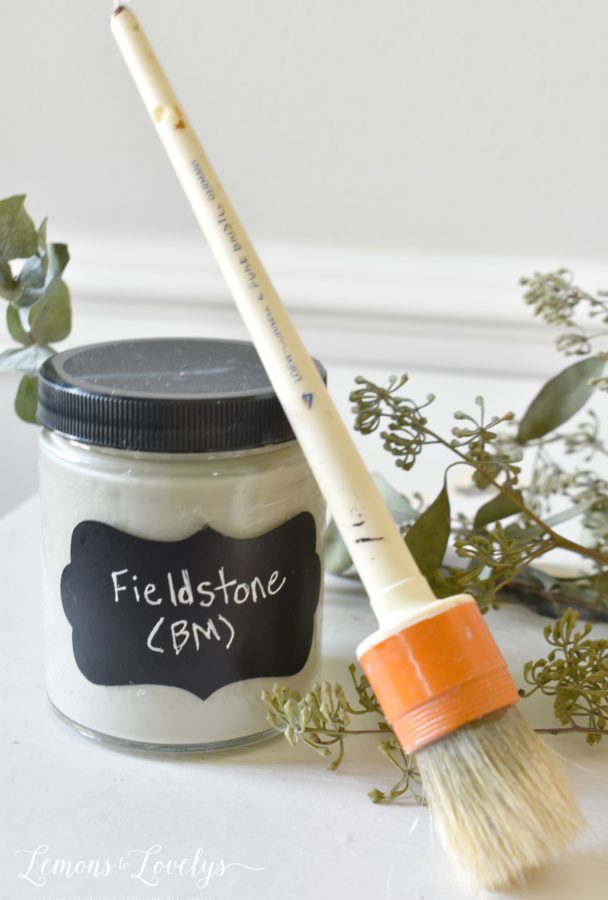
- After letting the primer dry completely, I mixed 1/2 tsp of Fieldstone with 3 tablespoons of water in a small ramaken bowl and applied 1 coat over the primer using this round paint brush with natural 2″ bristles. I linked a similar one here if you’d like to purchase. When applying my first coat of the paint/wash mixture, I started at the top of the pumpkin and let the paint drip down in the cracks. (your paint should be a very watery consistency)
- Then, after I let that coat dry, I applied my second coat. After applying 2 coats, I let the paint dry for over an hour before moving them to their final resting place and tada…..
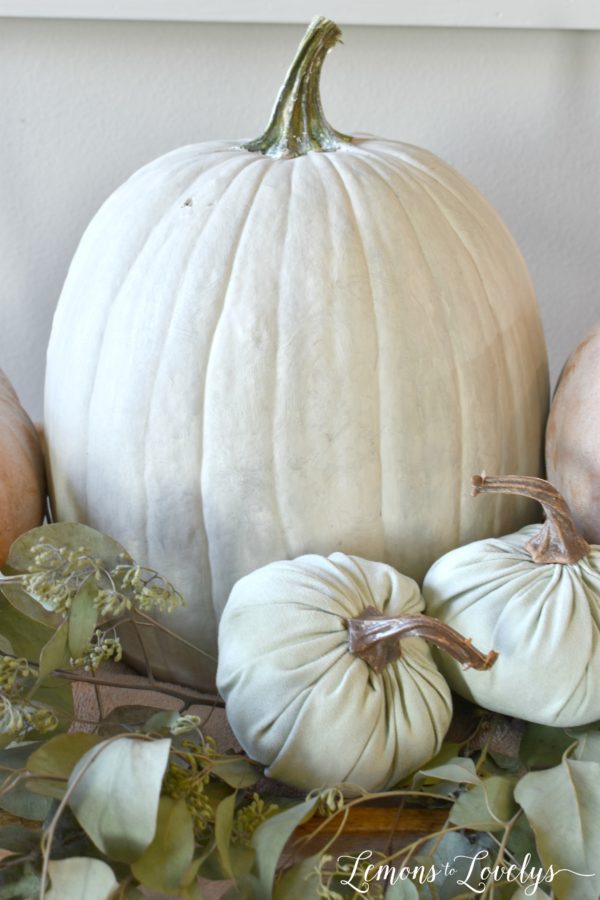
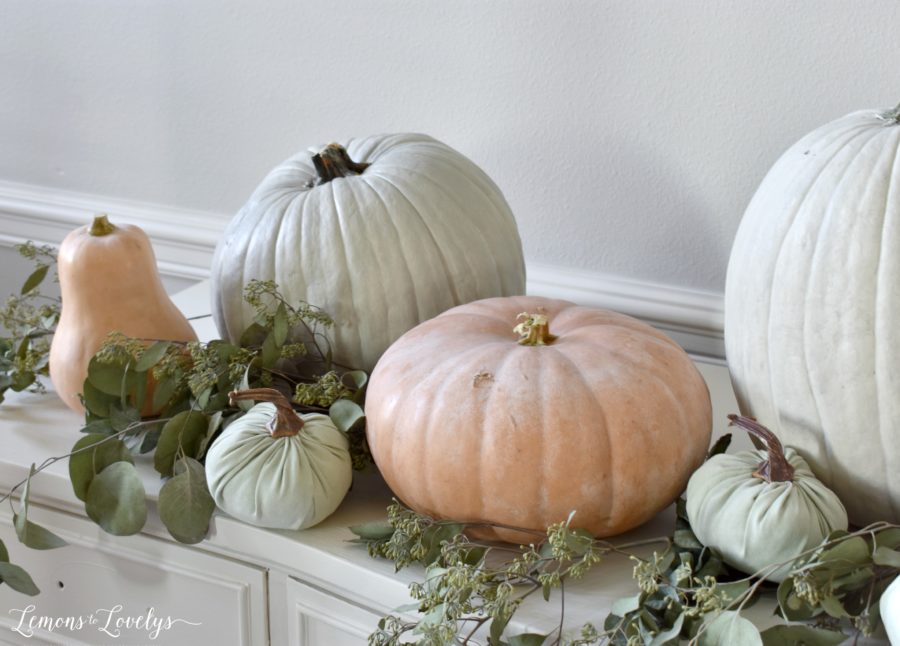
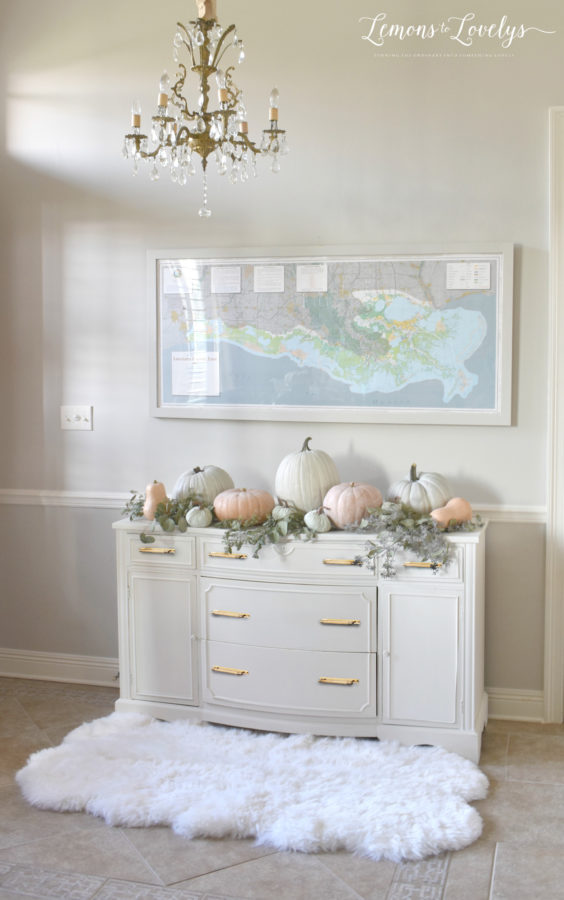
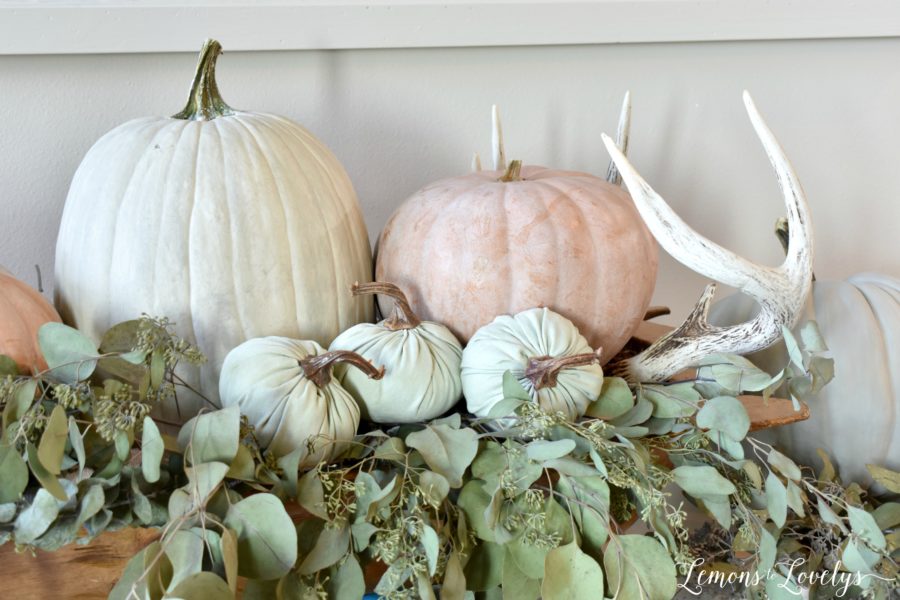

Well, that’s all for today! I hope you enjoyed my Cinderella Pumpkin painting tutorial. If you try it out, send me a picture or tag me in your photo on Instagram!
Happy Fall Y’all!
They are so beautiful!! This will be so great to do when only orange pumpkins can be found! Thanks for the tips and tricks!! Yours look so great how you styled them!
Thank you so much Kristin! Do they have Cinderella Pumpkins in the Northwoods?
These pumpkins turned out great. Who knew that’s what cinderella pumpkins look like, learn something new everyday!
Thank you so much!
Hey, thanks a lot! Do types of paint matter?
Chalk paint should be your first layer of paint that goes directly on the pumpkin. After that, no it doesn’t matter what kind.