Bathroom Wallpaper-ORC Week 5
This post may contain affiliate links. Please read my Privacy Policy.
Bathroom wallpaper makes a small room stand out! The right wallpaper can make a bathroom feel bright and airy. Read on to see some gorgeous bathroom wallpaper!
Welcome back for Week 5 of the One Room Challenge where the bathroom wallpaper gets installed!
If you missed any of my previous posts you can read them by clicking here….
Week 1 | Week 2 | Week 3 | Week 4
Looking back on the last 5 weeks, it’s starting to all feel like a blur! I’m pretty sure this is normal for remodels so I’m just going to plow through.
I am almost to the finish line!
Bathroom Wallpaper
This past week was all about putting the bathroom back together. Lots of cleaning up, installing the light fixture, painting the cabinet doors, and watching the amazing wallpaper from Decorators Best go up!!
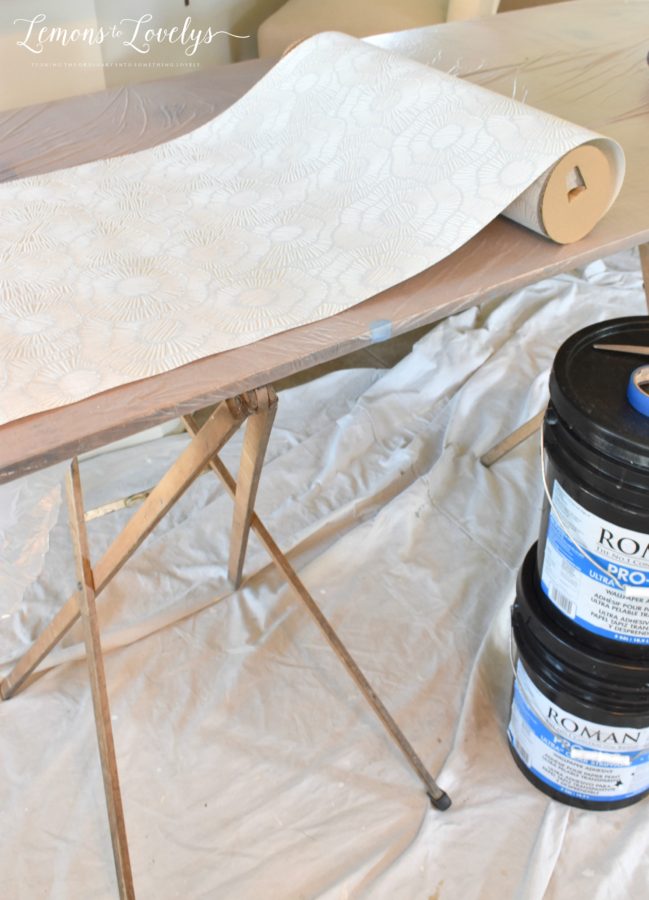
The highlight of the week was definitely watching this BEAUTIFUL wallpaper being installed! This is the one part of the whole project that I hired someone to do. The sheer thought of trying to hang wallpaper myself, makes me want to cry! So, I left it up to the professionals! Watching my wallpaper installer hang this gorgeous wallpaper was the most rewarding and therapeutic experience, I can’t even explain it…
He is SO talented and has every single step down to a science! If you live on the Northshore and are looking for a wallpaper installer, leave me a message in the comments and I will give you his name and number!
The Bathroom Wallpaper I Chose
SO, let’s talk about this wallpaper for a minute. I plan to do a more in depth post about this specific wall covering later but for now, here are my thoughts…
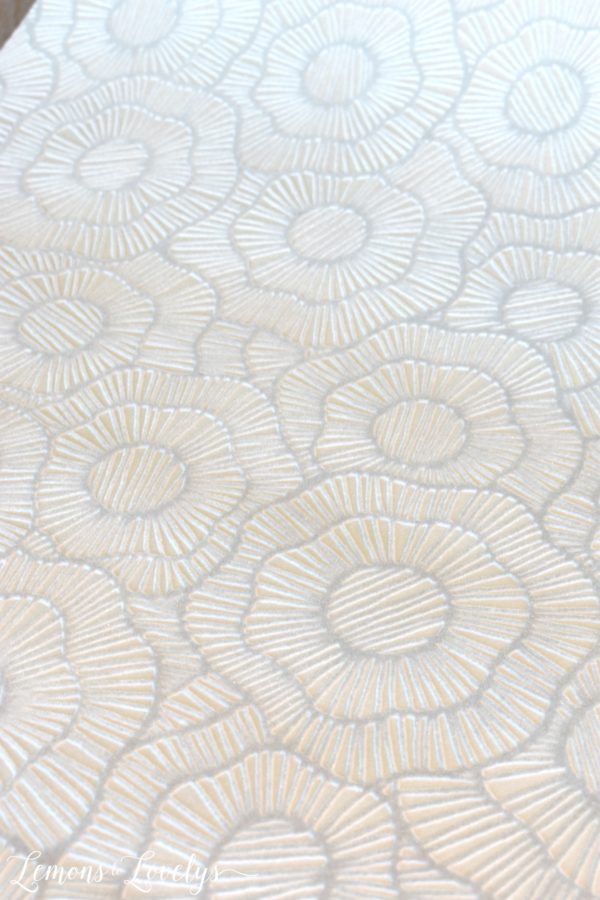
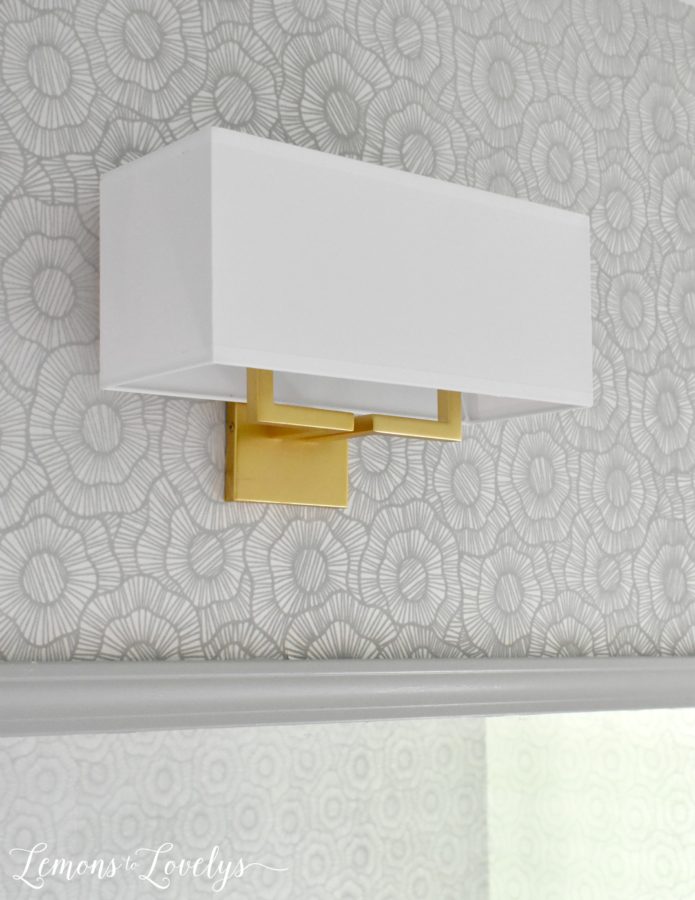
This particular wall covering is called “Wild Poppies” by York Wallcoverings. To purchase it click here. It comes in 4 different colors and is has a flocked velvety material on it. When you look at it, there is a three dimensional effect to it that makes it look unique! The background has a light grey/silver metallic look to it. It truly is the most beautiful wallpaper I have ever been up close and personal with, and I am not just saying that because it is mine. It really has the most one of a kind look about it that makes you want to spend hours staring! Don’t worry, I will share more pictures of this fabulous wallpaper next week during the reveal.
The Light Fixture
Also last week, I shared with you that my husband installed our new light fixture from Lamps Plus…
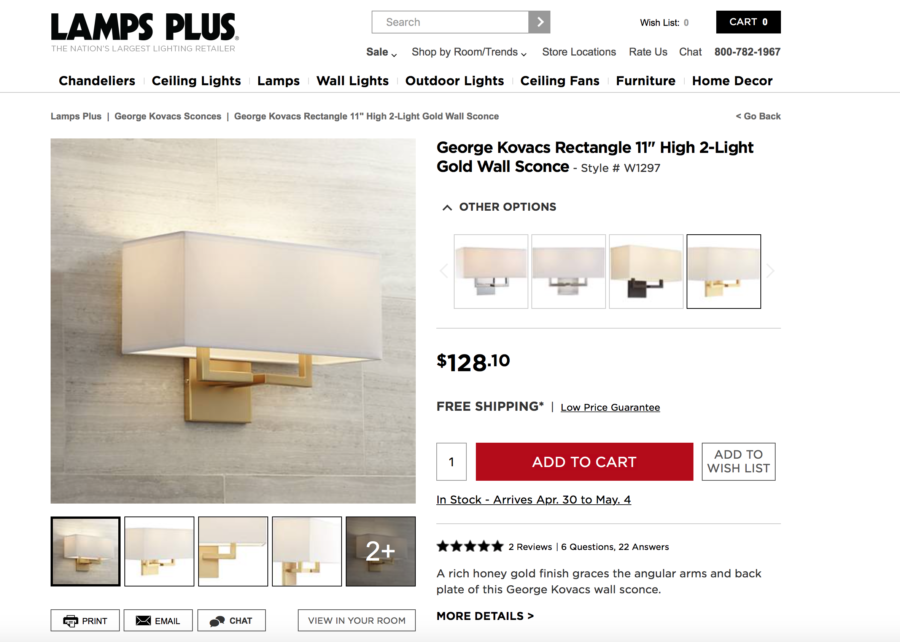
Well, here it is against the pretty wallpaper and a little sneak peek of what the bathroom looks like….
 Sources:
AHHHH!!!!!!!!! I’m so in love with it!!! The two pair so well together it makes me smile every time I walk into this room! I really feel like I’m walking into a fancy hotel or spa bathroom!
Painting the Cabinet Doors
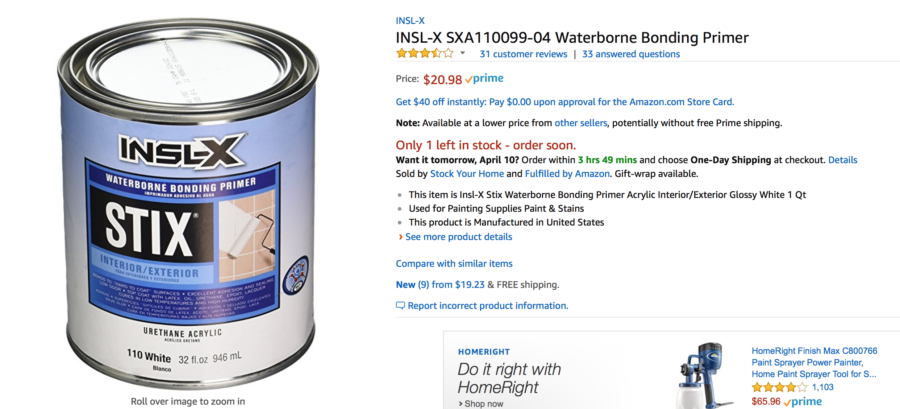
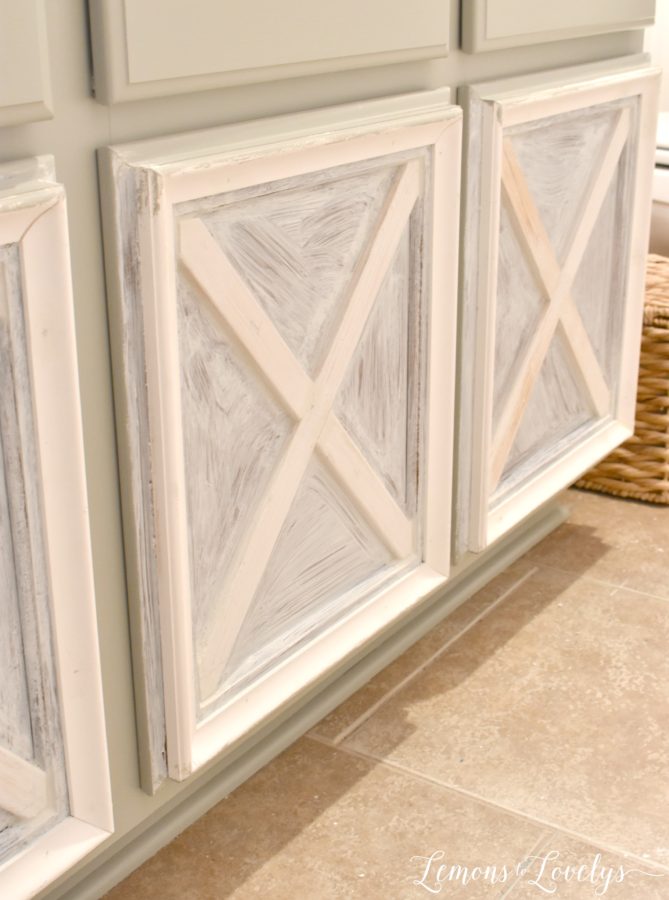
Next, it was time to paint the cabinet doors and put them back on the vanity. I primed the doors (backside first, then the front letting them dry/cure for 24 hours in between) using the same primer from before, Stix …
After the primer dried, I caulked and spackled all of the edges and holes with the same caulk and spackle that I used on the wainscoting and chair railing. If you missed that post you can go back and read it by clicking here……
After all of that dried, I sanded down the “leftovers” until every spot was flush with the rest of the cabinet and all the crevices and holes were filled in. Then, I painted one coat of the Advance Paint in Sabre Gray by Benjamin Moore on the back side and let that dry for 24 hours. After that cured, I hung the doors back on the cabinets very carefully so as not to scratch any of the surface. Then, I applied 1 coat of paint to the front of each door, one at a time…
I chose to paint the front of the doors while they were hanging vertical instead of laying flat in the garage because I feel like I paint better when they are hanging versus laying flat. However, when painting something hanging vertical, you do have to be more careful of drips and brush strokes!
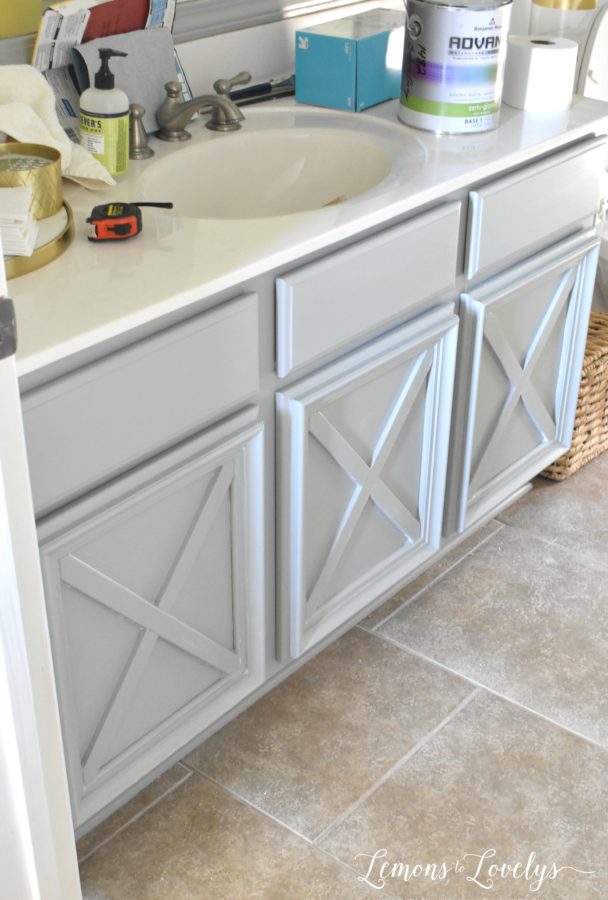
After letting the first coat cure for 24 hours, I went back and sanded down any trouble areas that I saw needed more attention. Then, I wiped those areas down with a dry towel and painted the second coat. I’m going to let these cabinet doors cure for another 24 hours then it will be time to add the hardware! I can’t wait to show you what hardware I picked!
Up Next…
Well that’s all for today. I CANNOT WAIT until the reveal!!!! In the mean time, if you are considering adding an accent wall to your home or thinking of installing wallpaper to a room, check out the best priced wallpaper on this planet!!!! I bet you can’t find a better price anywhere else. So many designer names and styles to choose from!
DecoratorsBest Discounted Designer Wallpaper
Thank you for stopping by for Week 4 of my One Room Challenge.
Make sure you are signed up to receive automatic emails to your inbox by clicking here!
See you back here next week for the final reveal!!!
Coming together so beautifully Marci!!! Love the lights with your wallpaper!
Sigh – that wallpaper is just dreamy! I was thinking of eventually putting grass cloth in my foyer, but this might have to happen instead
That wallpaper and sconce combo is so good!! Can’t wait to see your finished room!
Your wallpaper is gorgeous. You were smart to hire a professional for that job. Love the cabinet doors too. Almost there!
Wow, your wallpaper looks great. Love the light too. And, great job on the painting. It’s all coming together and looking so great!
I love love love that wallpaper! Can’t wait to see it all come together next week!
Thank you Kate!! I have a slight obsession with this wallpaper.
You made great progress this week. I love the wallpaper and the vanity looks so pretty!
That wallpaper is gorgeous Marci! Love the light fixture too! This is going to be such a beautiful bathroom!
Oh wow! This is one reveal I’m really looking forward too- that wallpaper is stunning (and I love me some wallpaper !)
Thank you Diane! I cannot speak highly enough about this wallpaper. It is seriously the most gorgeous wall covering I’ve ever seen up close and personal.