How To Prep Cabinets for Paint- ORC Week 2
This post may contain affiliate links. Please read my Privacy Policy.
Painting bathroom cabinets can be tricky! Read on to see my tips for how to prep cabinets for paint to make them look professional and last forever!
Welcome back for Week 2 of the One Room Challenge where I’m going to share with you how I prep cabinets for paint.
Click here if you missed Week 1.
Progress in Week 1
So, this past week I did all the prep work to get the cabinets ready for paint. My plan is to get all of the painting done before installing the wallpaper.
First, in order to prep the cabinets for paint, I took all of the cabinet doors and working drawer faceplates off the vanity…
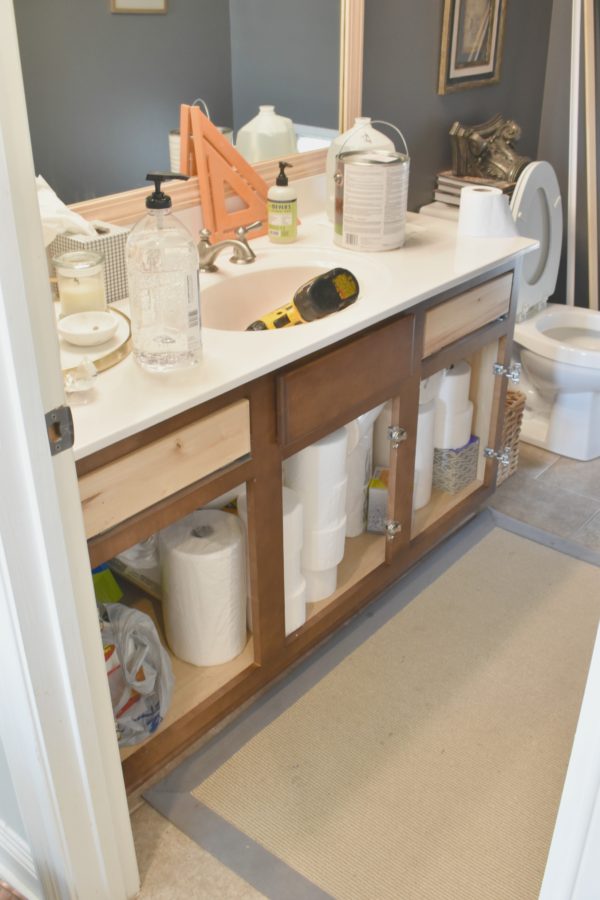
Then, I cleaned off the entire surface of the vanity with TSP. Without this step, the primer would not stick.
To purchase this cleaner click here.
*Sidenote- wear gloves while working with TSP. Also, read the warning labels carefully.
After removing all of the dust and oils from the cabinets with TSP, I lightly scuff sanded the cabinets and base with a 120 grit sanding block. When using primer, it is not necessary to sand your cabinets all the way down to the bare wood. Scuff sanding simply takes the sheen off the cabinets so that the primer will have something to grab to.
To purchase this sanding block click here.
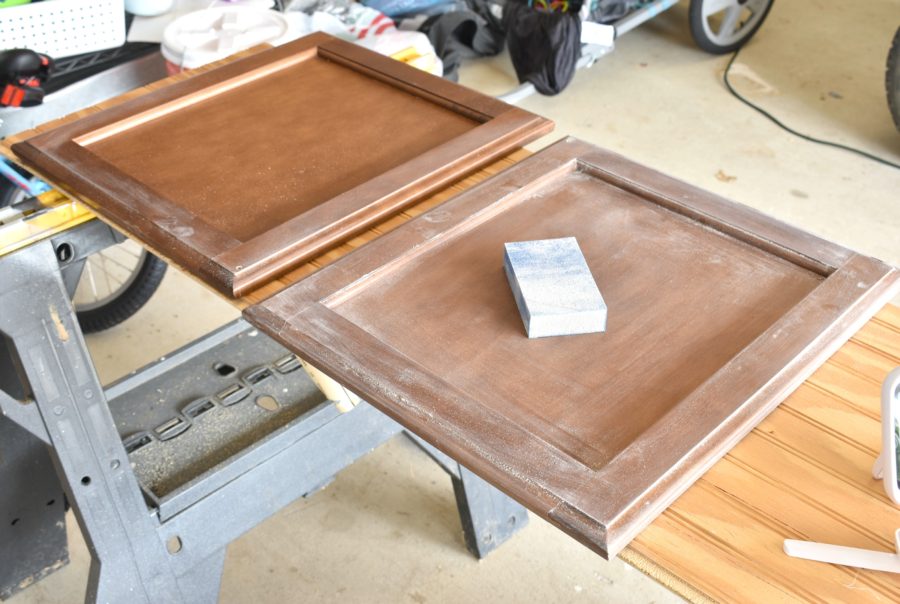
After scuff sanding the base of the cabinets and the front and backs of each cabinet door & drawer, I taped off all the necessary areas of the floor with painters tape. I didn’t feel the need to tape off the walls or mirror because I will be painting the walls a different color so any primer or paint I accidentally paint on the walls from doing the cabinets will just get painted over eventually. Also, I never tape off mirrors because it’s much easier to just scrape off the paint with a razor blade at the very end!
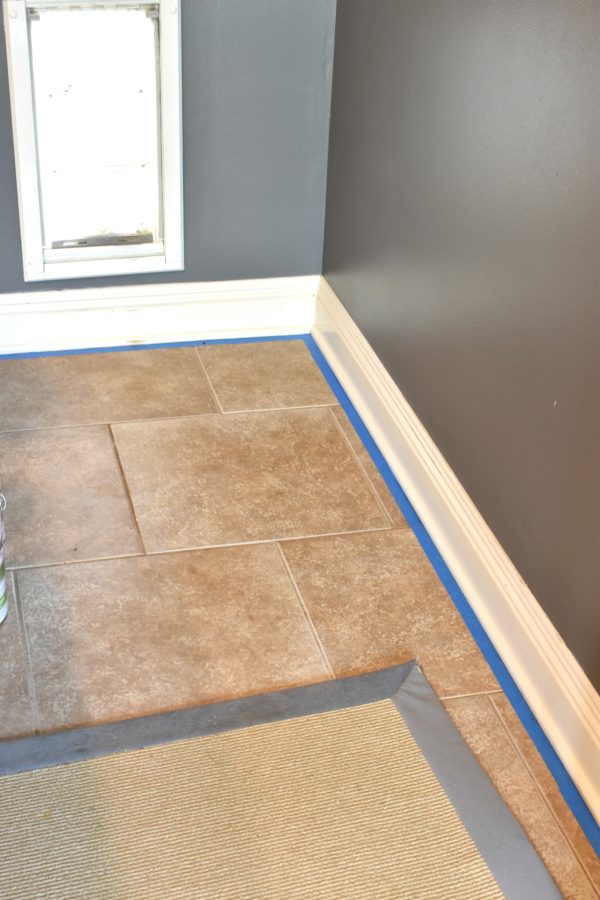
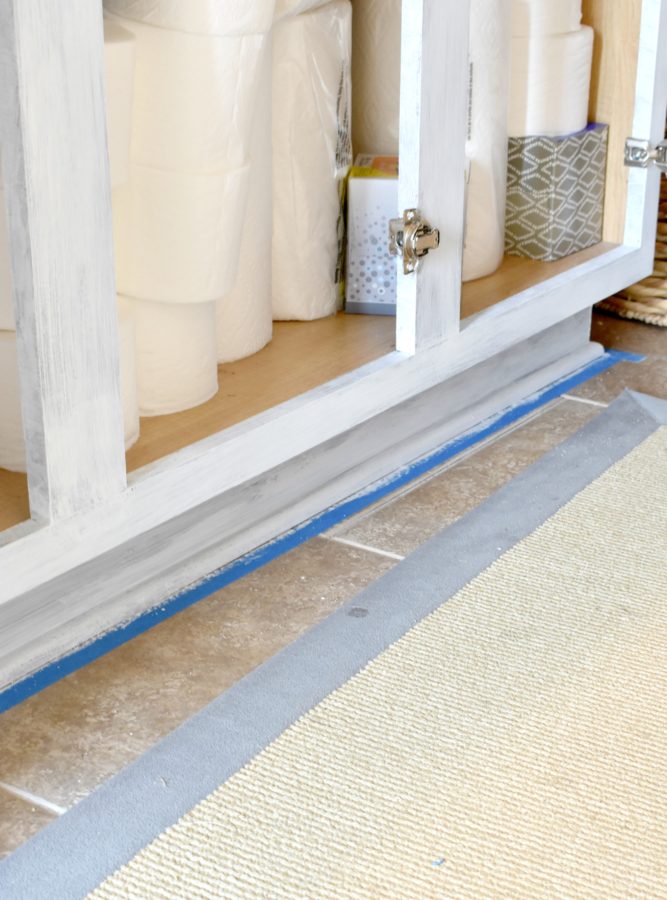
After taping off all of my necessary areas, I primed the vanity base and drawers with Stix Primer….
To purchase this primer click here .T
Tips For Priming Before Painting Cabinet Doors…
- Use a brand new clean, good quality brush. Make sure there is no debris or “junk” in your brush or it will show in the primer and transfer to whatever you are painting
- Do not use near as much primer as you do paint. Priming should take you less than half the time as painting and be a light, thin coat on whatever it is you are painting, including furniture and walls.
- Have a wet rag near by to clean up spills and drips quickly.
- Use a low odor primer for small, non ventilated areas. (See below)
Why I Love Using Stix Primer to Prep Cabinets for Paint
The thing I love most about using Stix is that is has zero odor! I’m sure if you stuck your head inside the paint can you could conjure up some kind of smell but seriously while I was priming our bathroom over the weekend, I didn’t smell a single thing! A low odor primer is pertinent when painting small rooms with very little ventilation, like our powder bath!
I saved the cabinet doors for priming at the end of this week because I’m waiting to add the new trim to them first.
So in summary….
How To Prep Cabinets for Paint
- remove all cabinet doors and hinges
- clean all cabinet surface areas including base and doors with TSP removing any oils and dust
- scuff sand every square inch that will be painted with a sanding block
- wipe off excess sand from sanding block
- tape off all areas with painters tape
- prime all areas that will be painted with Stix
Priming The Walls and Mirror Frame
After finishing all the prep for the cabinets, I moved on to the walls and mirror. To prime both, I used this primer….
To purchase this Aqua-Lock Primer click here
Stix would have been overkill for priming the walls and a raw wood mirror frame. Aqua-Lock did have a slight odor but nothing our small bathroom vent couldn’t take care of. Even so, I didn’t feel the need to open any doors or windows and it dissipated quickly. I rolled the primer on the walls with a new roller brush. I always recommend using a new roller brush. Rollers are inexpensive and a pain to clean so I like to use a new one for each room/project. Primer was necessary for painting our powder bath walls because I plan to go from dark (Kendall Charcoal by BM) to light (Simply White by BM)….
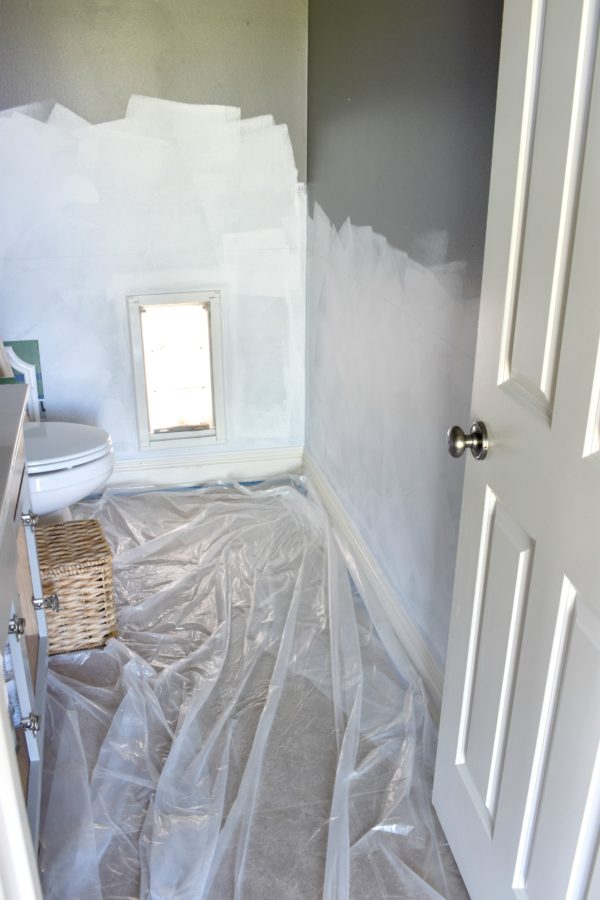
I chose to only prime the lower half of the walls because wallpaper will go on the upper half.
After priming the walls, I moved on to the mirror.
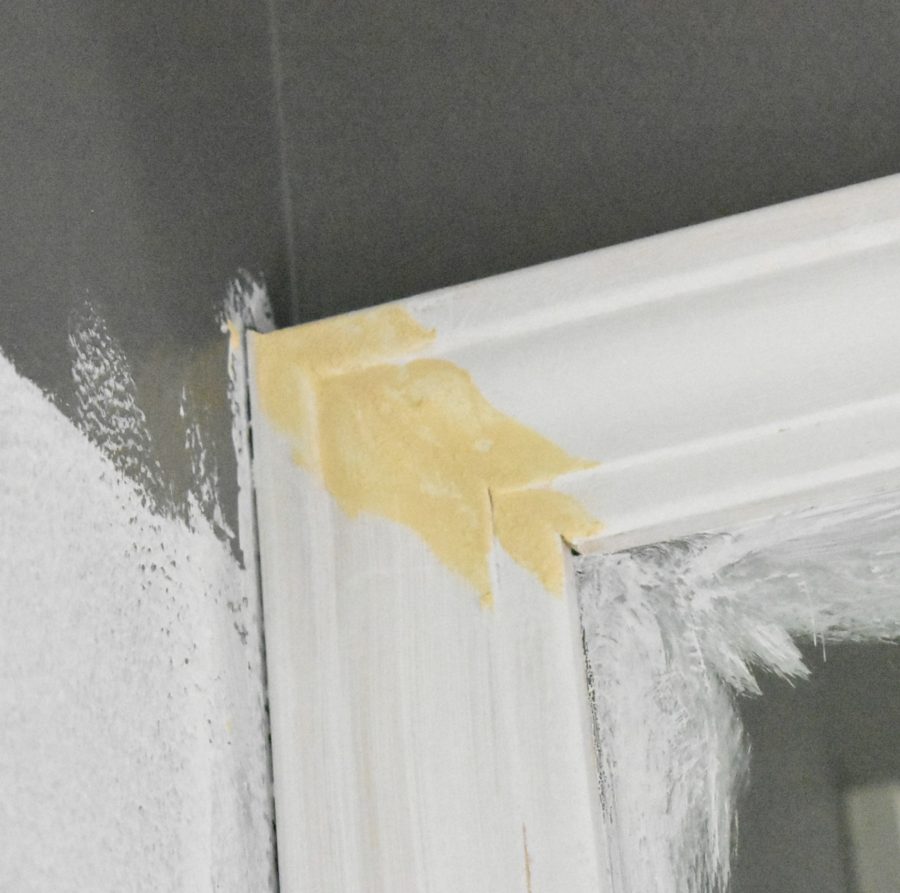
Before priming the mirror frame, I put wood filler in the joints to make the corners look more continuous.
And this is a picture of the wood filler in the joint, waiting to dry….
The wood filler I used is considered an “add-on” item on Amazon so here is a similar one that can be purchased via Amazon Prime…
After the wood filler dried, I sanded it down with my same 120 grit sanding block and got busy priming the mirror. *Sidenote- before priming, make sure to wipe away all sanding dust and excess wood filler so as not to clog up your brush while painting.
To prime the mirror I used the same primer as on the walls. (Aqua-Lock in white)…
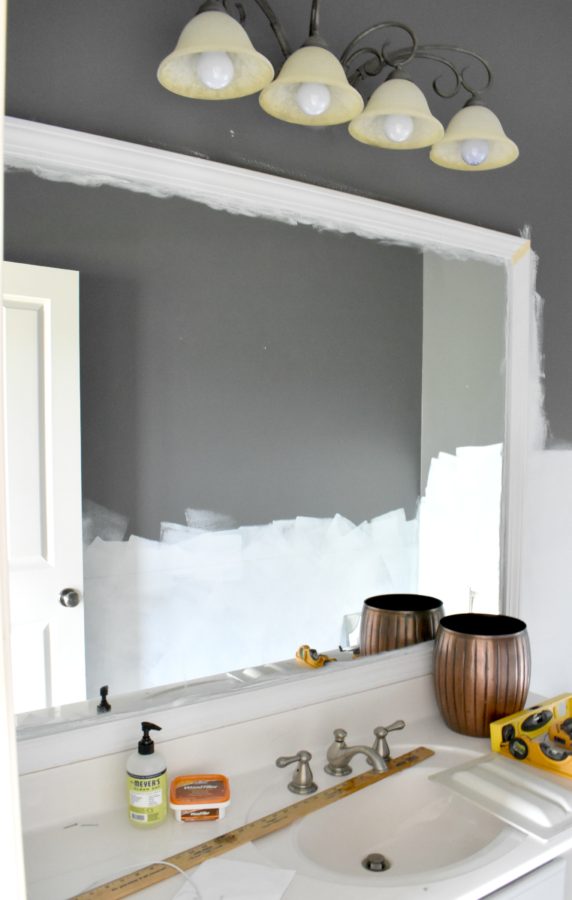
Look how much brighter the room looks already just from priming half the walls and the mirror!?!?! OMG I cannot wait for reveal day!
My Plan for the Upcoming Week
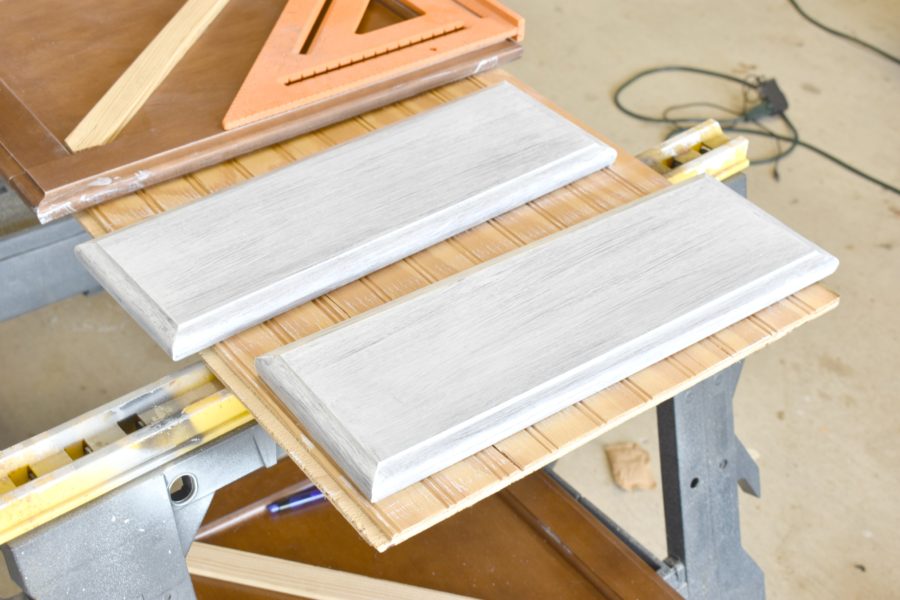
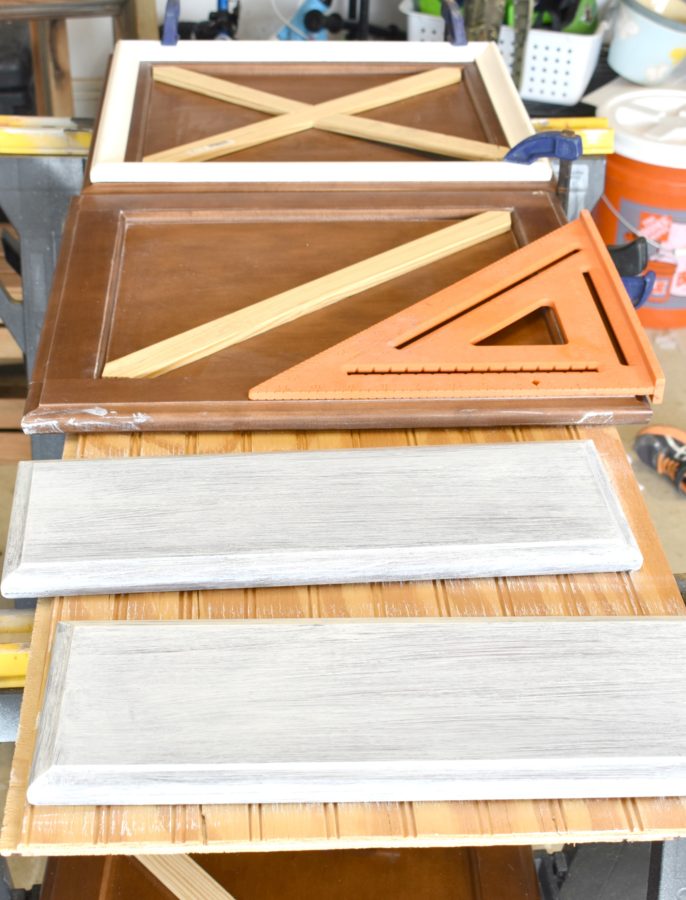
Speaking of, I better get busy! This week I will be focusing on the cabinet doors and painting. I plan to paint the base of the cabinet, the doors, and drawers with a REALLY pretty paint color that I think you are all going to LOVE. Before painting the cabinet doors though, I have to get the new custom trim put on first. My husband already started working on them for me so I’ll leave you with a little sneak peak of it before I go….
Thanks for stopping by for my Week 2 check-in of the One Room Challenge. Make sure you are signed up to receive my updates automatically in your inbox.


You’ve done a lot of work this past week! Great tips by the way. Yes, everything looks so much brighter with the paint. Good luck with this upcoming week’s progress!
Thank you so much! Yes, this week was the most productive. Thank you for following along!
Hi Marci! This is the first time I’ve visited your blog and I’m so glad i found you! Thank goodness for the ORC Group.. 🙂 Love your plans for the powder room. Good luck with all the painting. Looking good today!! ~~ Susie from The Chelsea Project
Susie recently posted… https://thechelseaproject.com/how-to-cut-and-install-picture-frame-moulding/
Oh thank you so much Susie!!! I’m so glad you found me! Love this supportive community!
Marci, Wonderful tips for prepping and painting. I have a lot of the same to do for my ORC so I was really interested in your tips and process. I love painting, but prepping not so much. But we have to do it. Looking forward to your progress.
Thank you so much Carol! It feels like I’ve been prepping for 3 weeks now. Way more involved in prep than the actual paint but its SO important! Thank you for tuning in!
Oh it is all looking so good I can not wait to see what else you have in store for us. The priming is always the most time consuming part, now you are all set to get to the fun stuff!!!
Thank you so much Jen for the encouragement!
Going to be sooo beautiful!! That wallpaper is so fresh!
Quick Q — Will your wallpaper installer prime the walls? A caution — (and only because you mentioned that the walls won’t show through the paper) — make sure that your installer either primes the wall a similar color to the background of your paper or at least where the seams will be. Shrinkage (sometimes unpredictable) can cause tiny gaps in between. A friend of mine learned this the hard way….
Yikes! That would be awful! I will mention this to him and make sure. I do have extra primer for him to use just incase . Thank you!
Wowzers! You have been so busy Marci. Nice work on this bathroom
Thank you Jewel! Yes, I’m ready to knock this one out.
I love, love the X-detail on the doors Marci! I am adding cabinet doors to a built in and am considering doing an X moulding on them as well! Your bathroom is looking so nice and bright already and I can’t wait to see your wallpaper!
Thank you so much Lisa!!! The X trim just makes them look so much more custom. Just make sure you have your math right before you do it! It looks a lot easier than it is. Who would have thought?!?
Wow – you’ve gotten so much done this week, and just the light primer has made so much of a difference already!
Thank you Michelle! I needed to get my act together before the wallpaper guy comes on Monday. He said I needed every bit of paint done before he gets in there. Yikes! Thank you for tuning in!
How exciting to see the difference primer makes! Can’t wait to see how it all turns out!
It’s looking so much brighter! Question, have you found that scraping paint off of glass is the same as mirrors? I have a door with a pretty criss-cross design on it that I want to paint, but have held off because of how much tape it would take…
Thank you Andi! I have never actually scraped a piece of glass but I would assume its the same as a mirror. The only thing I’d be worried about is scratching. Im not sure if the razor would scratch glass or not. I would test it in a small area and see. Thanks for tuning in!
cool to see an update. Looks like you are making real progress.
Thank you Mary! Yes I’m really trying to plow through this and get it done.
This is always the step I skip over, lol! My vanity had already been painted once so the salesman at Sherwin Williams said I was good since it was the same type of paint and a dark color so my navy blue went right over it with just one coat thank goodness! I can’t wait to see it next week!!
Oh yes, you definitely don’t need to sand if your piece of furniture has already been painted. So much easier to not have to sand! Unfortunately with new cabinets its unavoidable. Can’t wait to get the painting done!
I’m excited to see how this all turns out!! So much progress already!
Thank you Jude! I am ready to be done with it!
I love the painting stage of a makeover. It’s when stuff starts looking pretty again. Those X’s in your doors are fab by the way!
You are so right Emy! Painting is when everything really starts to come together! Thank you for your support! Can’t wait to see how your project turns out!
It’s amazing how even the prime coat changes the look of a space so much!
I know right!?!? I was very encouraged just from the primer! Thanks for tuning in Jessica!