Kitchen Helper For Less Than $40-DIY Tutorial
This post may contain affiliate links. Please read my Privacy Policy.
A kitchen helper is a stool with a platform so your kids can safely stand at the kitchen counter and be a big helper without feeling like they are going to fall. Read on for the tutorial on how to build a kitchen helper for your toddler.
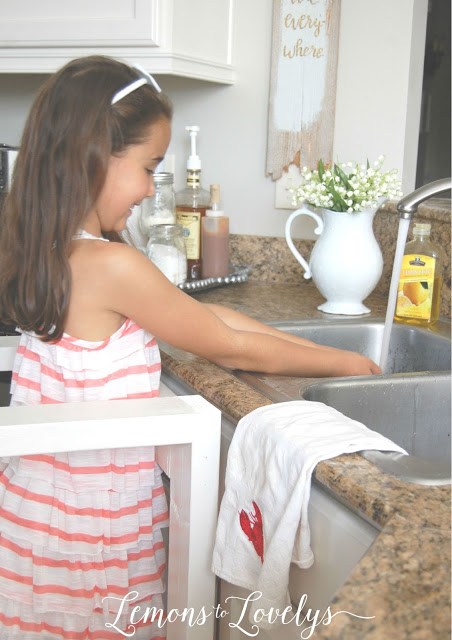
Our kitchen helper is probably the piece of furniture we use most in our our house on a daily basis. My kids are constantly pulling the helper up to the kitchen counter and climbing in all on their own! They love to help with whatever recipe we are working on and the helper makes this possible in the kitchen!
Where the idea came from to build a kitchen helper…
When our kids first started showing interest in helping out in the kitchen, our natural instinct was to pull up a stool to let them stand on. However, I never felt very safe doing this because of the risk of falling!
So, with the help of a handy friend, we remedied this problem and built a counter-height stool with a platform and rails. Also known as a “kitchen helper”!
What are the advantages of owning a kitchen helper?
- A kitchen helper allows for more autonomy and independence in children.
- They encourage and assist with good hand washing for kids.
- Having a kitchen helper available in your home, persuades children to become more proactive helpers.
- Allows for bonding time in the kitchen between parents and children.
Can I just buy a kitchen helper online?
Yes, you can! However, they are expensive! Kitchen helpers usually retail for around $125 to $200…
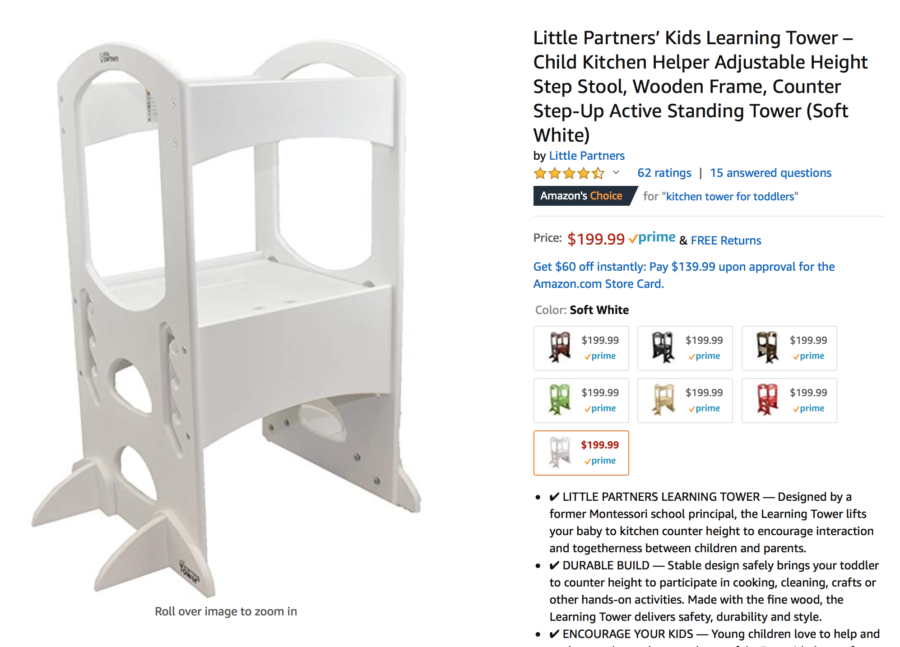
To purchase this helper from Amazon click here
Not only was this out of my price range, but none of the colors/styles really matched our kitchen. I definitely wanted something like this to assist with hand washing and allow our toddler to help make pancakes on Saturday mornings, but I didn’t want it to be an eye sore in our house. This is another reason why I decided to build one myself!
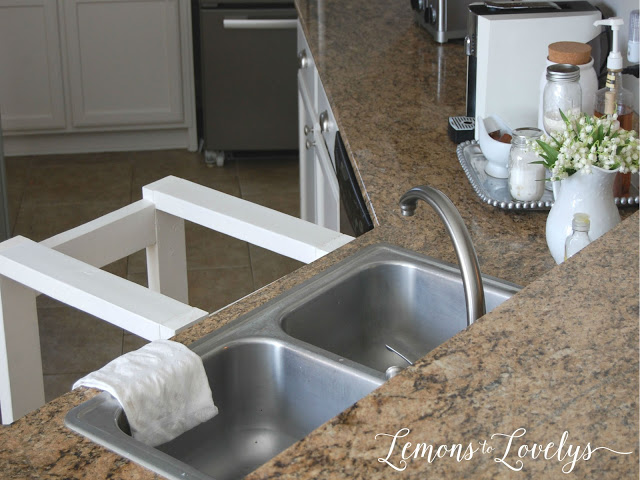
My handy friend and I built this kitchen helper for under $40 to fit the exact dimensions of my counter tops. Additionally, we also designed it with a specific corner in mind where the “helper” would be stored while not in use.
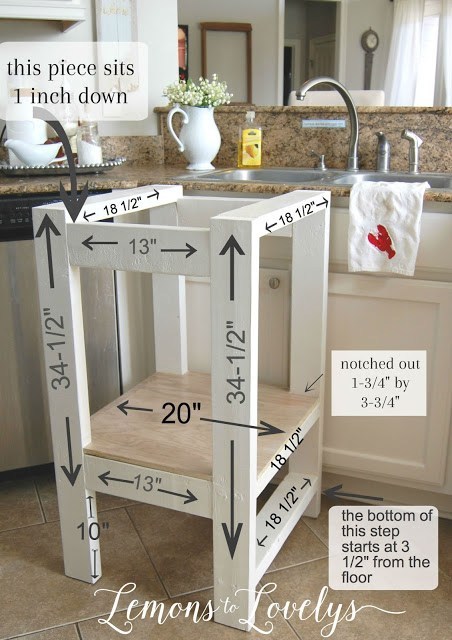
Instead of giving you a step by step tutorial, I’m providing you with a list of materials I used and a picture of the dimensions so that you can make it the exact size you need based on the measurements of your kitchen.
Dimensions:
Materials:
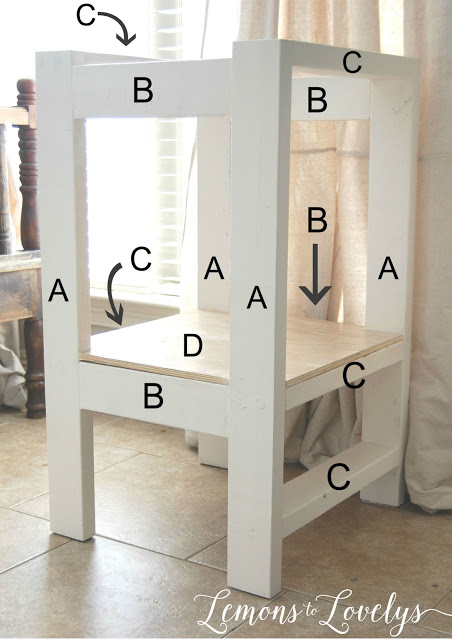
- 4-2×4’s (Parts A-C)
- 1 piece oak plywood (Part D)
- 16, 1-1/2″ wooden dowels
- 20-3″ wood screws
- caulk
- paint & brush
- wood filler
- jigsaw
- drill & 1/4″ drillbit
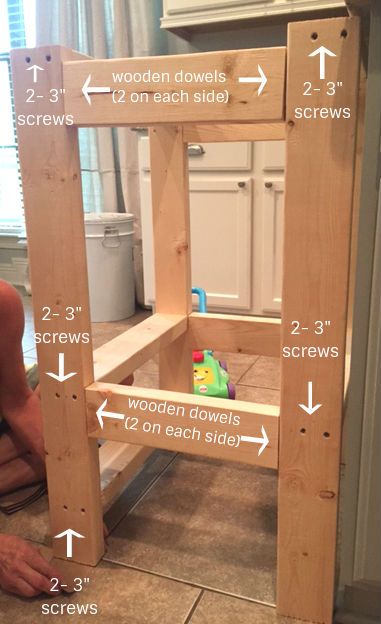
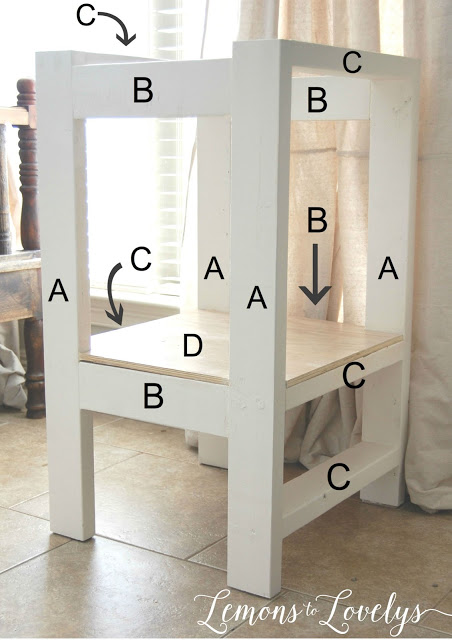
*sidenote-next time I would use L-brackets instead of wooden dowels!
Explanation of Materials:
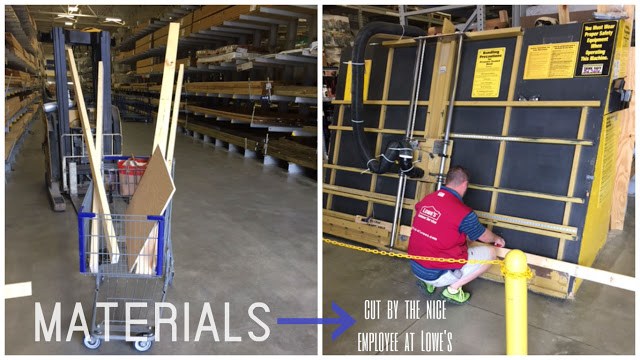
- Parts A-C were cut from 4 pieces of these 2×4’s
- All of our wood pieces were cut by the nice employee at Lowe’s…
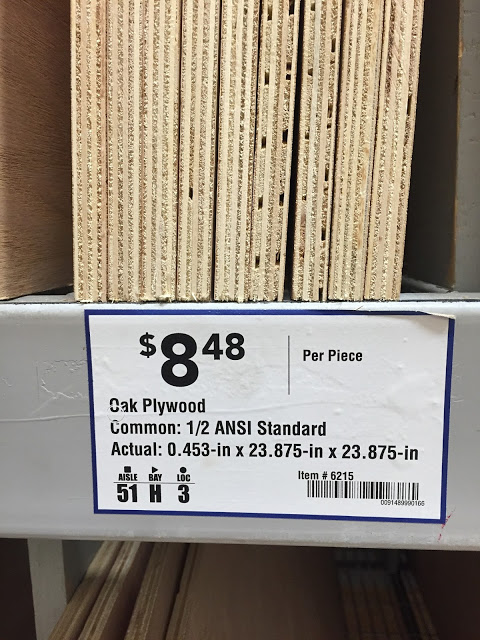
- Part D was made from this piece of oak plywood…
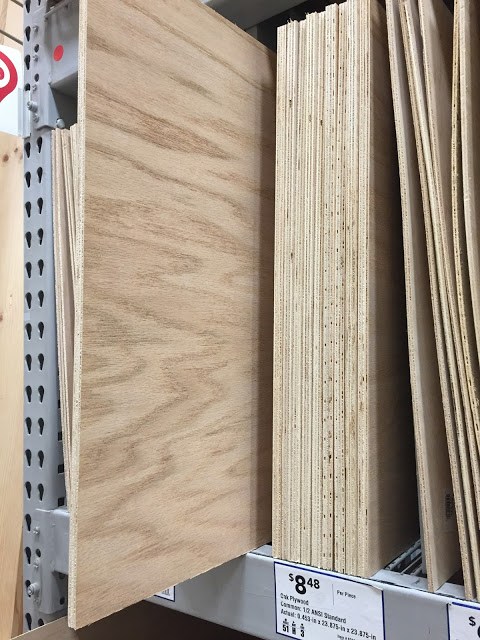
We notched out the corners of this board with a jigsaw. (see picture above for notching dimensions) I recommend doing this step last, just in case your angles are not perfect right angles and you need to make some measurement adjustments. We definitely had to make adjustments because we used dowels. Your margin of error for this step should diminish with the use of L-brackets as mentioned in the materials list.
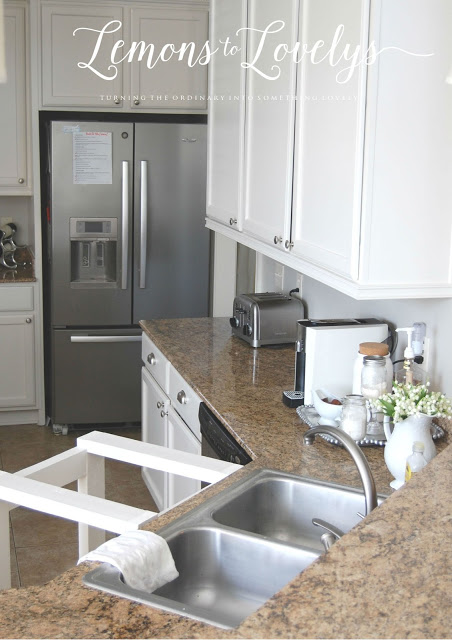
After all of the building was complete, I patched the screw holes with some wood filler and sanded them down. Then I caulked all of the cracks in order to give the helper a more clean, flush look.
Lastly, I painted the main frame of the helper with the exact same color as our kitchen cabinets (Dove Wing by Benjamin Moore) so that it blends in with the rest of the kitchen.
Lastly, I painted the main frame of the helper with the exact same color as our kitchen cabinets (Dove Wing by Benjamin Moore) so that it blends in with the rest of the kitchen.
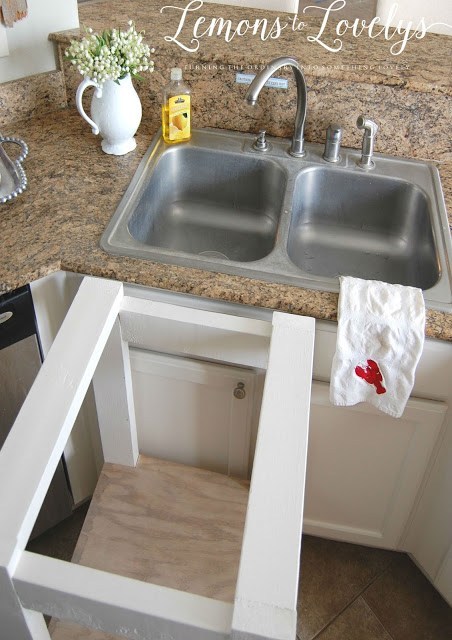
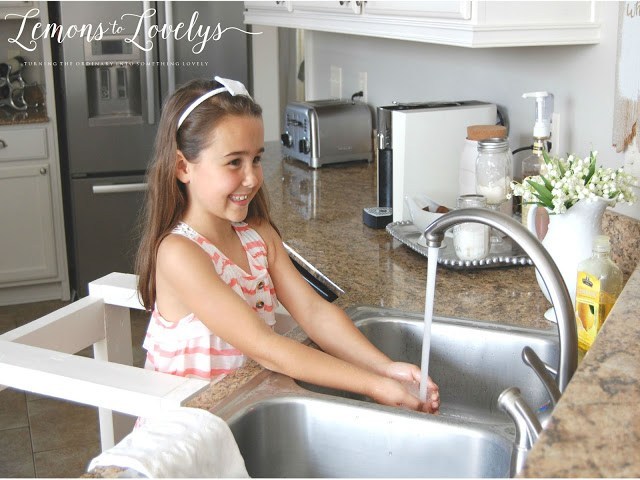
As you can see, the kitchen helper pulls up flush with the sink so our kids can push it right up to the edge and reach over at the perfect height to wash their little hands, all by themselves!
In regards to painting and sealing the oak platform, I wanted to save the beauty of the oak so I just did a light wash of Dove Wing paint diluted with water (1 part paint to 3 parts water).
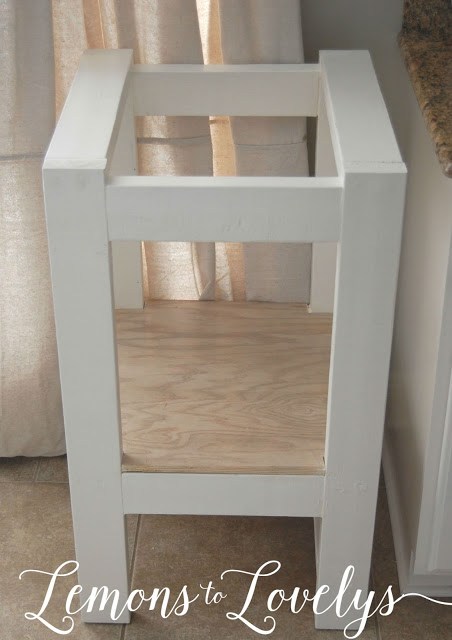

The oak board sits nicely inside the base. I simply laid it in the middle, on top fo the base (after my handy friend notched out the corners with a jig saw) and it didn’t need to be secured with screws or glue because of how tight fitting and flush the corners are with the base of the helper. You most certainly could and should secure this piece of plywood with glue or screws if you feel that this would make it safer.
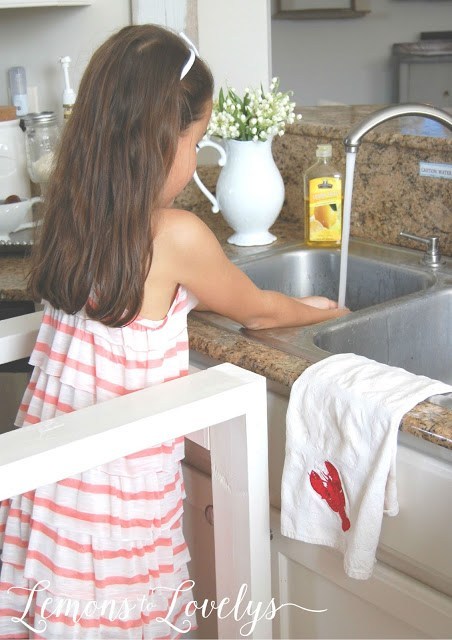
I think this is by far the most practical thing I’ve ever built! We use it every single day, multiple times a day. I love it because it’s light weight and our kids can push it around and use it all by themselves. It has come in handy for more things than I ever intended and I plan to keep it around our house for years to come!
I hope you enjoyed this practical DIY! Send me pictures if you make your own helper!
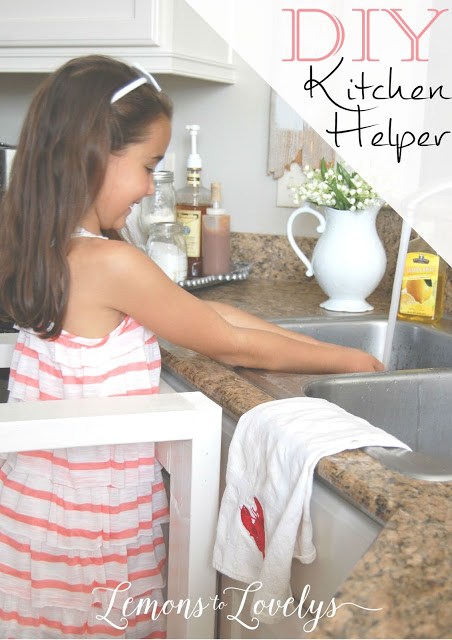
Don’t forget, you can always save the photo above for later by pinning it to your favorite board on Pinterest! Just hover over the picture and tap the “pin” button. Speaking of Pinterest, are we following each other? If not, click here!
I have to give a special thanks to my handy helper “Mrs. S” for seeing this project through! I couldn’t have done it without her!
