Craft Room DIY Storage Shelves- Part 1
This post may contain affiliate links. Please read my Privacy Policy.
Happy Thursday lovelys,
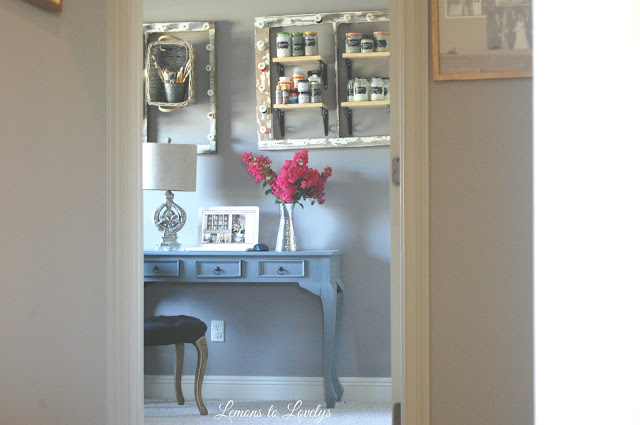
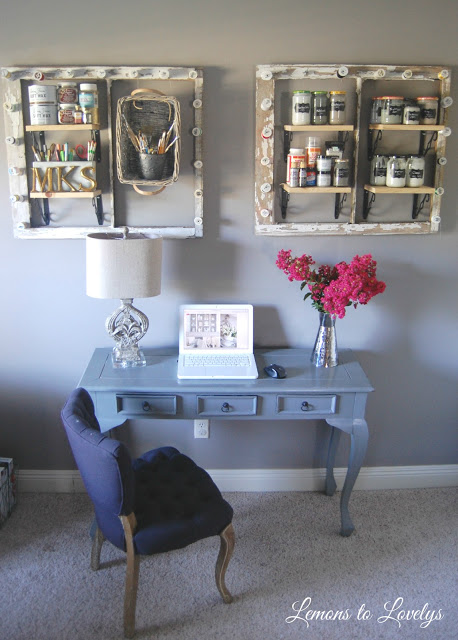
This week I’ve been focused on cleaning, donating, and organizing because our son has reached the toddler age where he’s no longer interested in “baby stuff”. So, I packed up the baby toys (tear), removed the puzzle piece flooring from his baby playroom, and took my “craft room”/office/second guest room back! He wasn’t spending any time in there anymore so I decided that instead of letting the space go to waste, I would revamp it and utilize it again! I have to say, I LOVE the way it came out and I LOVE having an office again. Here are some pics with sources…
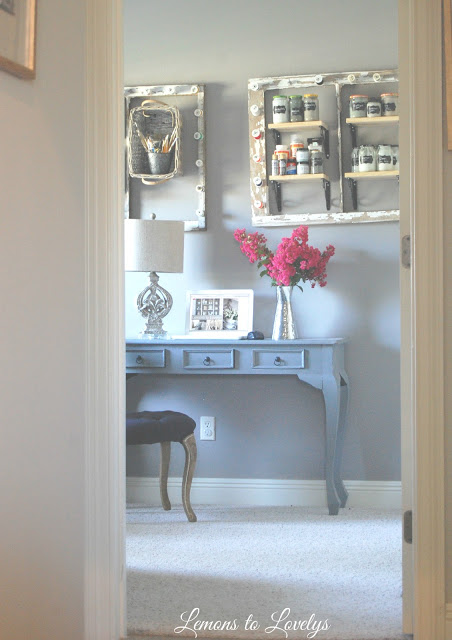 |
| This is the view from the hallway walking in. wall color-Fashion Gray (Behr) |
 |
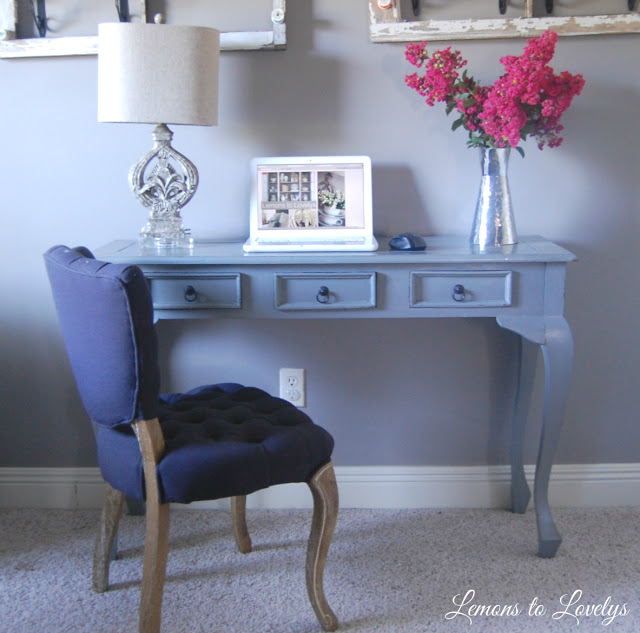 |
| This table actually use to be a console table in our kitchen nook. You can see those pics here. I found it at TJMAXX 2 years ago on clearance. It’s the perfect height for a desk and small computer table, which is all I need, so its now my new desk! chair-World Market |
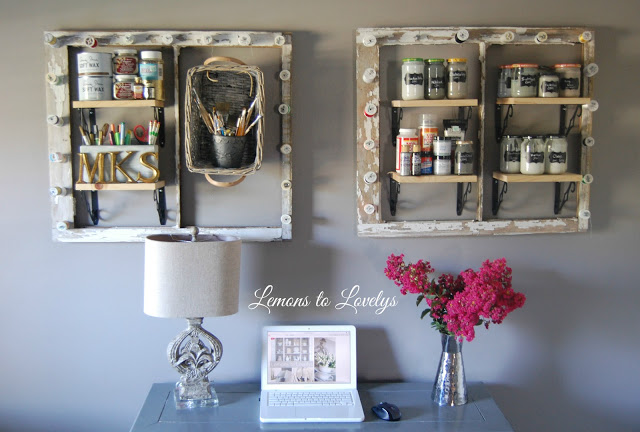
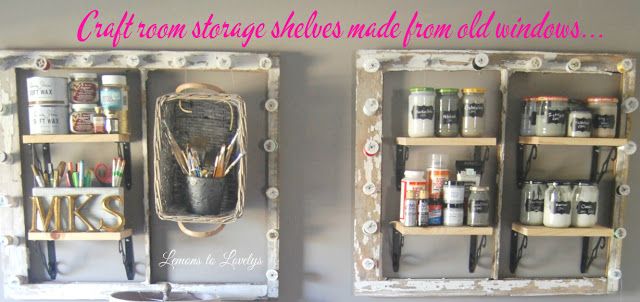
Making these shelves from old windows has to be one of my most favorite DIY projects I’ve ever done! I found these old windows at a local consignment store (Patina Interiors). I wanted them to be multi functional as well as decorative.
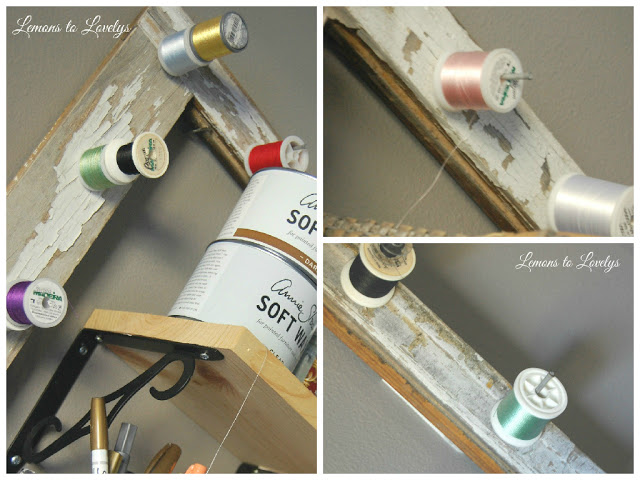
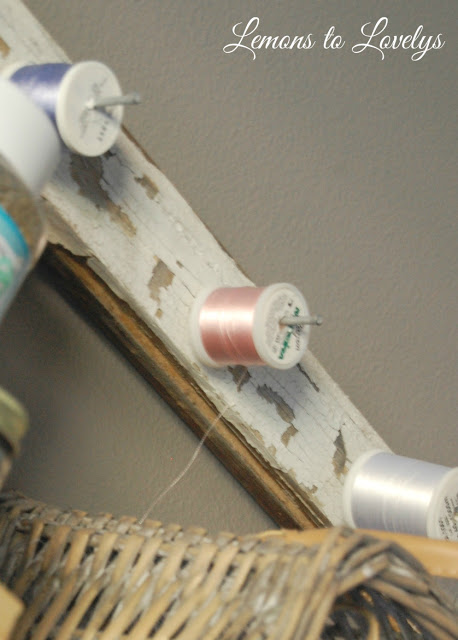
First, I nailed 4 inch nails all around the perimeter, evenly spread apart. These nails are to hold my thread spools for monogramming projects.
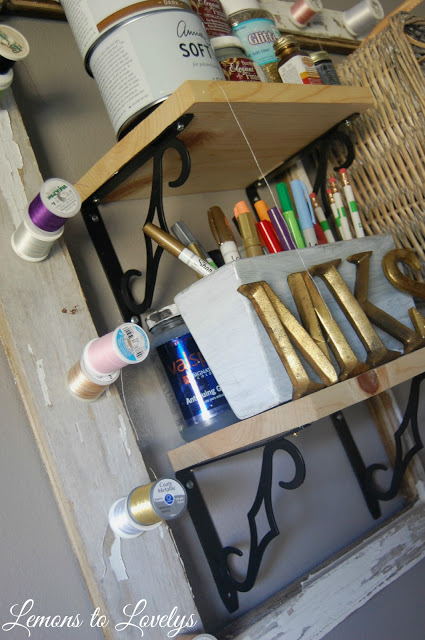
Then, I went to Home Depot and bought wood and to make shelves. I had Home Depot cut the wood for me while I was there into 6 pieces that are 10 inches wide by 7 1/4 inches deep. I attached them to the wall with these black shelf brackets. At the time, I really wanted something less decorative but these were the most simple brackets I could find. I’d love to replace them one day, but for now they work great. I decided to keep the boards in their raw form instead of paint or stain them because I thought they looked more “crafty”.
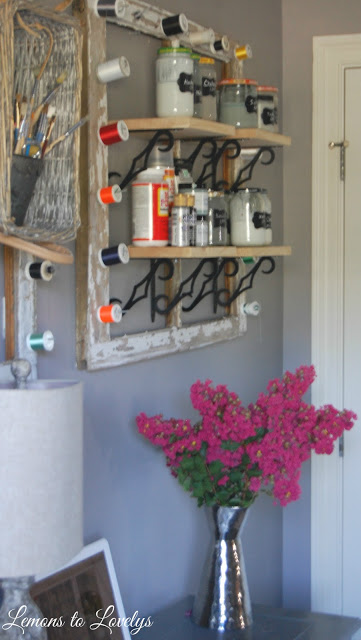 |
| The flowers are crepe myrtle blossoms from the trees in the park behind our house |
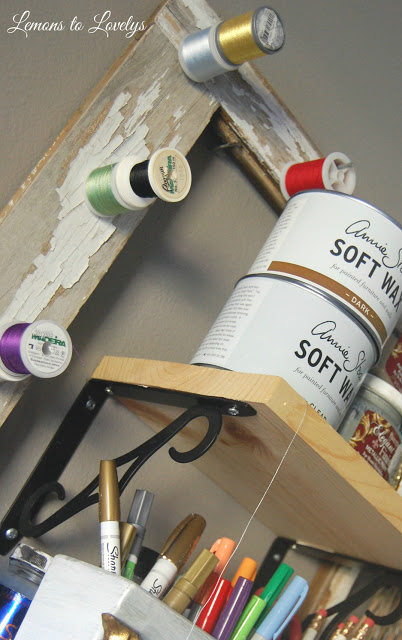 |
| excuse that thread hanging down. I didn’t see it until now, oops! |
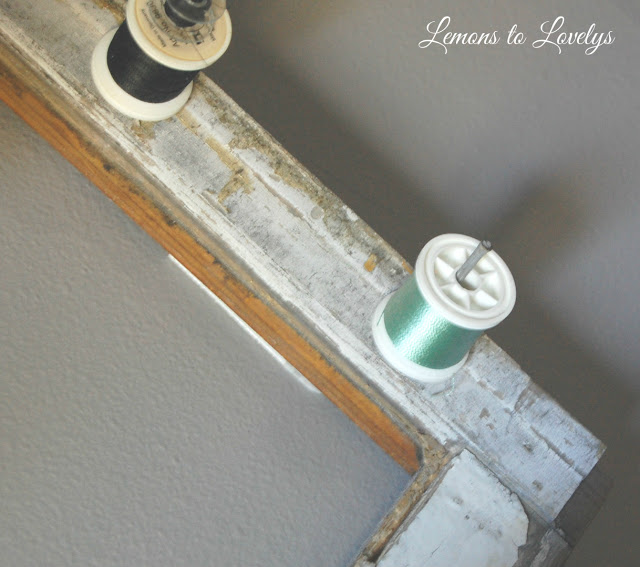 |
| close up of one of the nails that holds a spool of thread |
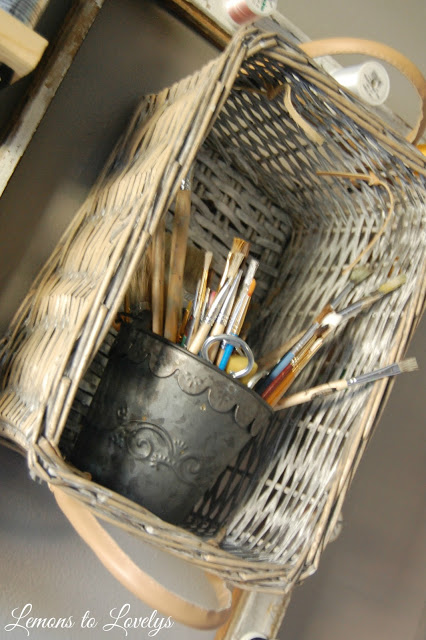
This one little window pane was too thin for a wooden shelf so I used this basket from TJMAXX as a shelf. All I had to do was turn it long ways and hang it from a nail. It’s perfect for holding my bucket of paint brushes.
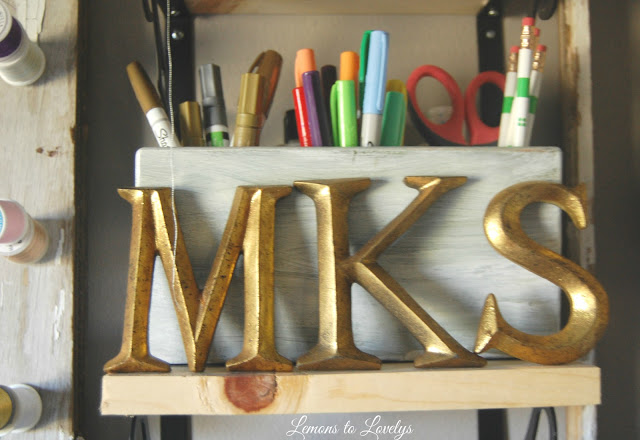 |
| This wooden marker holder use to hold 3 wax candles. I painted it with a wash of leftover white paint (probably Decorators White by Sherwin Williams if I had to guess) and put my monogram in front of it. The gold letters are from Hobby Lobby. |
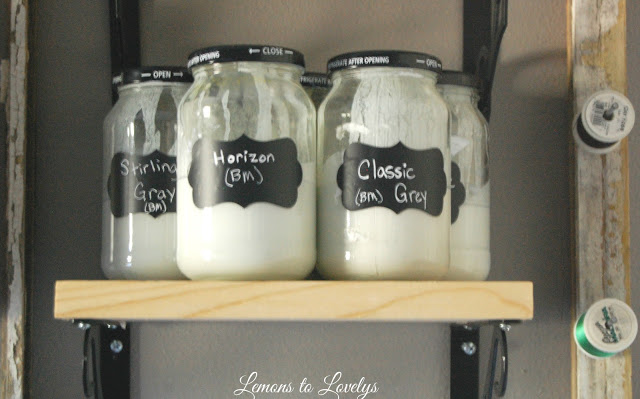 |
| I use leftover glass jars ( from pizza sauce, pickles, etc) to store the excess paint from each of my projects. I label each jar with a peel and stick chalkboard label from Hobby Lobby . Sometimes I’ll even write what I used the paint for so if I have to go back later and do touch ups, I can remember which color I used. |
And that’s it! I plan to be back later with some pictures of a cool shelf I found on clearance at Target.com for this new craft room space!
