Chandelier Makeover
This post may contain affiliate links. Please read my Privacy Policy.
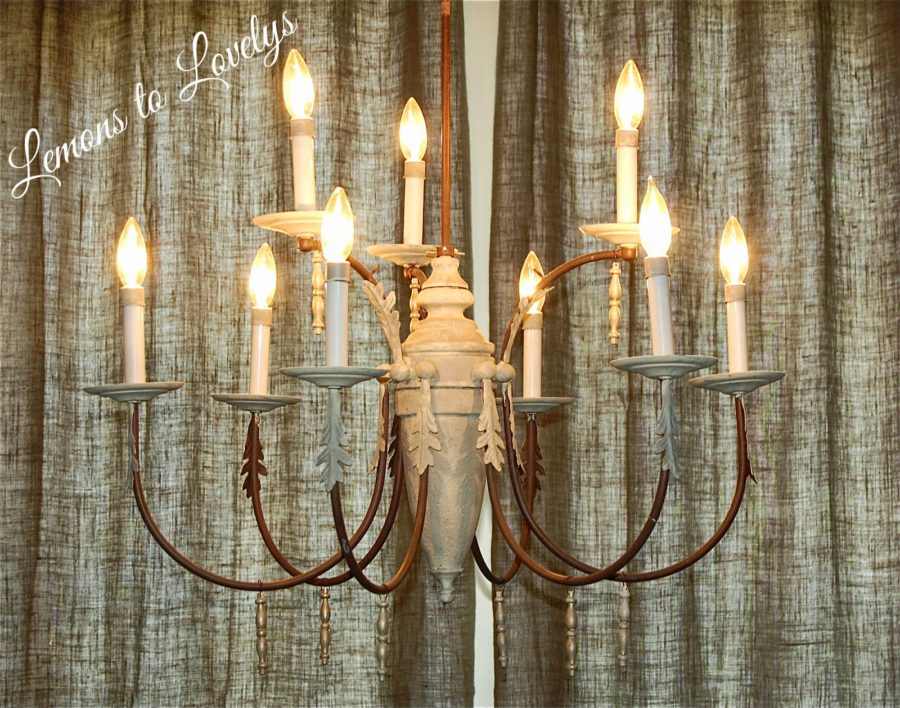
Just wanted to pop in with a quick post about a chandelier makeover project I did in our dining room. I forgot to take a “before” picture but just imagine the entire fixture dark brown with gold leaf accents and frosted gold glass shades under each light bulb…yuk! I wanted something a little lighter with wooden decorative pieces hanging from the bottom, but everything I looked at was WAY too pricey! So, I went to my favorite consignment store (Patina Interiors) and found the perfect chandelier to start with!
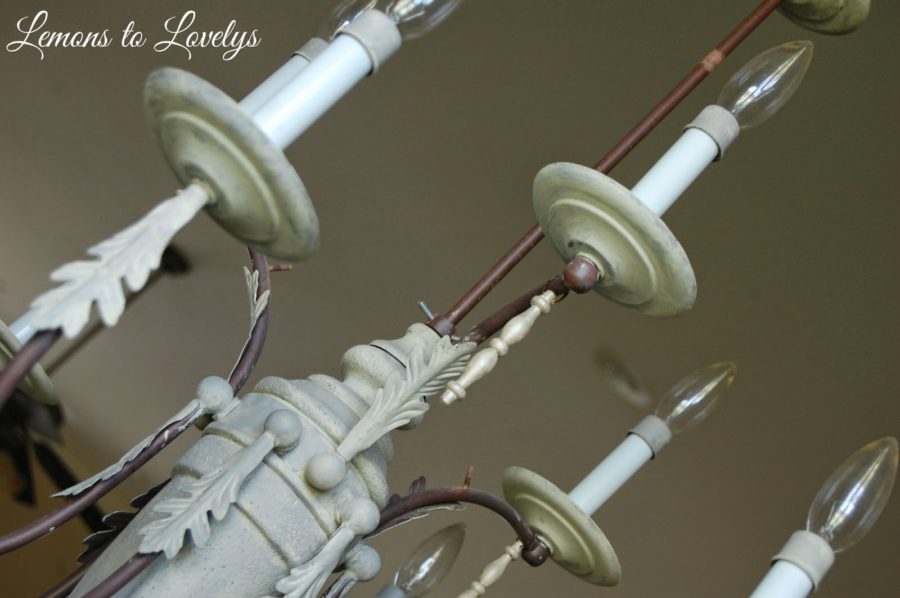
First, I painted over all of the gold pieces with Annie Sloan’s “Paris Gray” Chalk Paint. (side note: all of the decorative metal accents that look like leaves were once gold) Next, I painted the plates directly under each light with a very light layer of Annie Sloan’s “Country Gray” Chalk Paint. Then, I switched out all of the light bulbs for candelabra style lights and permanently removed the shades from each bulb. (As I mentioned above, the original fixture came with frosted gold glass shades under each light bulb…even more yuk!)
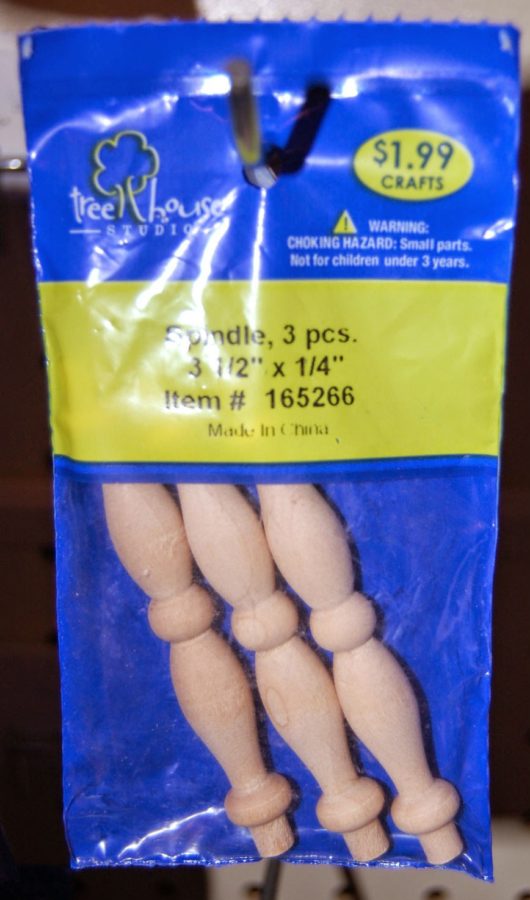
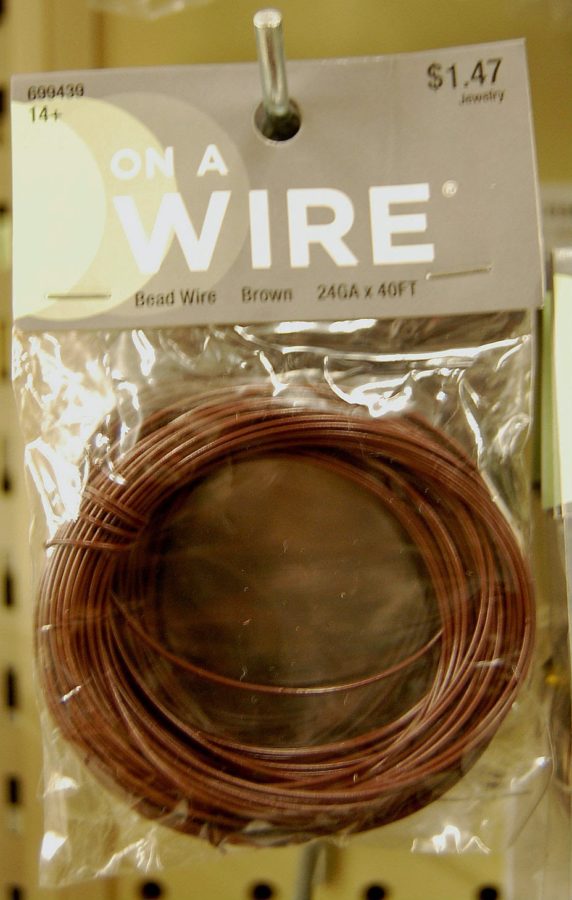
Then, I found some small wooden dowels and brown jewelry wire at Hobby Lobby to attach to the bottom of the chandelier…
I painted each dowel with Annie Sloan’s “Country Gray” Chalk Paint and then over that, I added a LIGHT layer of metallic gold paint. Finally, I drilled a tiny hole in the top of each dowel and threaded a piece of brown jewelry wire through the hole to hang from the bottom of the chandelier.
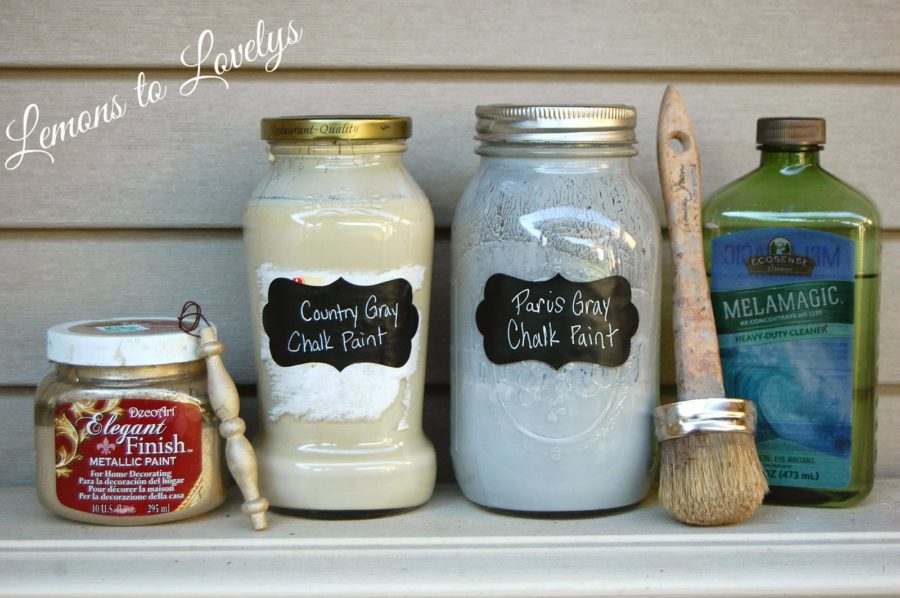 |
| As I’ve said before, I always use Melamagic by Melaleuca to clean my paint brushes. |
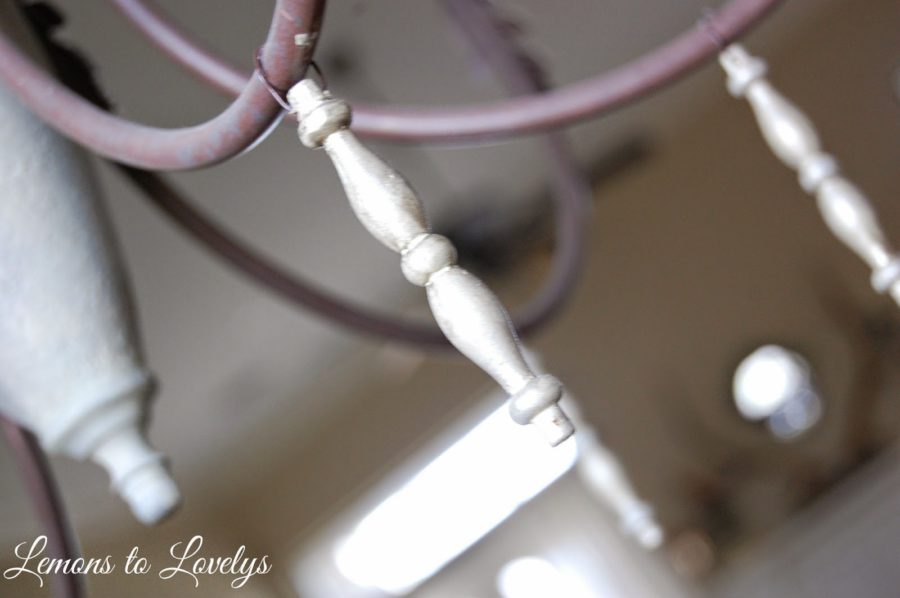 |
| Detail shot of painted wooden dowels |
- Chandelier-consigment store (Patina Interiors)
- Chandelier Paint-Annie Sloan Chalk Paint “Paris Gray” and “Country Gray” (local stockist)
- Light Bulbs-Lowes (candelabra width)
- Wooden Dowels- Hobby Lobby
- Dowel Paint- Hobby Lobby, Decor Elegant Finish Gold

