Powder Bathroom Remodel-ORC WEEK 4
This post may contain affiliate links. Please read my Privacy Policy.
Do you need a powder bathroom remodel but don’t know where to start? Read on to see design elements to incorporate including wainscoting, paint, light fixture, and wallpaper.
Welcome back for Week 4 of the One Room Challenge where I am doing a powder bathroom remodel.
If you missed either of my previous posts you can read them by clicking here….
Powder Bathroom Remodel
This week was all about installing the wainscoting and painting.
I started off the week by installing the wainscoting under the chair rail. Last week, I showed you this little teaser photo…
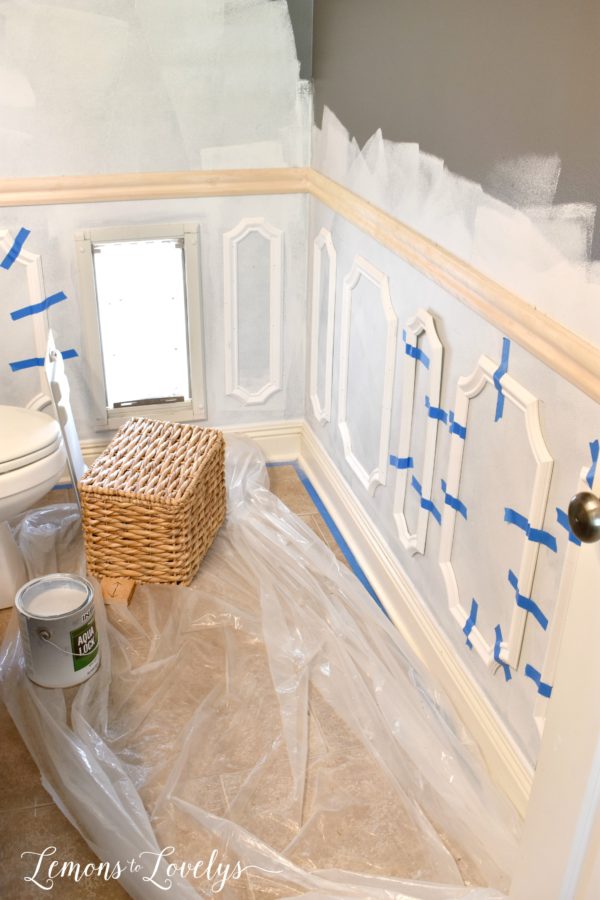
I purchased these “picture frame mouldings” from Lowe’s…
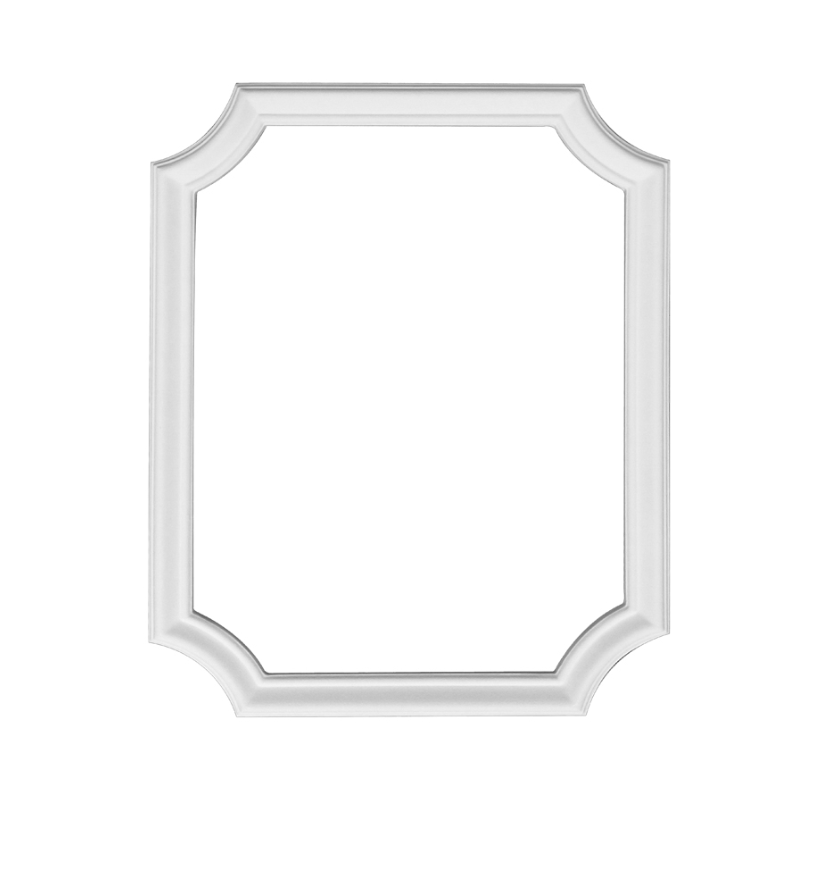
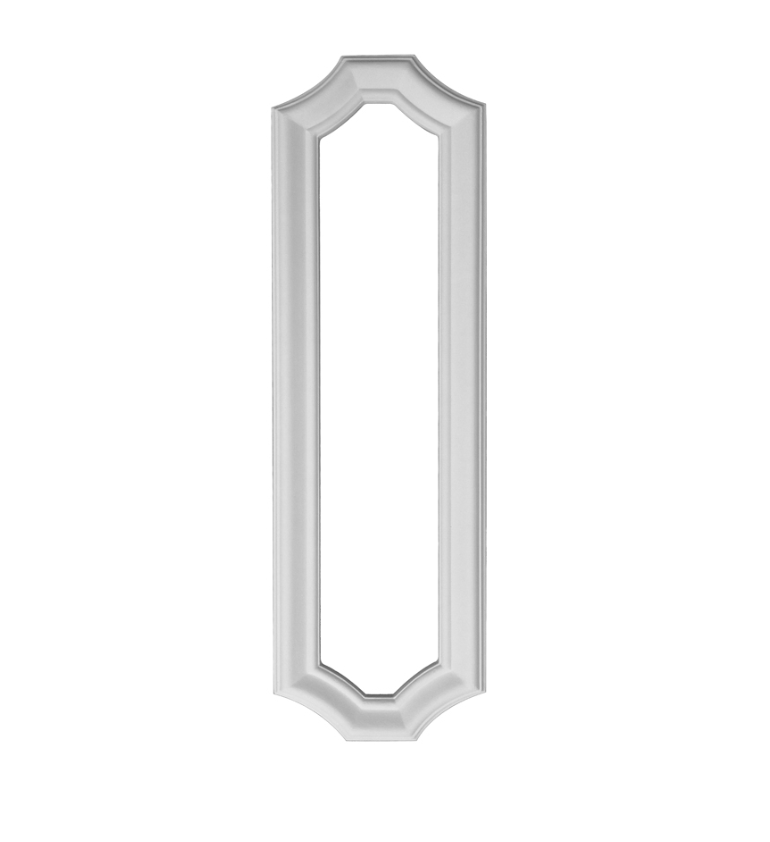
I used 4 of the larger size (14×23 inches) and 7 of the smaller size (7x 23 inches)
To purchase the larger size click here and the smaller ones click here.
Now this is where it got really tricky…..
Powder Bathroom Remodel-How to Measure a Wall for Wainscoting
To figure out placement, I first drew out a map on a piece of paper of the wall dimensions (see drawing below).
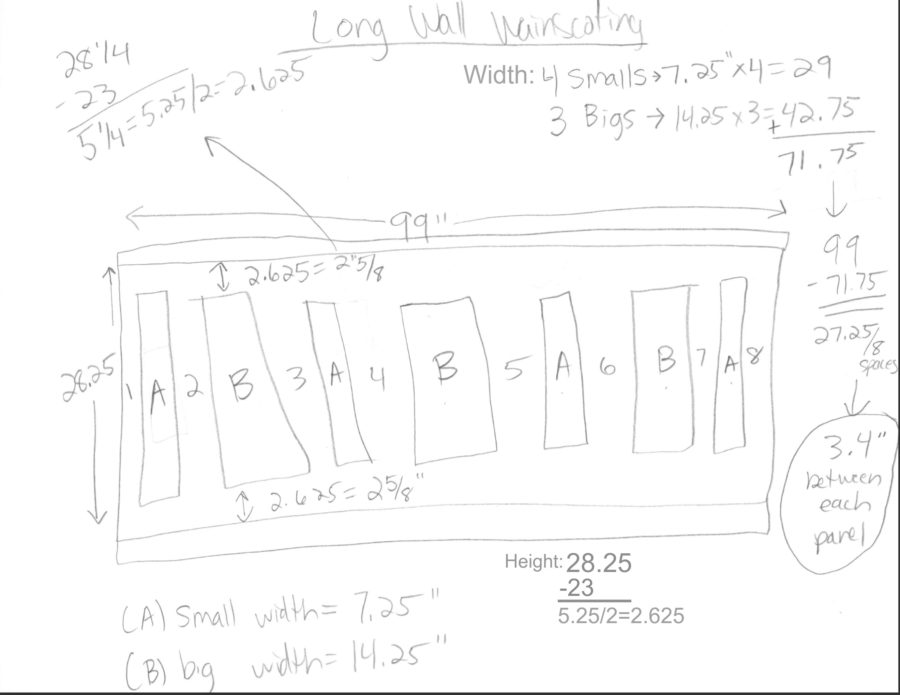
For the longest wall (reflected in the drawing above), I added up the widths of all of the moldings I knew I could fit on that wall (7). Keep in my mind, my plan was to alternate them in size between small and large so I would be using 4 smalls and 3 larges. Then, I subtracted that total from the total length of the wall and divided the remainder by 8. I knew I was going to have 8 spaces, one in between each molding. **Sidenote, my first set of measurements was wrong because I used the dimensions written on the packaging of the wall moldings. The package dimensions were 1/4 inch off in width from the actual measurements for each frame. Ugh! My advice if you use these pre-made moldings is to measure them yourself!! The width is actually 1/4 inch wider than advertised. I know that doesn’t sound like a lot but when you multiply 1/4″ by 7 that’s 1.75 inches off! It was a frustrating disaster to say the least.**
Which brings me to my next tip…
Powder Bathroom Remodel-How to Install Wainscoting
After I got all of my measurements figured out, I taped each moulding to the wall using painters tape. I used painters tape to make sure I liked the way it looked and that everything was in the right place before nailing them to the wall. Once I had every frame in place, my husband nailed them in with a finishing nailer. *Sidenote- before nailing, he went back over each molding with a level to make sure they were perfectly level. Painters tape is not strong enough to hold the moldings on the wall perfectly level for long periods of time, they will sag a little before nailing in*.
He used this finishing nailer (same one that he used to nail in the chair rail) to nail the moldings to the wall….
with these 5/8″ finishing nails….
After the wainscoting was nailed to the wall, I went back with a caulk gun and some spackle and caulked all of the cracks and seams. I used this caulk in a caulk gun for the seams where the moulding meets up with the wall….
and this spackle to fill the nail holes…
I like this particular spackle because it starts out pink when you are applying it and then turns white after it dries and is ready for sanding.
How to Paint A Door
While waiting for the spackle and caulk to dry, I painted the back of the door the same color as the vanity, Sabre Gray by Benjamin Moore. Here is a “before” picture of what the door looked like with the original white paint (same color as the trim)
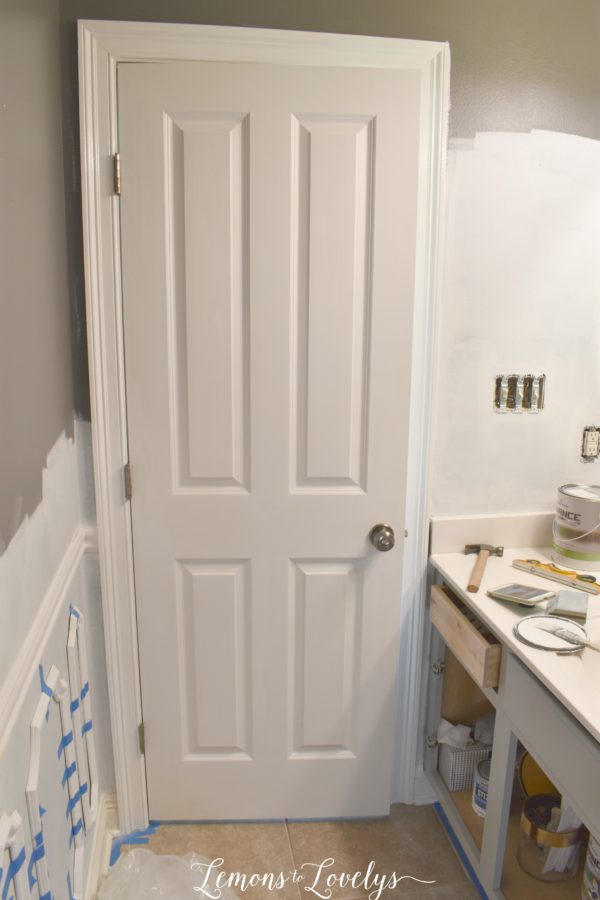
I used the same type of paint as I did on the vanity, Advance paint by Benjamin Moore. The existing paint on the door was applied before we moved in and I had no way of knowing exactly what type of paint was used. I suspect it was some kind of enamel that was sprayed on because I could not see any brush strokes. Because of this uncertainty, I decided that the best thing to do was scuff sand the door with a sanding block and prime it with Stix (the same primer I used on the vanity) to make absolute certain that the paint would stick. So I got to work…
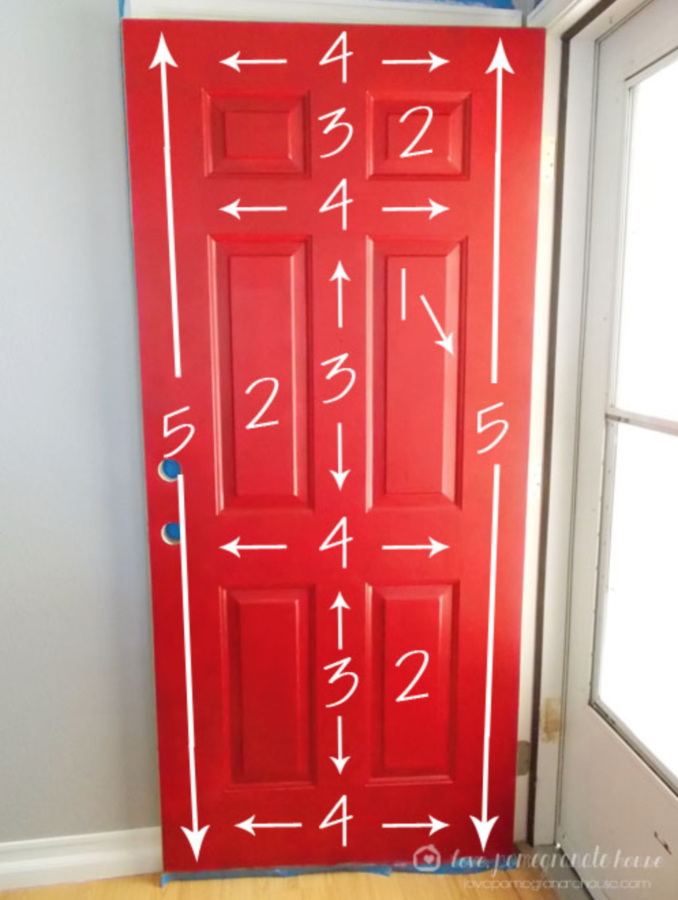
After priming the door, I let it cure for 24 hours before applying the paint. Then, I used this diagram (found via Pinterest) to paint the door correctly and show the least amount of brush strokes as possible….
I followed up the primer with 1 thick coat of Sabre Gray by Benjamin Moore and let that cure for 24 hours. One thick coat covered almost all the surface area and all I needed to do was go back and touch up a few little areas……
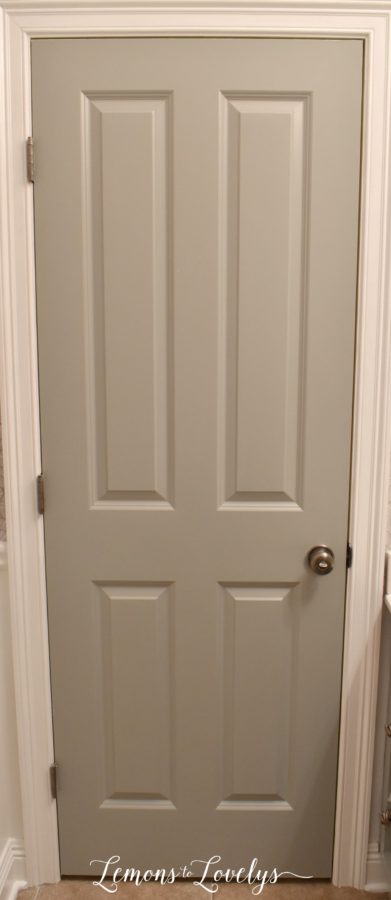
I am SO pleased with how it turned out! I love how regal it looks when you have the door closed and are observing it from the potty. (hahaha)
Powder Bathroom Remodel-Painting the wall, wainscoting, and chair rail….
Before painting, I sanded down all of the now dry spackle so that every surface was even and smooth. Next, I cleaned up the excess saw dust with a damp towel to prep the surfaces for painting. To paint this area, I used another can of Advance by Benjamin Moore but this time in Simply White. Typically, when painting walls you would not want to use Advance. However, since this is a wall full of trim, I decided to use a self leveling paint because of all of the different surface areas in one space. I started with the baseboards and chair railing. To paint the baseboards I used a thicker brush similar to this one….
You can see in this picture below the difference between the existing trim color and the new Simply White paint color….
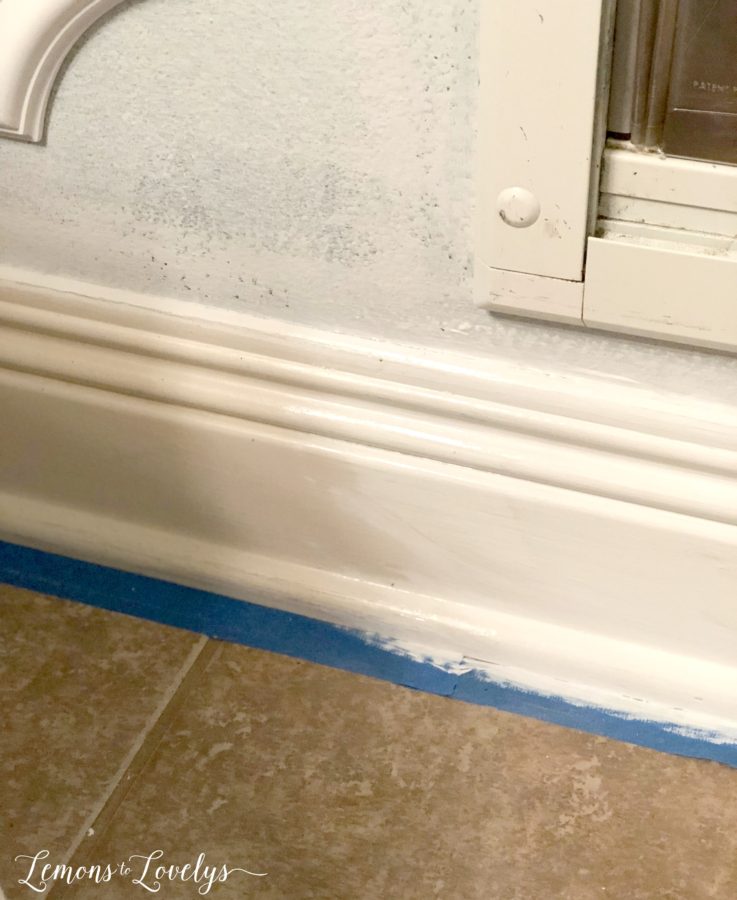
And for the chair railing I used a thinner brush similar to this one…
Then for the middle section I used a small 4″ paint roller for the walls…
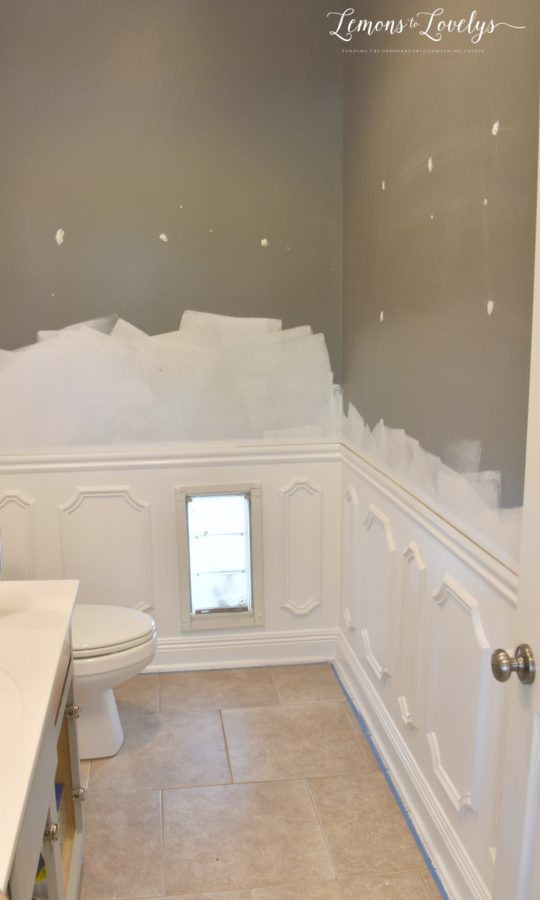
and the same small brush to trace over the wainscoting panels as I used to paint the chair rail. Out of everything that I have painted so far, this was the toughest! I forgot how hard it is to use white paint! I haven’t painted walls white since our master bathroom a few years ago and that didn’t end so well. Needless to say, it took several coats! My best advice for painting with white is to use a VERY heavy coat of primer or maybe 2, before painting. White just doesn’t cover very well and there isn’t much you can do about it. However, after all the hard work, I am very pleased with how it turned out! And Simply White is my new favorite trim color! I painted the baseboards first, then the chair railing, then rolled the wall in the middle, then finished by painting over the wainscoting. I am very pleased with how everything turned out…
Powder Bathroom Remodel- Light Fixture
To close out the week, my wonderful husband installed this new light fixture for me from Lamps Plus.…
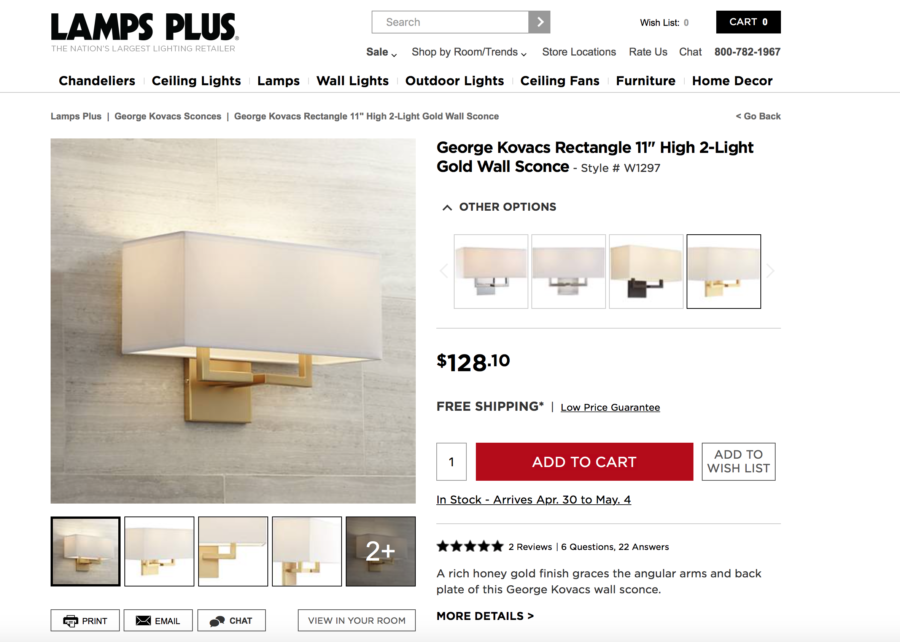
It is exactly what this bathroom needed. I wanted something smaller, brass, and with a white shade. This particular sconce is very light weight and comes in 4 different finishes. You can purchase it by clicking here. I can’t wait to see it up against the gorgeous wallpaper!!!
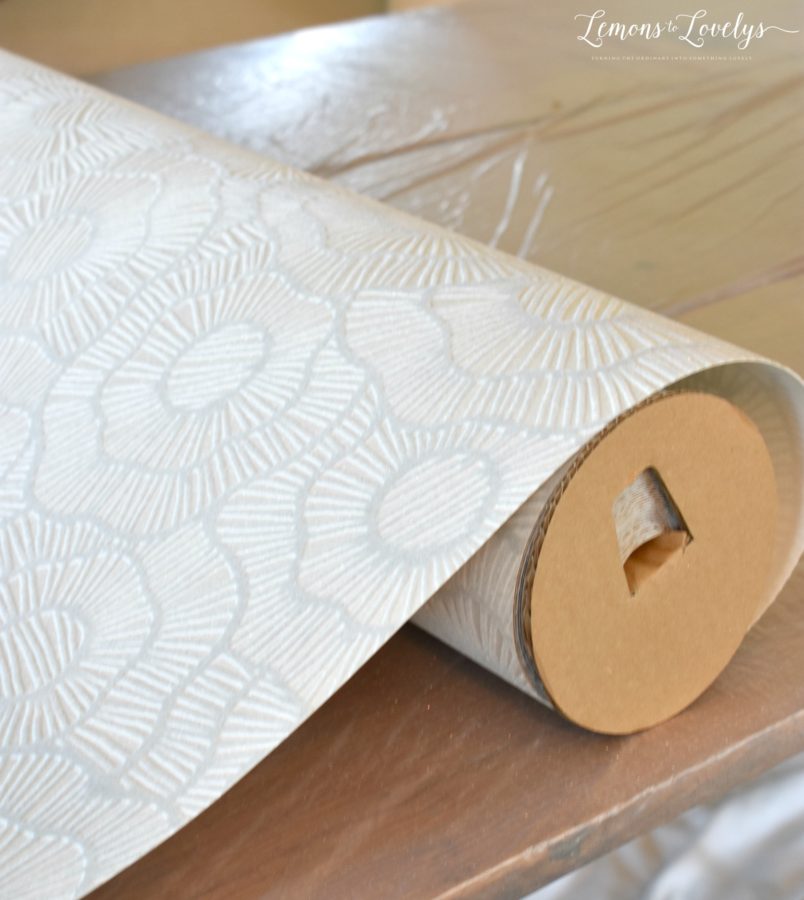
Sneak Peak of the Wallpaper
Here’s a little teaser for what’s in store next week….
Thank you for stopping by for Week 4 of the ORC!
Make sure you are signed up to receive automatic emails to your inbox so you don’t miss anything!
See you back here next week!


Marci, you must be a genius. I could have never figured out the math for the panel inserts. Congrats on a job well done. THe diagram for painting the door is a great tip. Love the light fixture. Can’t wait to see the wallpaper.
Nice to learn that these mouldings can be purchased at Lowe’s. I’ll be checking that out. Your vision and progress in this room is amazing. I’m so inspired to get started on mine! ~~ Susie from The Chelsea Project
Susie recently posted… https://thechelseaproject.com/how-to-save-a-bundle-using-remnants/
Oof, all those calculations makes my head hurt! It’s looking amazing, though! Can’t wait to see that wallpaper up. It’ll really transform the space!
Thank you Vineta! I had the worst headache afterwards trust me! If only the dimensions on the package were correct!
You got so much done – I’m completely jealous! I can’t wait to see that wallpaper installed – it’s going to be stunning!
I love those moldings and your door looks great!! And wallpaper!!!! I can’t wait to see it on the walls 🙂
Looking good! Gorgeous wallpaper. Can’t wait to see it installed.
I LOVE It! That wallpaper is going to be amazing too!
The wainscot looks amazing!! I love those panels. It’s going to be so pretty with that wallpaper.
Your panels turned out fantastic, what a great update. I love the color you chose for the door and I can’t wait to see that wallpaper installed, it’s going to be ahhhmazing!!
Thank you Toni! I would recommend that paint color to anyone looking for a dark gray.
Wow great progress this week. Your wainscotting looks great. Great instructions too. Can’t wait to see it all come together for you.
thank you so much Dannyelle! This week was a lot of hard work! Can’t wait for the reveal