Bathroom Cabinets-How to Add Trim-ORC Week 3
This post may contain affiliate links. Please read my Privacy Policy.
Liven up your bathroom cabinets without breaking the bank by adding decorative trim to the front of your cabinet doors. Read on to see how!
Welcome back for Week 3 of the One Room Challenge! I cannot believe we are already at the halfway mark!
If you missed either of my previous posts you can read them by clicking here….
The Paint I Used for My Bathroom Cabinets
This week I did A LOT of prep work and focused mostly on painting and adding trim to the bathroom cabinets. .
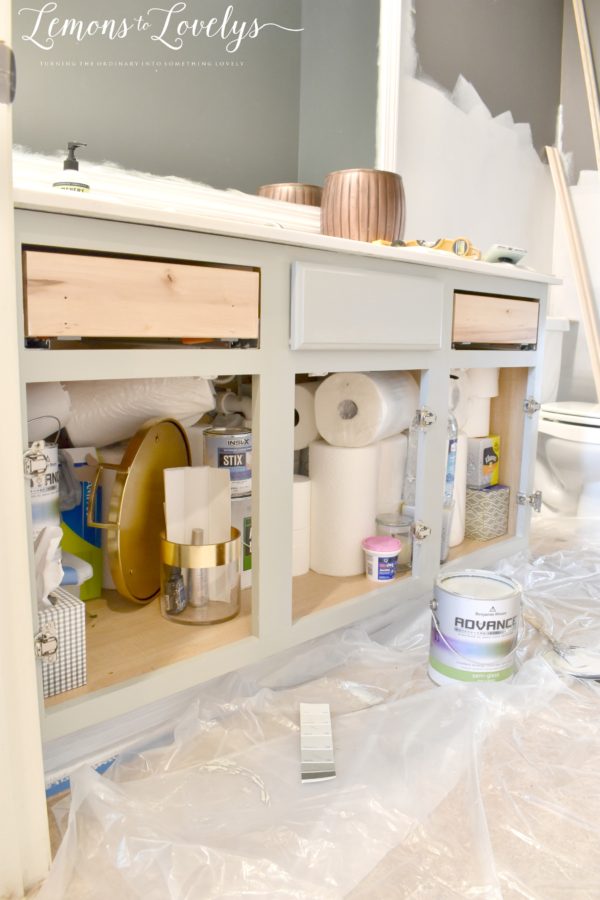
The color I used for our bathroom cabinets and door …
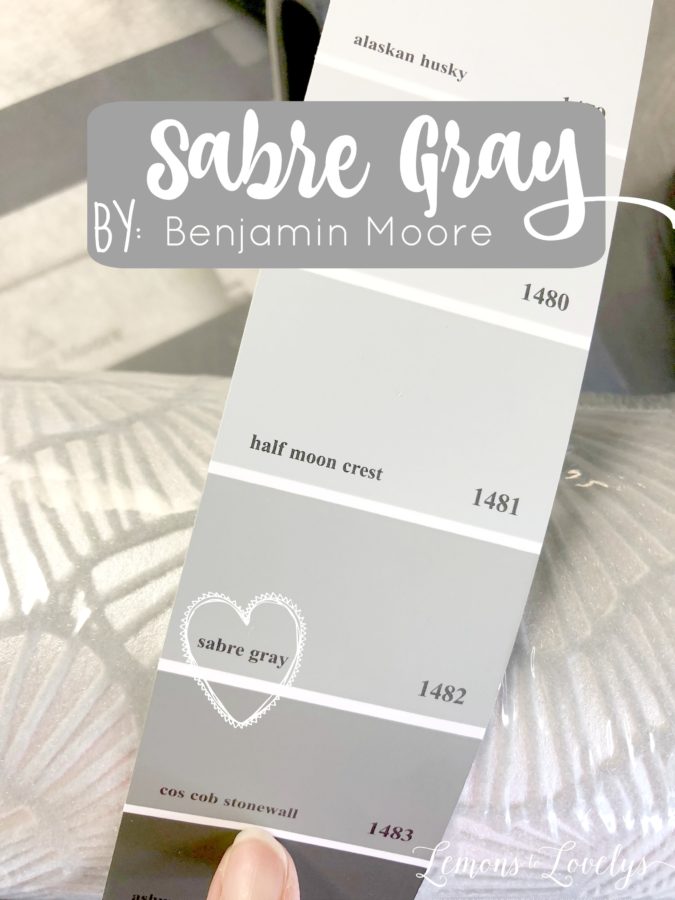
It is the perfect combo of a tiny bit of green and gray. Not too dark, not too light.
Advance Paint by Benjamin Moore
Advance paint by Benjamin Moore is perfect for cabinets! It’s a self-leveling paint that does all of the work for you. The only trick to applying it is not to overwork your brush. I was able to get away with 1 full coat on the vanity and touch ups 24 hours later. If you look at our vanity up close, it looks like it was sprayed professionally. I highly recommend this paint when painting cabinets and doors. It’s also very durable. I used it on our master bathroom cabinets and have not seen 1 chip in 2 years. The finish I used is a semi-gloss because I wanted a dressier look to match the wallpaper.
I also painted the mirror with the same paint. I don’t like to tape mirrors because it is so much easier to just scrape the excess paint off with a razor blade…
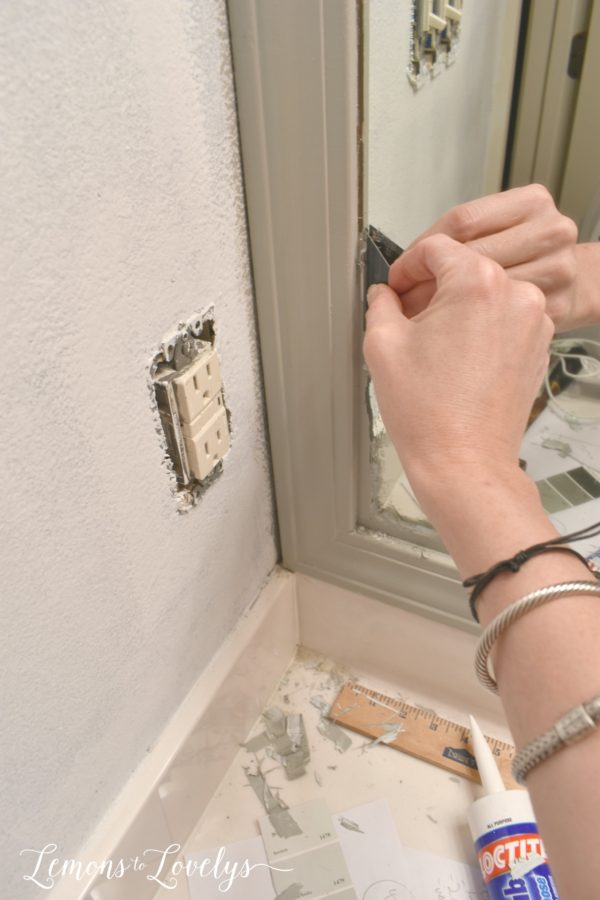
You can see in the picture above, large pieces of paint fell off in strips as I ran the razor blade over them. My tip for scraping paint off a mirror with a razor blade is to do it while the paint is still wet. If you are unable to get to it right away, wait at least 24 hours until the paint has fully cured.
My Inspiration Photo for Our Bathroom Cabinets
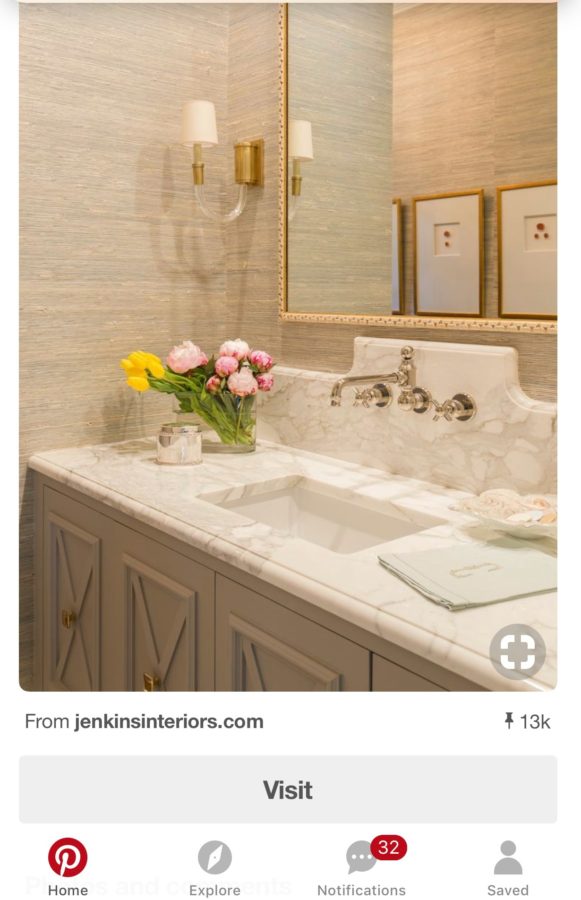
Excuse the quality of this picture. It is a screenshot I took on my phone from a pin I found on Pinterest. To see the pin you can click here.
Don’t those cabinets look so pretty and easy to make!?! Haha! This was literally what I said to myself when first glancing as this picture. Well, now I have a different train of thought.
Adding Trim to the Bathroom Cabinets
After painting the vanity and the mirror, I moved on to adding trim to the cabinets. This step was HARD!
I am scared of that big saw in our garage that my husband uses to cut wood. I just don’t like it and will probably never feel comfortable using it. He, however is really good at it, so I asked him to do all the cutting for this next part of the project.
I went to Lowe’s and purchased the two different types of trim that we needed.
This is for the X’s in the middle
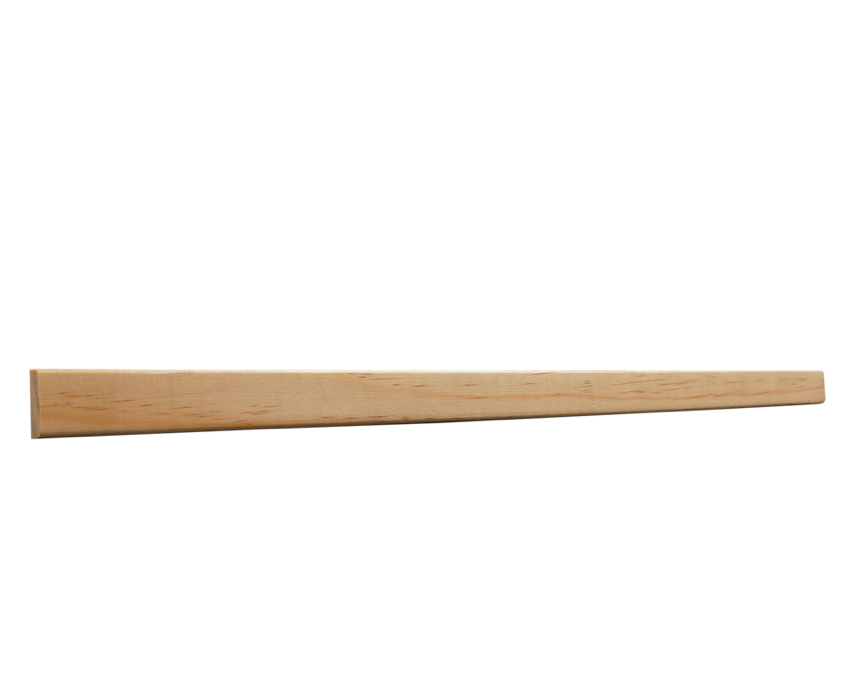
Here is the link to this piece of wood on Lowe’s website.
Also, this is what I used for the square trim around the outside…..

Here is the link to purchase this trim.
My cart as I was leaving Lowe’s….
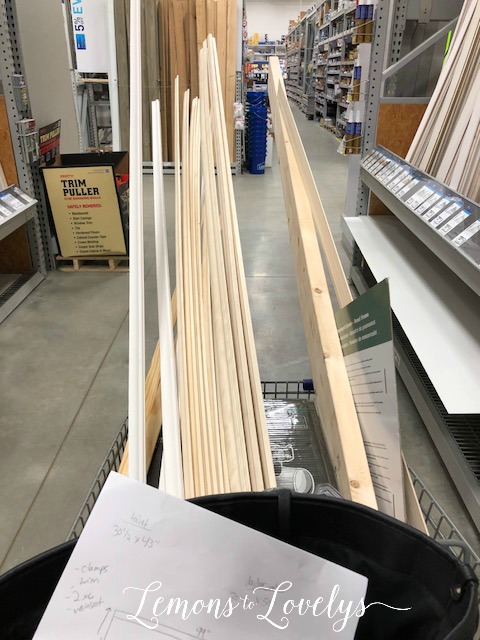
How We Added Trim to Our Bathroom Cabinets
This next part is where it gets dicey. I wish I could tell you the exact formula for figuring out how to measure and cut these pieces of trim to make that perfect X and outside square trim. However, I cannot. The way we were able to accomplish this look (and by “we” I mean my husband because he took the reigns on this one thankfully) is by trial and error. He basically just started tracing and cutting and shaving off and tracing some more and cutting again until he got the pieces to fit inside 1 of the cabinets perfectly to make that X shape. Then, once he got that first cabinet finished, he traced those pieces of trim to make the other 2 sets and tadah…..
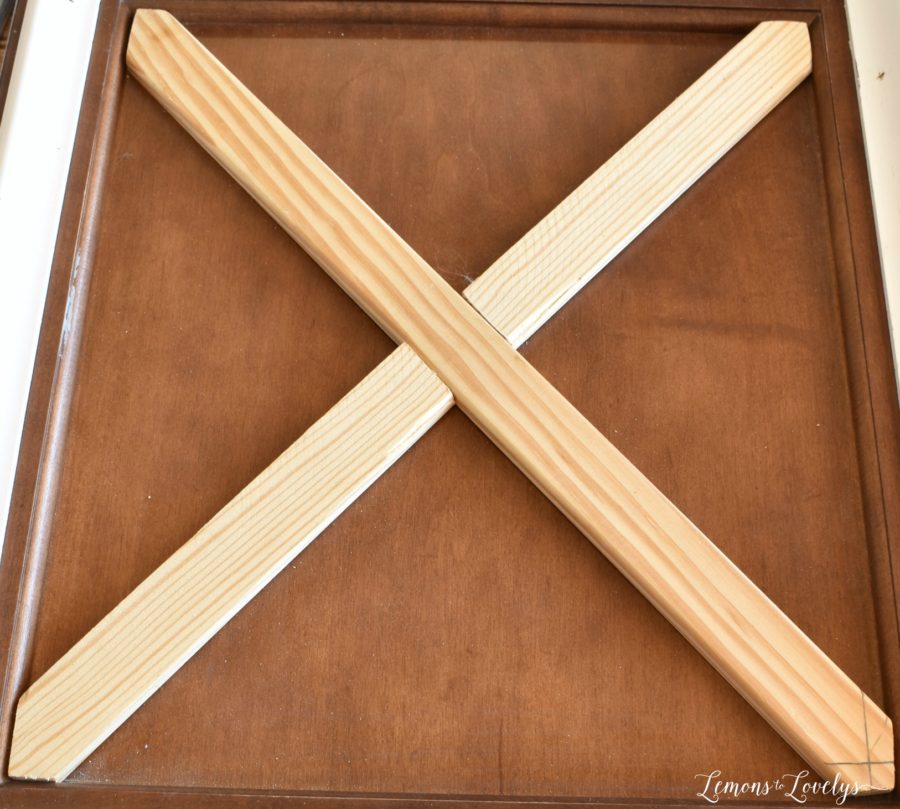
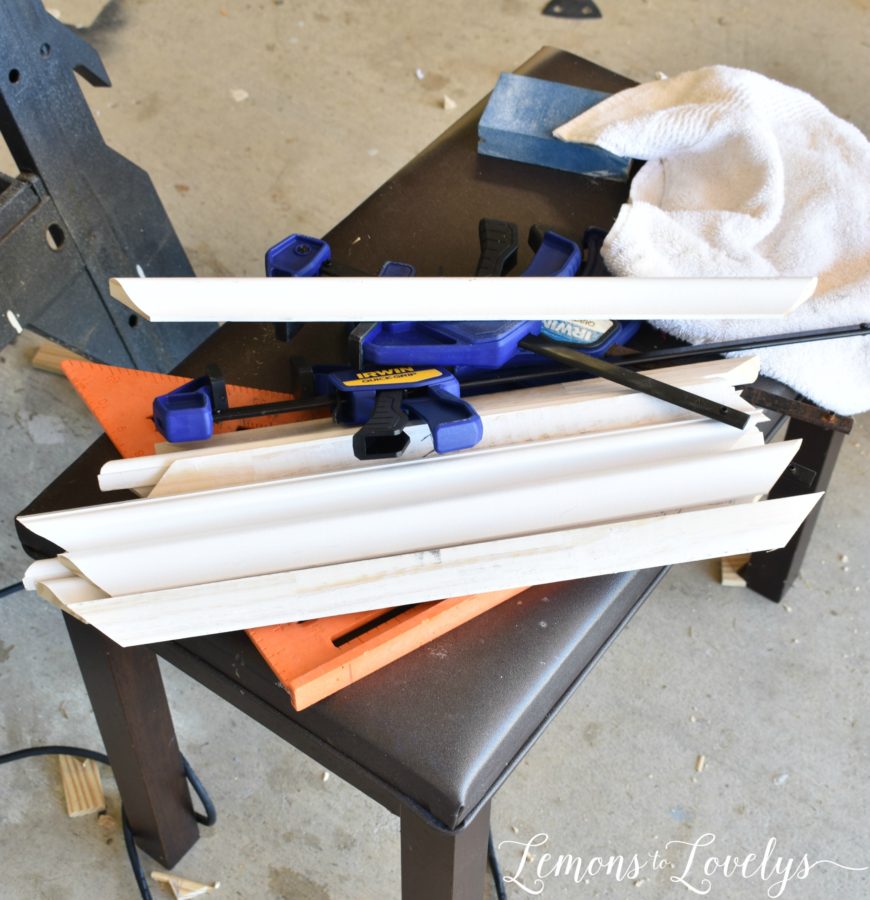
So, after he got all of the pieces cut for all 3 cabinet doors, we glued them down with this contact cement….
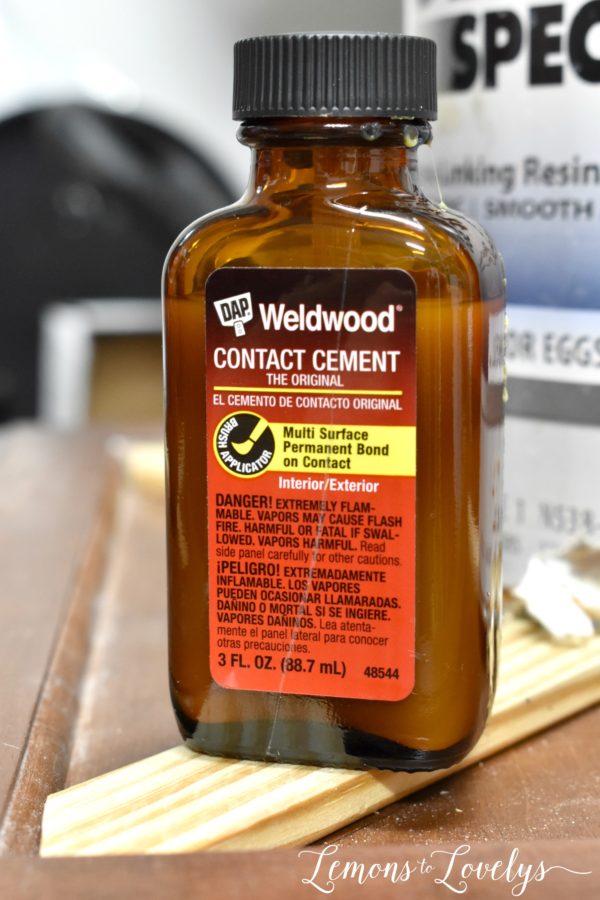
It smells really strong so we used it in our garage with the garage door open.
To purchase click here.
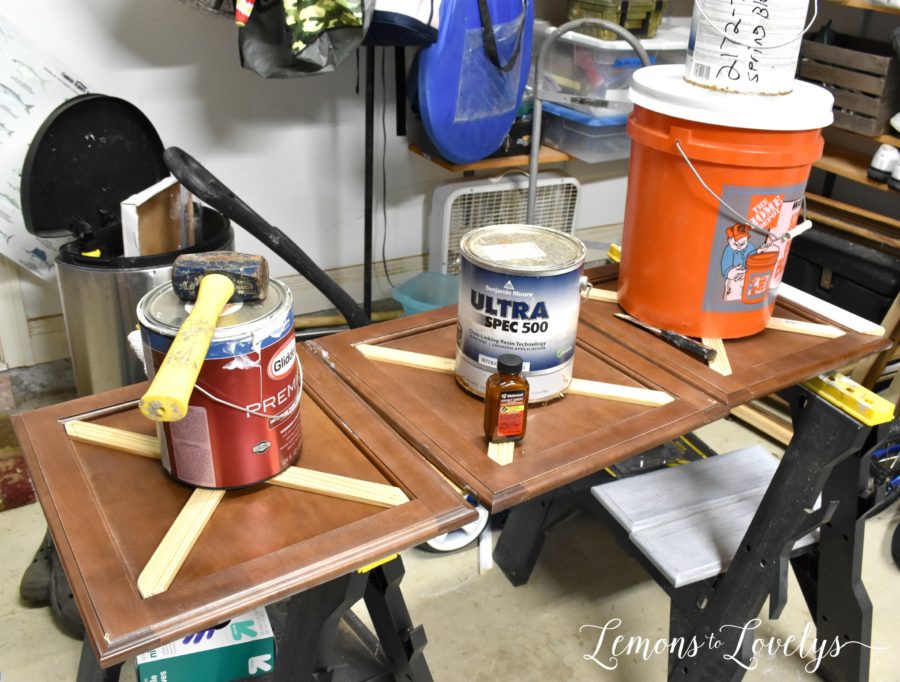
We started with the X pattern first. After applying the contact cement to the X’s, we weighted the trim down while curing to keep from buckling….
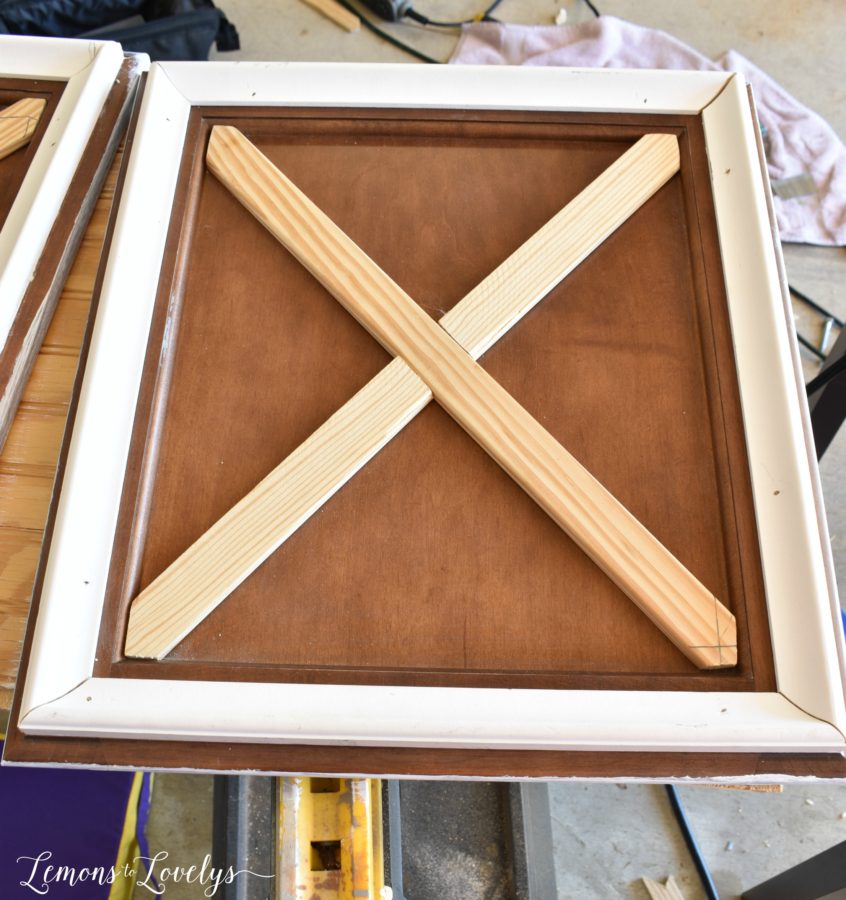
After letting these pieces cure for 24 hours, we glued down the square pieces of trim around the outside of the cabinet with the same contact cement and then secured them with a nail using this finishing nailer…
This little puppy comes in REAL handy later on for the wainscoting installation so stay tuned!
Installing a Chair Railing
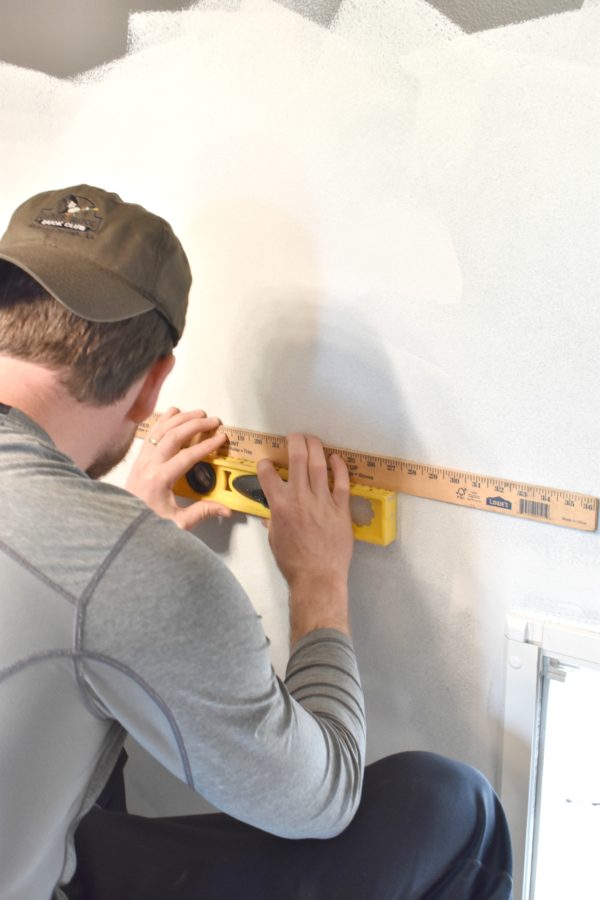
After finishing the new trim on the cabinets, we ended the week by installing the chair railing on the wall. First, we drew a line around the perimeter of the room where we wanted the chair rail to go using a long ruler and a level…
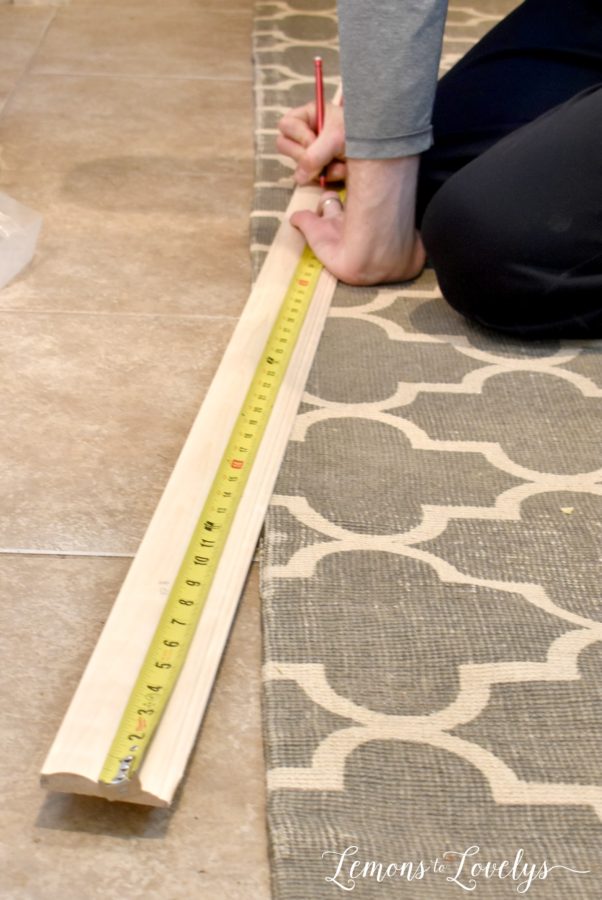
Next, we measured the walls and transferred those measurements to the pieces of chair rail molding….
Then, my husband cut each piece to fit the appropriate sections of the wall and sanded down the edges with this sander…
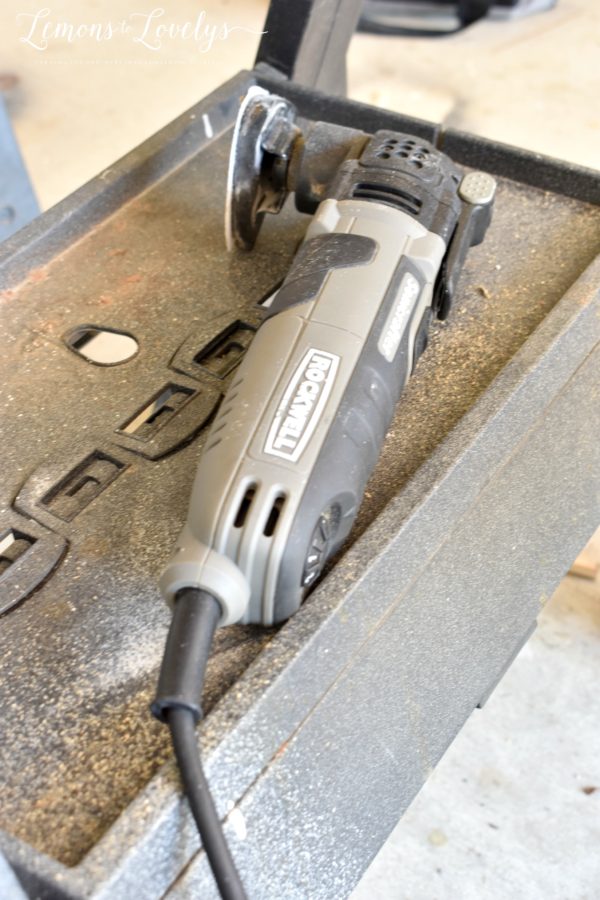
To purchase this sander you can click here.
Before gluing the trim to the wall, my friend and I marked the studs with her stud finder so we would know where to nail with the finishing nailer….
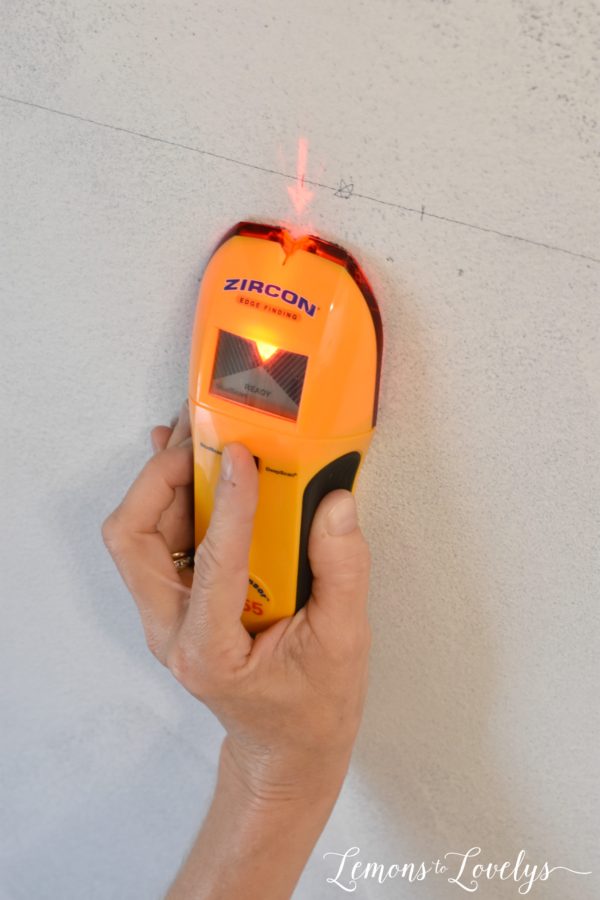
To purchase this stud finder click here.
Next, we glued each piece of chair rail molding to the wall using PL Power Grab and applying it with a caulk gun…
To purchase PL Power Grab click here
To purchase a caulk gun click here.
My tip for applying PL Power Grab to molding is to use a liberal amount when squirting it on the wood and then spread it evenly using a piece of scrap wood to avoid chunks and make sure every square inch is covered in equal amounts. Then, apply directly to the wall with pressure…
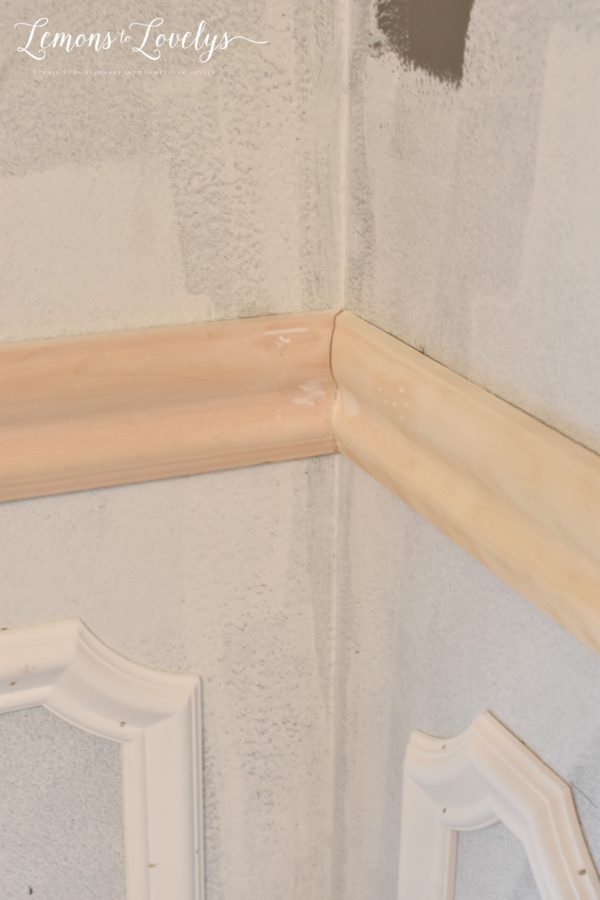
Next week, I’ll show you how I spackled the corners and primed the wood for painting. I’ll leave you with this little teaser pic again to show you what the wainscoting is going to look like…
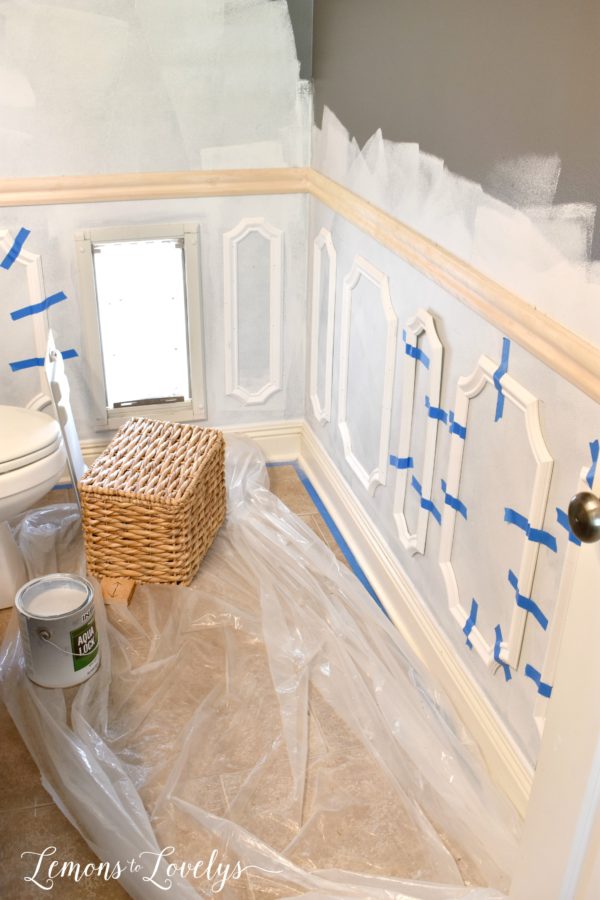
Thank you for stopping by for Week 3 of my One Room Challenge project. Make sure you are signed up for automatic email updates to be sent directly to your inbox.
I’ll be back next Wednesday with more progress. We are getting so close to the finish line!!!!


Ohhh, I love your vanity already! I feel like I have used almost every Ben Moore gray color…but i have never seen that color before-it is lovely! Best of luck with the rest of your ORC bathroom!
Thank you!!! So funny that you say that because I felt the EXACT same way when I was picking out the color at the paint store. I seriously have used so many grays the sample desk at Home Depot was calling me “50 Shades of Gray” back in 2013 but I had never seen this color!
It is coming along so beautifully! I am in awe watching each step in the process! Love how you take ideas and make your home so lovely!!!
Thank you so much for being such a loyal follower!!! I appreciate you so much Kristin!