DIY Gifts-Easy, Inexpensive and Personal

This post may contain affiliate links. Please read my Privacy Policy.

DIY gifts can save you money and make a thoughtful present for that person that is hard to buy for!  Read on to learn how to make a handmade gift for that special someone on your list!


DIY gifts are a great idea, especially when you have someone that is hard to buy for!

Today, I have three DIY gifts for you to make in the comfort of your own home that are easy and inexpensive!

I’ll start with the easiest one first.

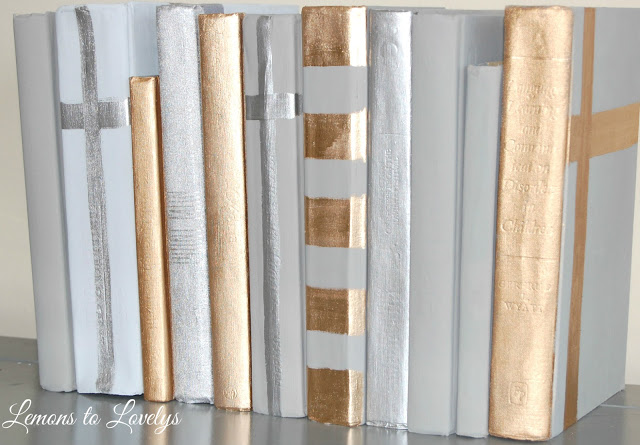
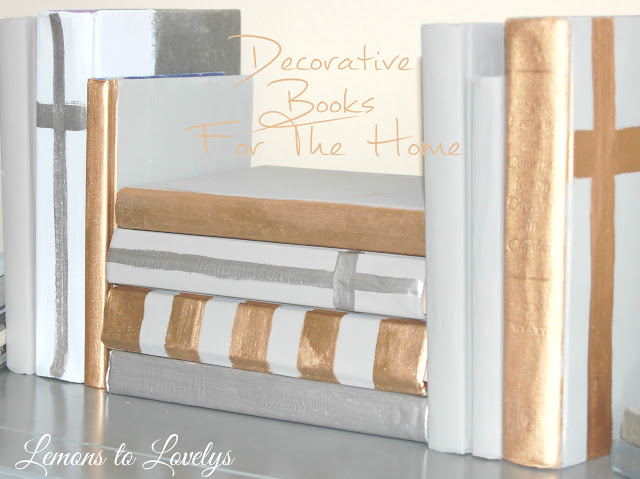
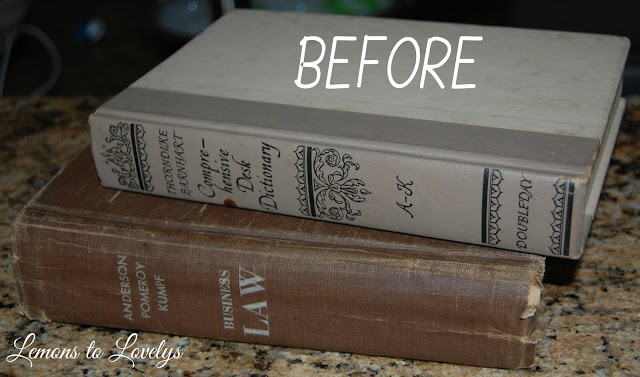
1. DIY Gifts – Decorative BooksPainted decorative books make the perfect, inexpensive gift! Details on how to DIY on www.lemonstolovelys.blogspot.com
  • Supplies

    • Hardback books

    • Chalk paint

    • Liquid Leaf paint

    • medium paint brush

    • small paint brush

    • tarp, painters cloth or newspaper

Steps

    • First, paint the entire book cover with chalk paint, including the front, back, and spine using the medium size paint brush.  Choose a color that you know will look great with the recipient’s.  Two coats may be necessary depending on the color you use.

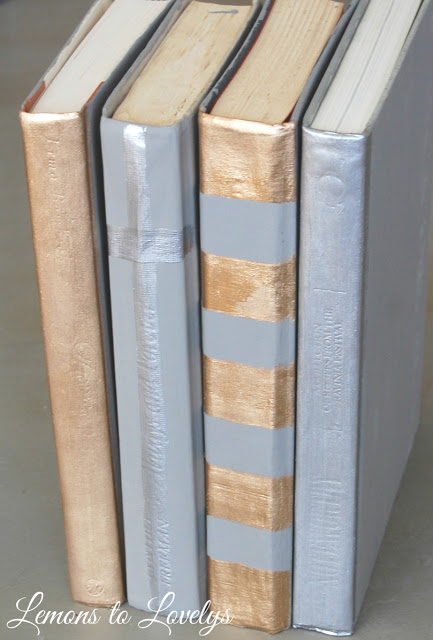
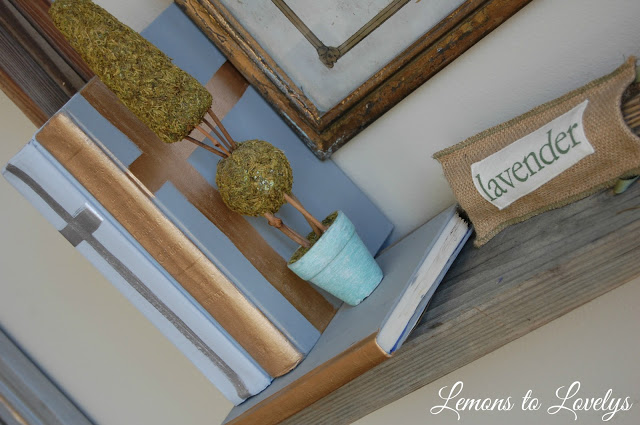
    • Next, use the small paint brush to paint a design on the spine using Liquid Leaf paint.  See below for design ideas….

Painted decorative books make the perfect, inexpensive gift! Details on how to DIY on www.lemonstolovelys.blogspot.comPainted decorative books make the perfect, inexpensive gift! Details on how to DIY on www.lemonstolovelys.blogspot.com
Painted decorative books make the perfect, inexpensive gift! Details on how to DIY on www.lemonstolovelys.blogspot.com

And there you go!  A pretty set of decorative books for the home!

When wrapping, stack them all together and tie with a piece of twine so that they look like a pretty set.

2. DIY Gifts- Decorative Rosary/Cross Necklace 

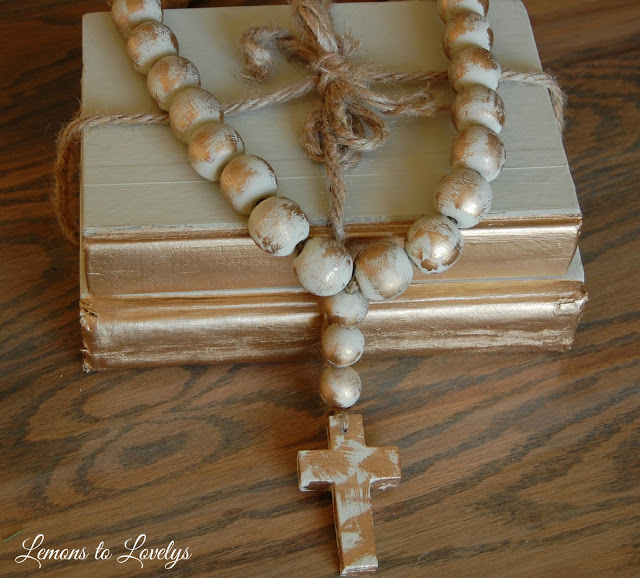
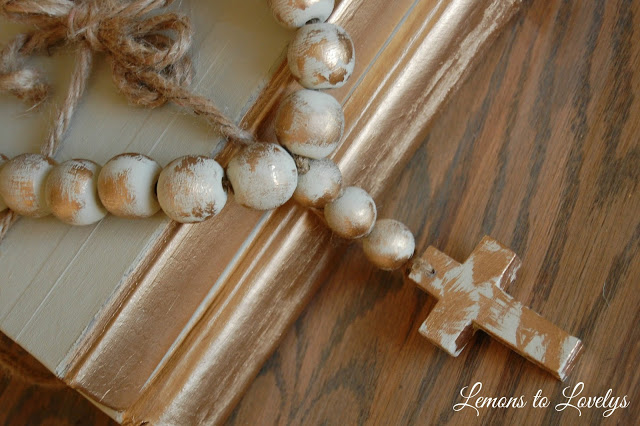
painted decorative beads and cross make the perfect gift! More on how to DIY at www.lemonstolovelys.blogspot.com
I’ve been seeing these oversized, decorative rosaries in home decor stores for a while now but they are VERY expensive!  So, being the cheap person that I am, I figured out a way to make a similar version, for way less!
  • Supplies

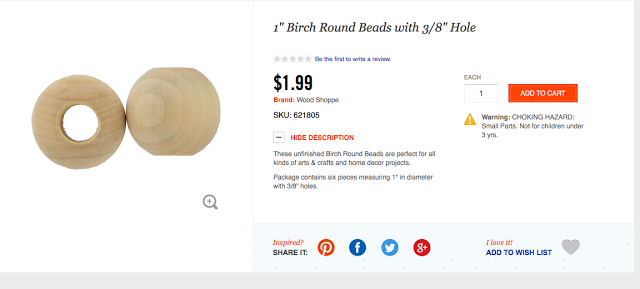
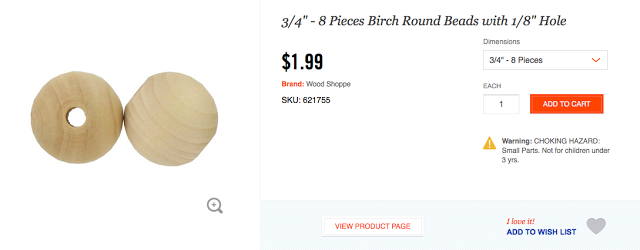
    • 2 different sizes of wooden beads (I found the ones below at Hobby Lobby….)

They come 8 to a bag so I bought 4 bags to give my main string 32 beads.
( If you are making an actual rosary you will need way more than that)
Notice that these are smaller than the 1″ beads above.  I bought 1 pack of these because I only needed 3.
(again, if you are making a rosary, you will need a different amount)


    •  small wooden cross

    • twine

    • Liquid Leaf paint (I used gold)

    • chalk paint ( I used Country Gray by Annie Sloan)

    • 2 small paint brushes

    • super glue

    • drill with small drill bit


  • Steps

    • First, paint all of the wooden beads with chalk paint.  I did this by holding each bead between my thumb and pointer finger of my left hand and painting one at a time.  This sounds time consuming but it really wasn’t because I used a paint brush the same width as the larger beads.   

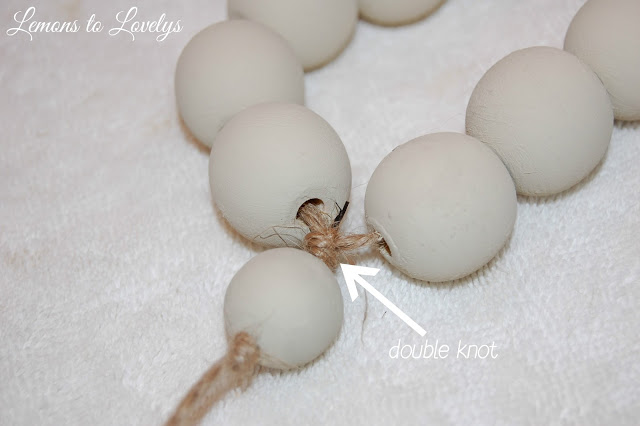
    • Second, string the beads together on twine,  starting with the larger ones.  After loading all 32 of them onto the twine, I tied a double knot at the top of the necklace, leaving 1/4″ of wiggle room in the strand to attach the cross at the bottom.  Just passed the double knot, I cut the twine down as close to the knot as I could so that there wasn’t any excess twine leftover. 

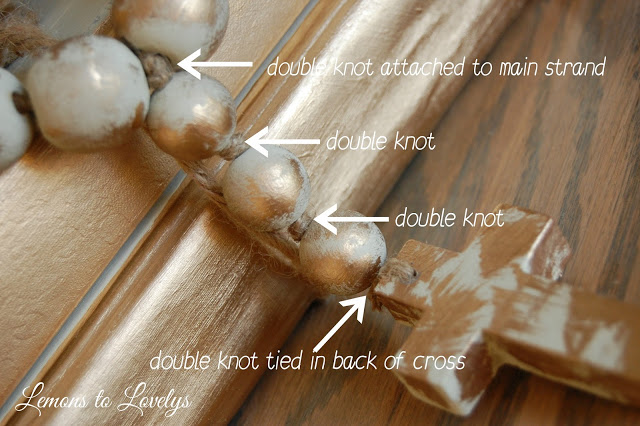
    • Next, attach the 3 smaller beads and the cross to the bottom of the strand.  I tied another double knot in the leftover space I just mentioned with a second piece of twine.  This knot was in the very center of the beads (16 on each side) at the bottom of the strand.  After tying the double knot, I slipped on the first of 3 smaller beads and secured it in place with another double knot.  I continued this step until all 3 beads were attached to the same piece of twine with double knots securing them in place on each side.

painted decorative beads and cross make the perfect gift! More on how to DIY at www.lemonstolovelys.blogspot.com
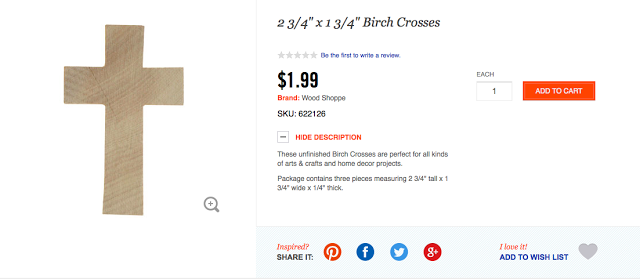
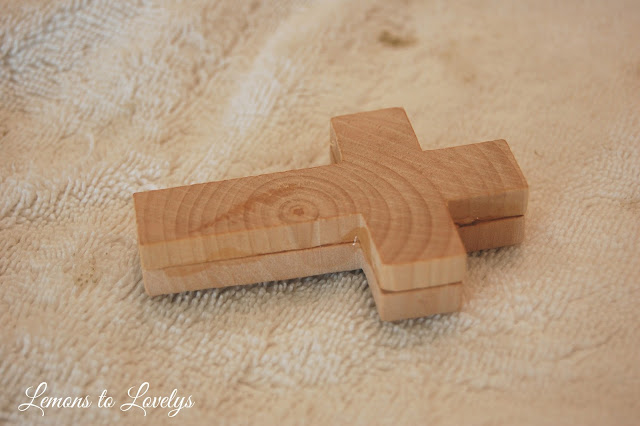
    • After that, make the cross. I simply glued 2 of these small wooden crosses together with the super glue to make 1 thick cross… 

 
    • Next, paint the cross with the same chalk paint and drill a small hole in the top center.

    • Then, thread the remaining twine from the strand of 3 smaller beads, through the hole in the cross and tie it off with a double knot.  (see previous photo)

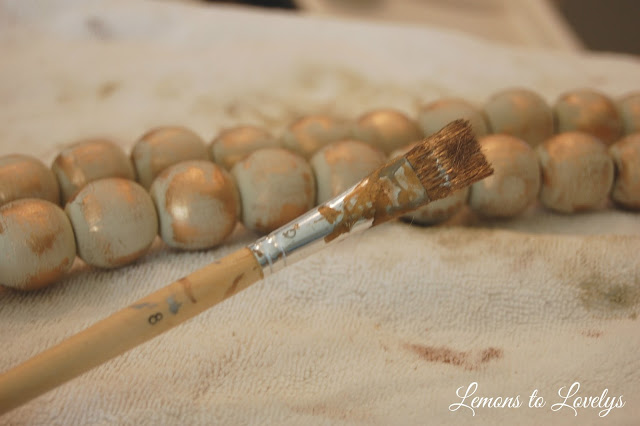
    • Last, apply the Liquid Leaf!  Any brush will do as long as the bristles are somewhat thick, short, and hard.  

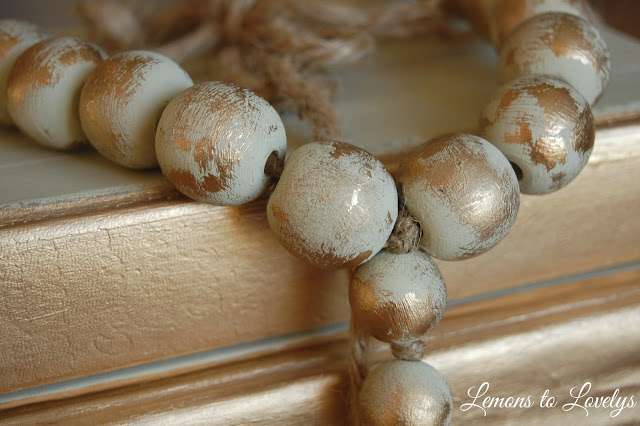
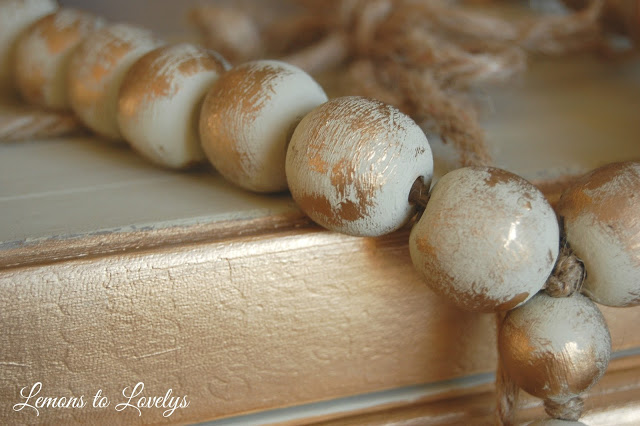
To apply the gold leaf, I dabbed my brush in the paint slightly and then patted the drips into the lid a few times so that my brush was almost completely dry but still had a touch of paint on it.  Then, I quickly and lightly grazed over each bead.  I obviously didn’t want the beads to be completely covered in gold but to look like they had been rubbed slightly with gold.  I used the same approach for the cross too.

painted decorative beads and cross make the perfect gift! More on how to DIY at www.lemonstolovelys.blogspot.com
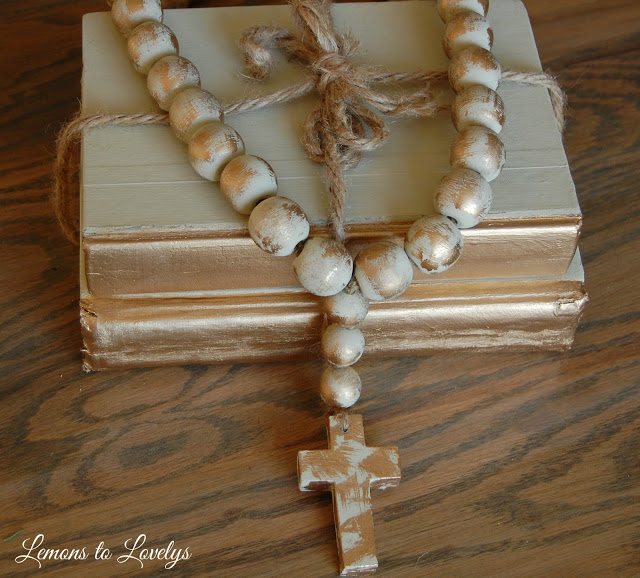
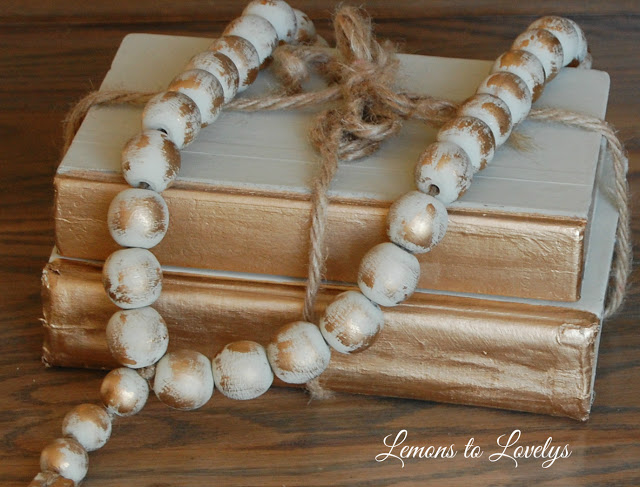
Here are some closeups of the finished product…
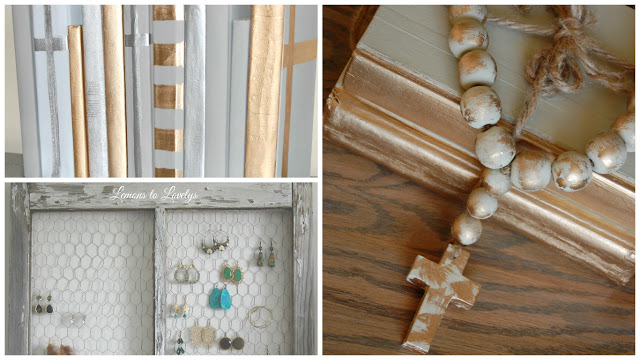
painted decorative beads and books make the perfect gift set! More on how to DIY at www.lemonstolovelys.blogspot.com

I LOVE the way this turned out and I’m already thinking about some other color schemes I can use for my next one!

painted decorative beads and books make the perfect gift set! More on how to DIY at www.lemonstolovelys.blogspot.com
Here is a different one I made a while back for my Prayer Corner...


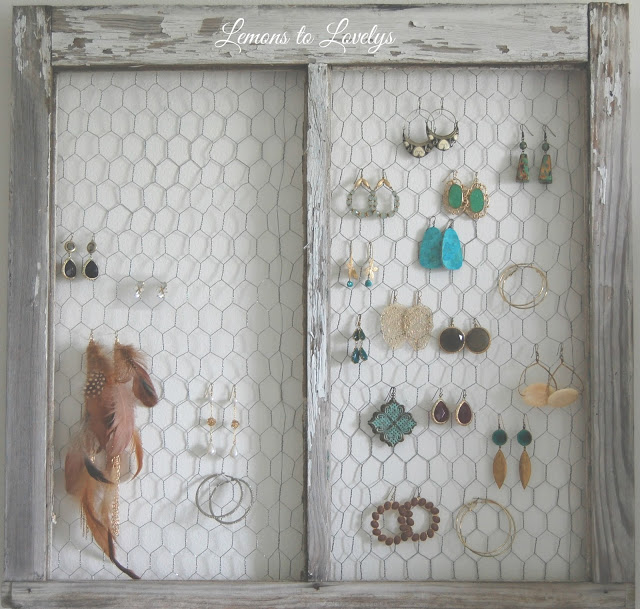
3. DIY Gifts- Jewelry Holder 

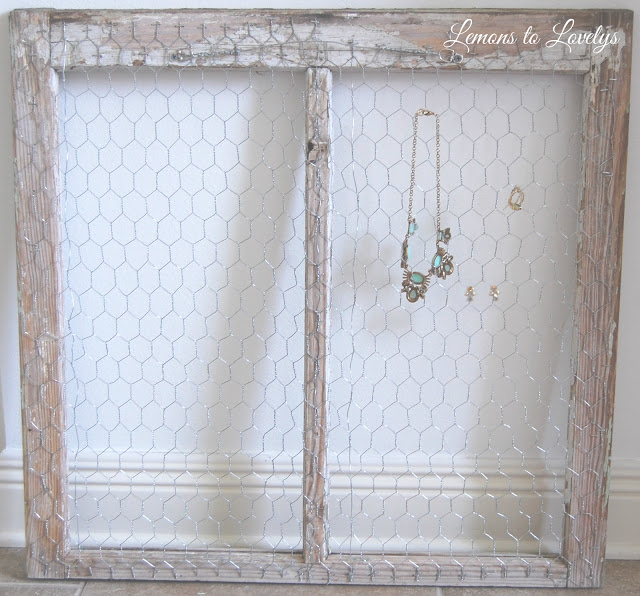
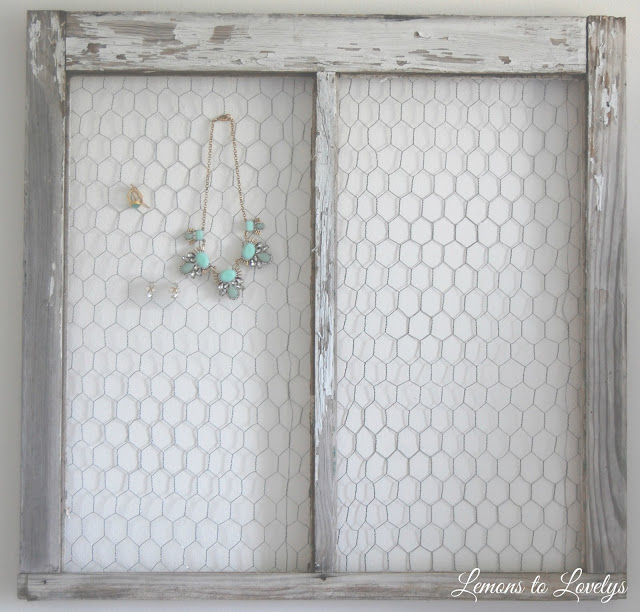
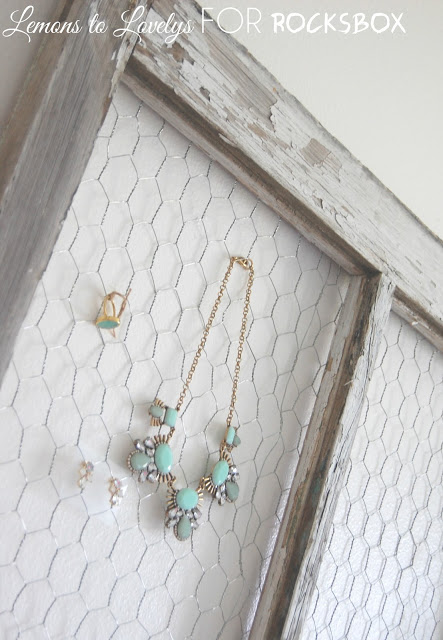
DIY jewelry holder made from an old window. Tutorial on www.lemonstolovelys.blogspot.com
  • Supplies

    • old window pane

    • chicken wire

    • wire cutters

    • staple gun and staples

    • 2 small wood screws

    • picture hanging wire

    • 2 picture hanging hooks

    • drill

  • Steps

    • First, remove all glass panes

    • Measure and cut chicken wire.  Due to the window size, I had to cut the chicken wire into 2 strips.  The chicken wire comes rolled up so I had to flatten it out first and then cut it with wire cutters.

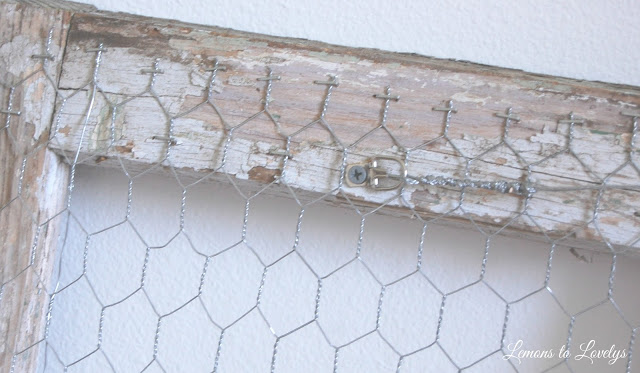
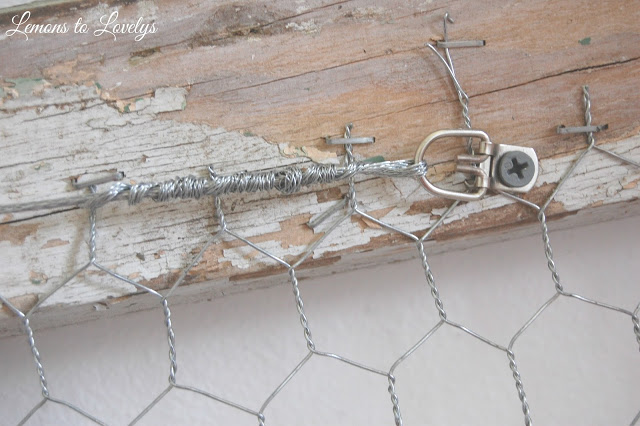
    • Next, after I had my 2 strips measured and cut, I stapled the chicken wire to the back of the frame using a staple gun…

    • After that, I went back around the edges of the frame and clipped any excess wire hanging over the frame.

    • Then, I installed the hanging hardware to insure that it would hang on the wall safely.  For this step I used picture hanging wire and 2 picture hanging hooks

And there you have it, a place to beautifully display jewelry!
DIY jewelry holder made from an old window. Tutorial on www.lemonstolovelys.blogspot.com

If you can’t find an old window, Hobby Lobby sells pre-made weathered window panes that are about half the size of the window I used…
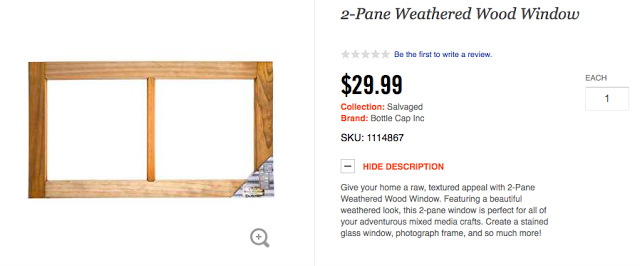
DO NOT PAY FULL PRICE!!!  Use a 40% off coupon from the website or wait until it goes on sale for 50% off.

You could also use any wooden picture frame and follow these exact same steps to achieve the same look!    

3 easy DIY gifts: painted books, decorative beads and cross, jewelry holder from an old window. All 3 tutorials on www.lemonstolovelys.blogspot.com


Well that’s it for today.  I hope I’ve helped spark an idea for saving money and/or finishing your shopping!

Check your list twice and make sure there is no one you forgot!!
2 Comments

  1. Thanks so much for the cute ideas. I made three of the rosaries and was able to get all of the supplies at Hobby Lobby just like you suggested. Can't wait to give them out next week! They came out beautiful and look like they took me forever but it really was just inexpensive and quick handmade gift.

Comments are closed.