Princess & The Pea DIY Play Set
This post may contain affiliate links. Please read my Privacy Policy.
 |
Hello lovelys,
Today’s post has been a few months in the works. Back in May, I went to a baby shower for a friend who is having a girl and I wanted to make her something really special that I could give as a gift.
I had been eyeing this Princess & The Pea Play Set at a local children’s boutique for years and always told myself, “If I ever have a girl or need a really neat gift for a girl baby shower, I’m buying it!” but I just couldn’t bring myself to do it because of the price.
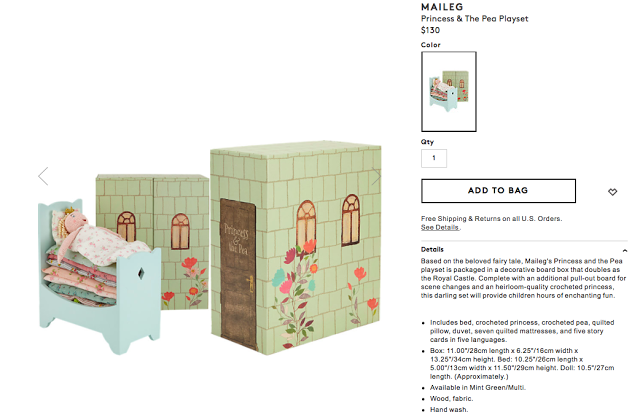
Here is one for sale on Barneys.com that retails for $130 …
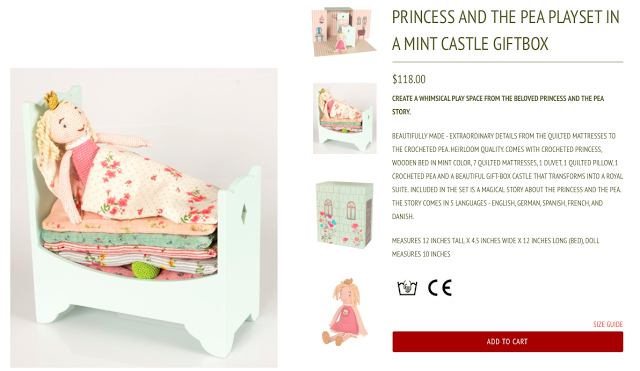
Adorable right ?!?! Here’s another one from mailegusa.com that retails for $118…
I just kept thinking, it’s too cute to forget about and would be totally easy to make!
So I got to work!
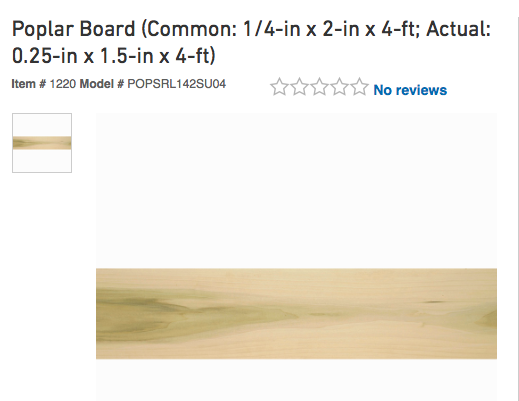
First I found 1, 4 ft piece of poplar wood that wasn’t too thick or too heavy to use for the headboard and footboard. (the wood needed to be thin and light weight because it was going to be for a small child to play with)
I used the measurements from the playset on Barneys.com as a guide.
I wanted the headboard to be 12″ tall, the footboard to be 6″tall, and the middle board to be 12″ long. (3 separate boards)
For the middle board I used this wood that also found at Lowe’s because it was a little thinner…
After marking the poplar wood with these measurements, I had my handy husband make the appropriate cuts with his circle saw. **sidenote, a jigsaw or hand saw would have worked just fine since the boards were only 1/4″ & 1/2″ thick**
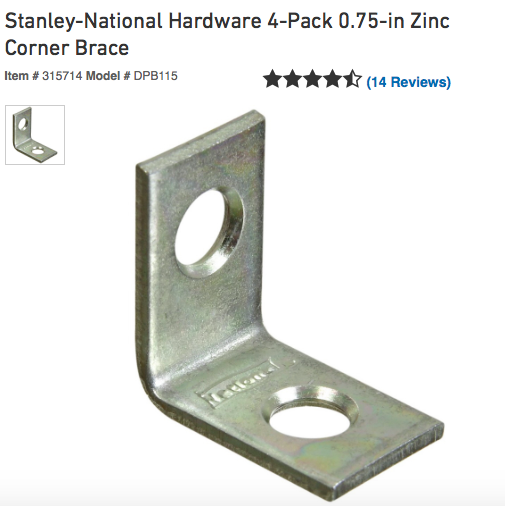
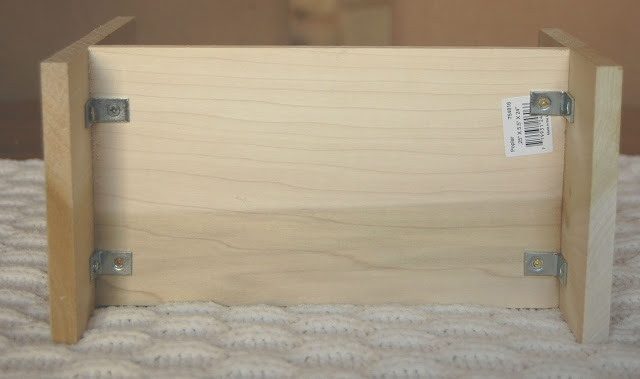
Then I attached the middle board to the headboard and footboard exactly 2 1/2″ from the bottom using tiny corner brackets that I bought at Lowe’s…
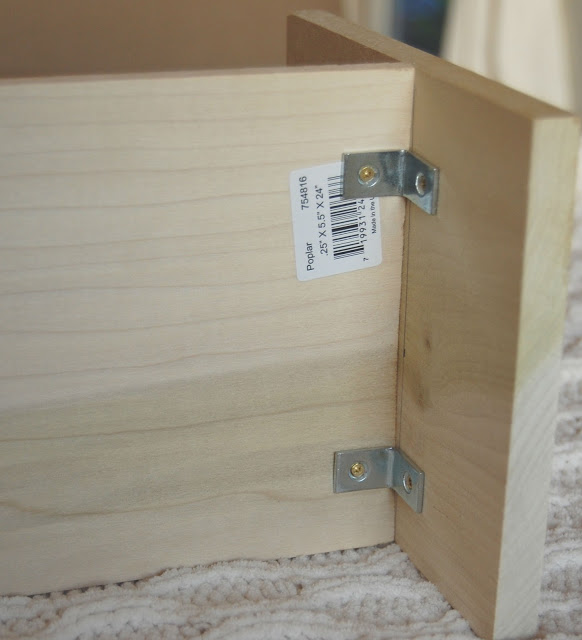 |
| The screws I used to secure these corner brackets in place came from a picture hanging kit I found in the garage. I looked for a new set of tiny screws at Lowe’s to use for this project but couldn’t find any small enough so these were perfect and essentially free! |
Then I painted the bed with 2 coats of some leftover paint I had laying around from our kitchen cabinet makeover…
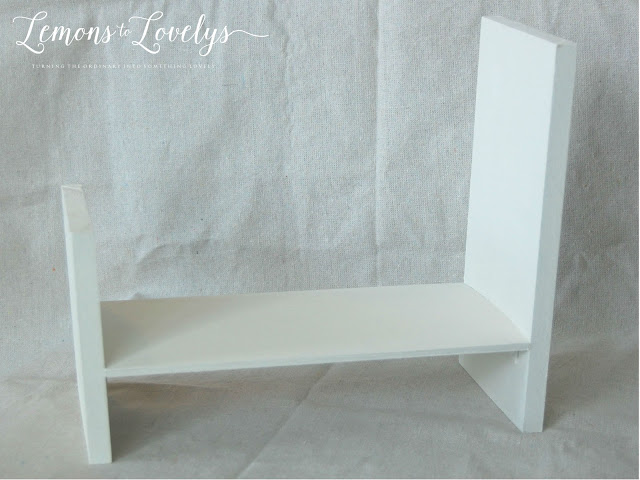 |
| paint color is Dove Wing by Benjamin Moore |
Next, it was time to make the mattresses.
I searched Hobby Lobby for the cheapest way to purchase atleast 3 different patterns without having a ton of extra fabric left over. I considered the “quilting squares” pack but I couldn’t really find a set that consisted of the soft pinks and greens I was looking for.
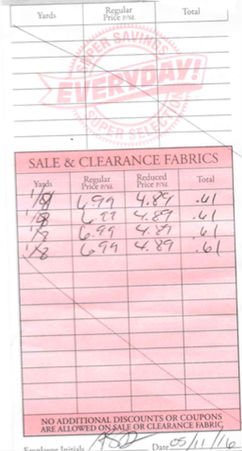
After scouring the fabric department, I discovered that buying 1/8 yard (the smallest amount possible) of the cotton duck bolts was the most cost efficient and there were a bunch of different cute patterns to choose from. Here is the break down of what I purchased…
So each piece of fabric came out to be 61 cents per 1/8 yard and I bought 4 different prints. I figured that I could get 2 mattresses out of each print because each mattress needed to be 12″ long.
I cut 3 of the patterns into 6, 13″ strips, 13″ because this gave me 1/2 inch to work with as a hem on each side. The width happened to be the perfect size so I didn’t need to adjust that at all. After cutting the fabric down to these measurements, this gave me 2 strips of fabric per mattress and 2 mattresses per pattern. (2 pieces of fabric per mattress, 2 mattress x 3 patterns= 6 mattresses total) I saved the last pattern for a blanket and pillow.
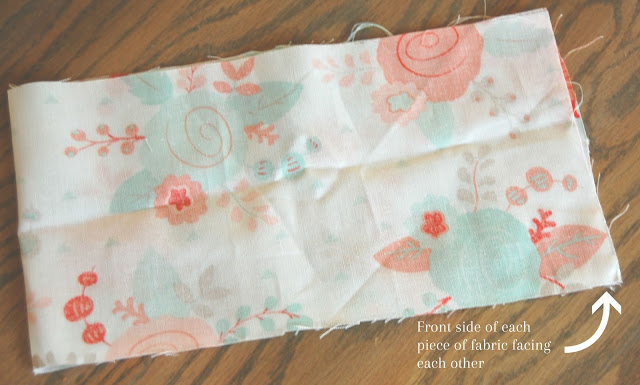
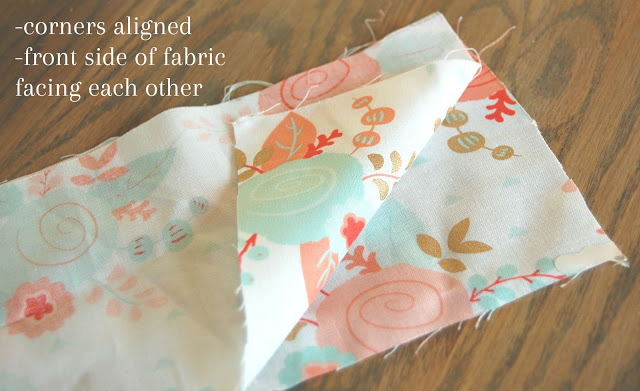
Then I laid the matching strips together with the corners aligned, pattern facing pattern/top side facing top side. See below…
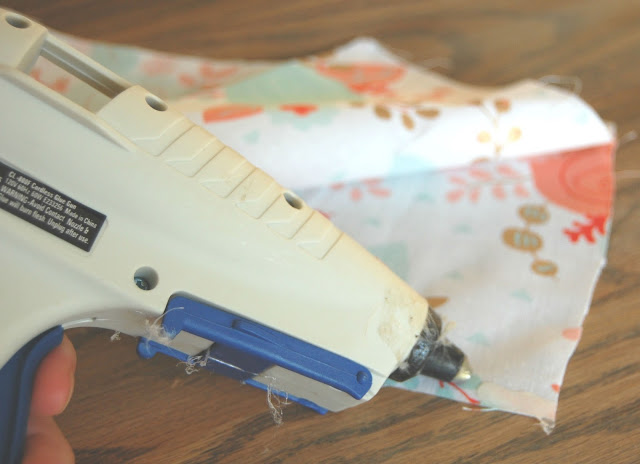
Then I hot glued around the inside perimeter, leaving a small hole to pull the fabric back through and also for the stuffing to be inserted. (all my seamstresses out there, roll your eyes and pull out your sewing machines because I know this is a simple hem waiting to happen for you!) See below…
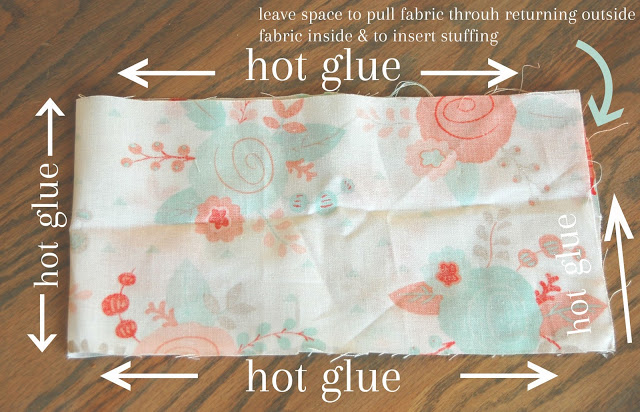 |
| pulling the fabric back through the hole was just like turning a pillow case inside out but instead you are pulling the fabric back right side in |
Once the glue dried (took only a few seconds) and the front/top side of the fabric was pulled back through the hole, I pushed a small handful of stuffing in 2 inch chunks at a time (totaling the size of a tennis ball) through the same hole and spread it around evenly throughout the mattress. This is the stuffing I used…
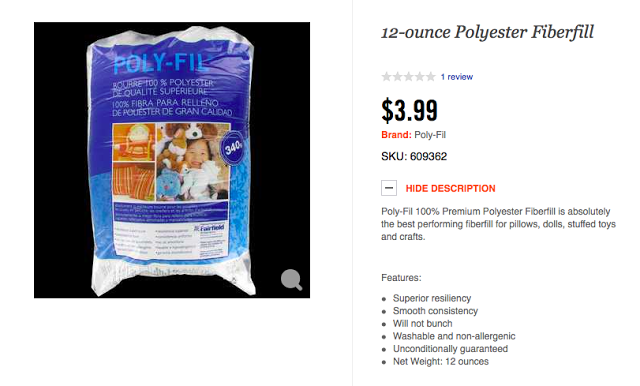 |
| purchased from Hobby Lobby using a 40% off coupon |
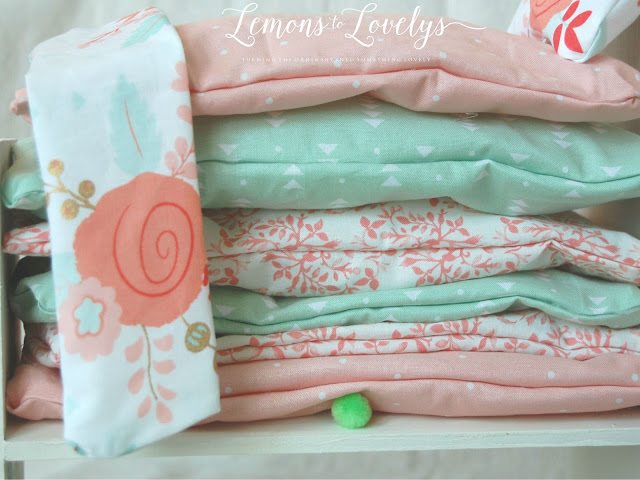
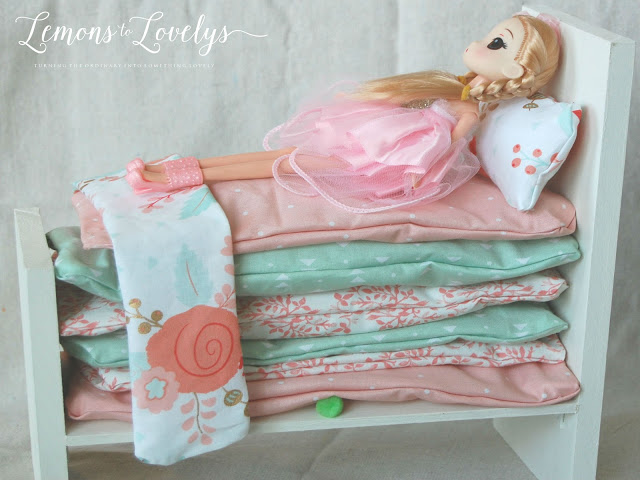
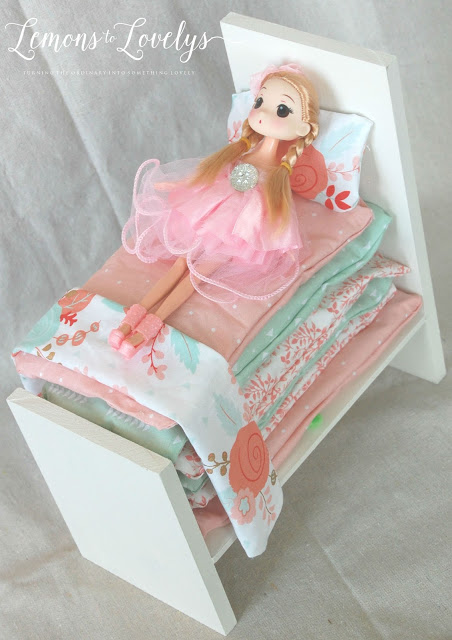
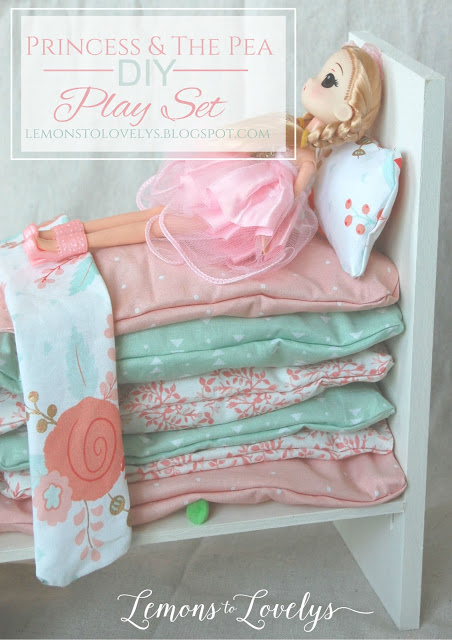
After making sure the stuffing was even, I closed up the hole with more hot glue and tada, 6 mattresses were made….
To make the blanket and pillow, I cut the final pattern into 1, 13″x 2″ strip for the blanket and 1, 4.5″x 2.5″ strip for the pillow. Then I repeated the same exact steps that I used in making the mattresses. (aligned the corners and placed the patterns face to face/top side to top side, hot glued around the inside perimeter leaving a hole to pull the fabric back through and insert the stuffing, and lastly sealed the hole with more hot glue)
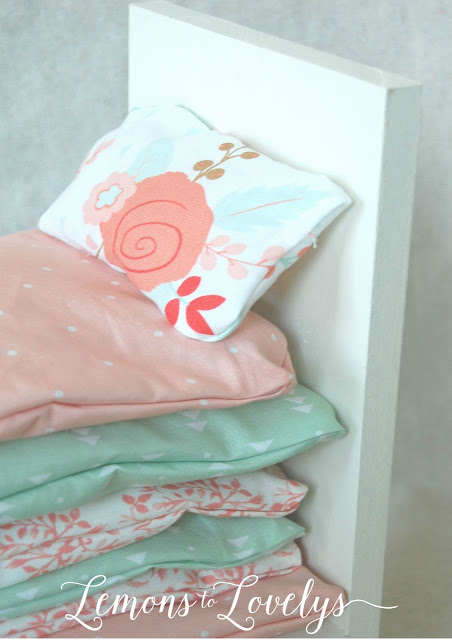
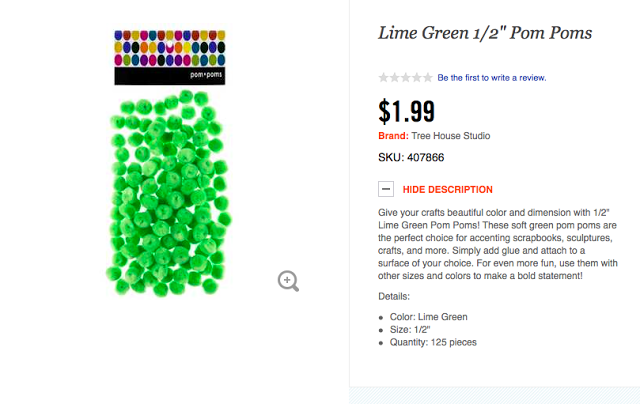
Then I added the pea (a green Pom Pom from Hobby Lobby) under the bottom mattress…
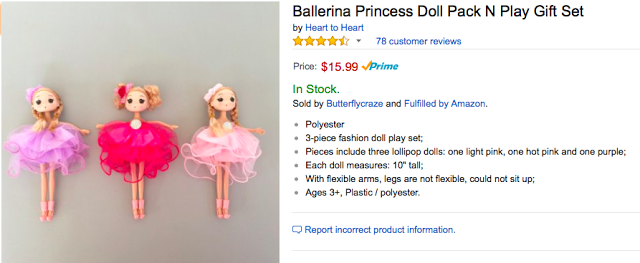
a doll that I found on Amazon…
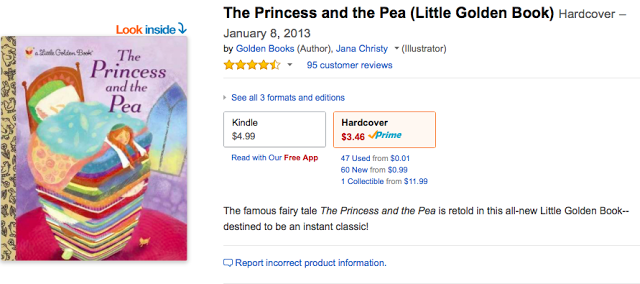
and last, I added a book to complete the set that I also purchased on Amazon…
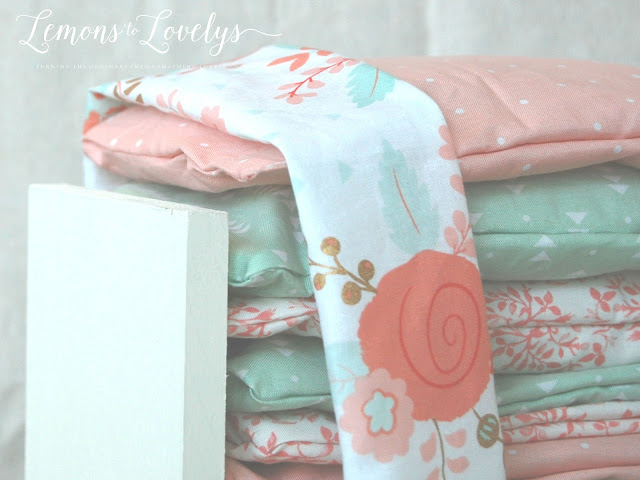
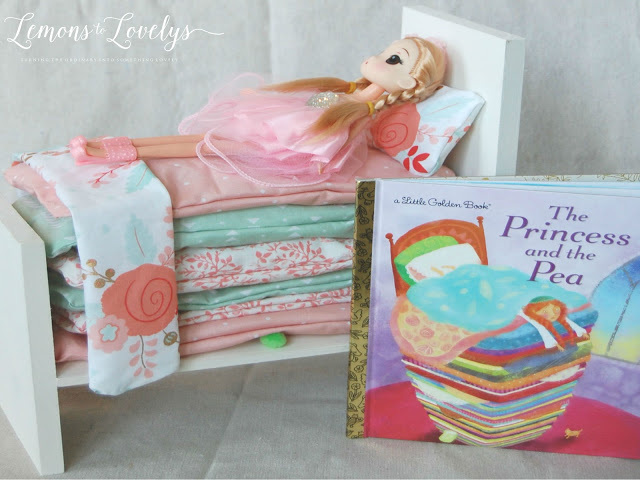
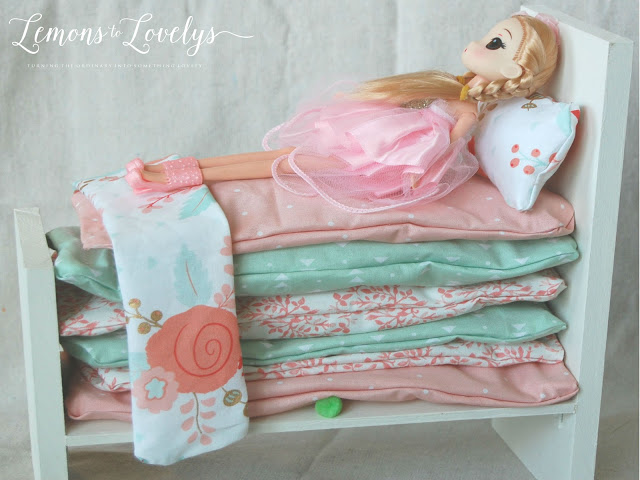
One more pic of the final product from the side….
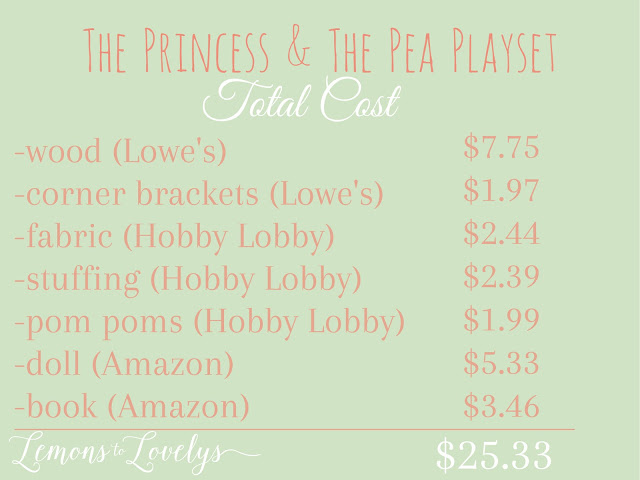
Here is a breakdown of the total cost…
 |
| materials used I already had laying around: screws, hot glue gun, hot glue sticks, paint, paint brush, drill, & saw |
And that’s it! I loved having a handmade gift to give my friend at her baby shower! I hope her daughter will have fun playing with this play set for years to come!
Well that’s all for today! Send me photos if you try this project!
Enjoy the rest of your summer! I’ll be back soon! 