New Gallery Wall Frames/ Anthropologie Hack
This post may contain affiliate links. Please read my Privacy Policy.
Hello again!
It’s been a while. Â Things have been crazy over here preparing for my son’s birthday, having the house painted, and traveling to the camp one last time to close down the hunting season!
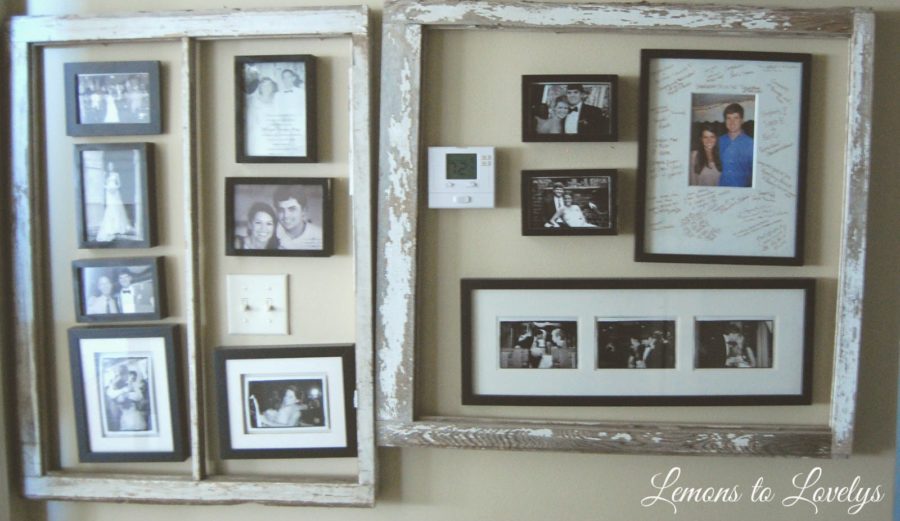
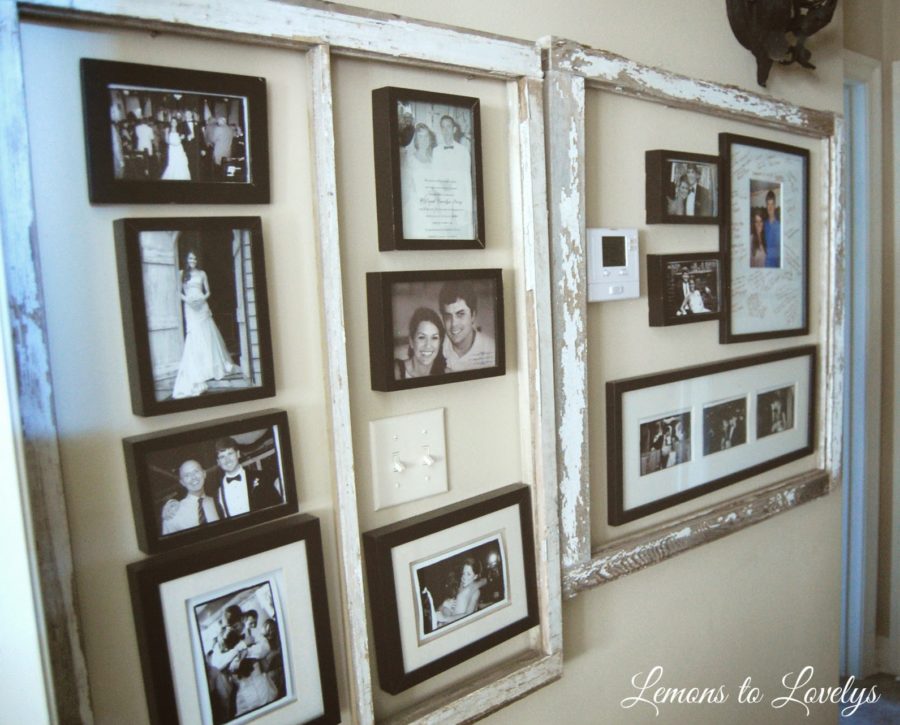
I finally finished my wall of pictures last night. Â I love displaying black and white photos from over the years and changing them out regularly. Â We have the perfect walls for this in our hallway leading to the guest rooms. Â Before we had the house painted the hallway looked like this…
 |
| look at those yellow walls, yuk!!! |
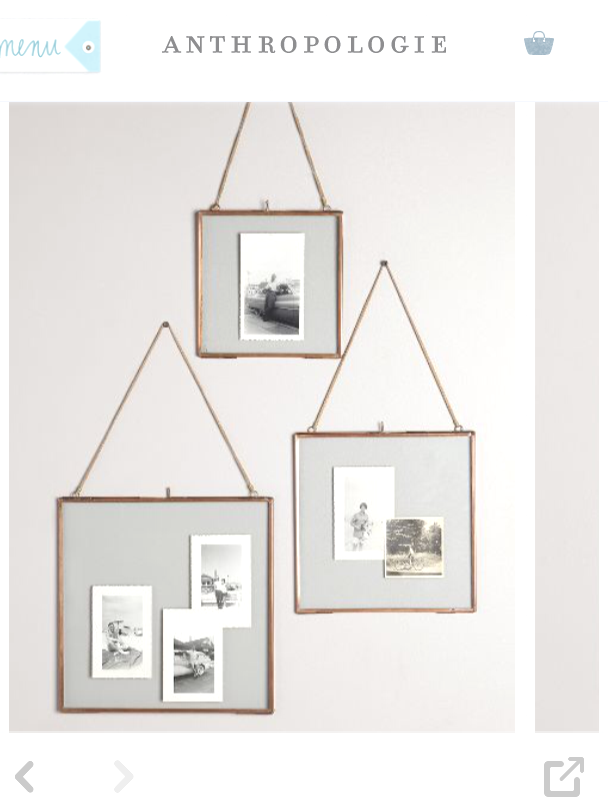
I liked this collage look for a while but after having the walls painted, I wanted fresher, cleaner look. Â It was also time to change out the pictures to incorporate some new ones of the baby and our new nephew. Â I found this pin on Pinterest of some unique looking copper frames from Anthropologie…
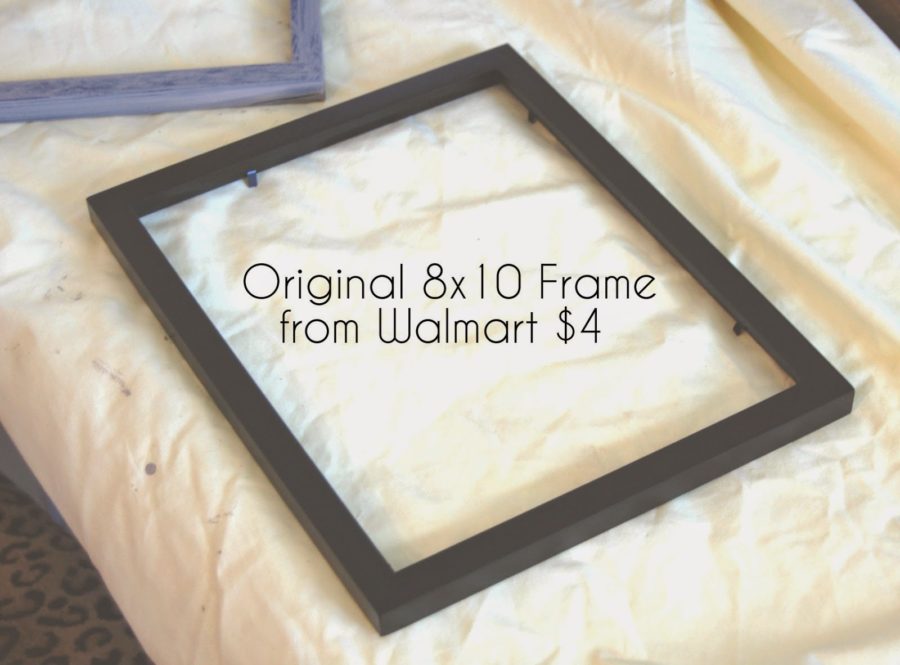
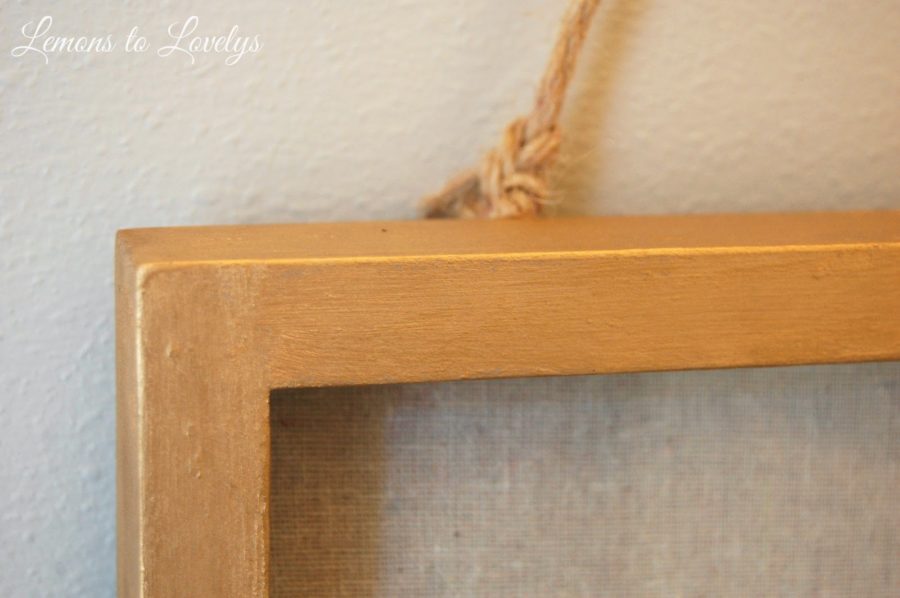
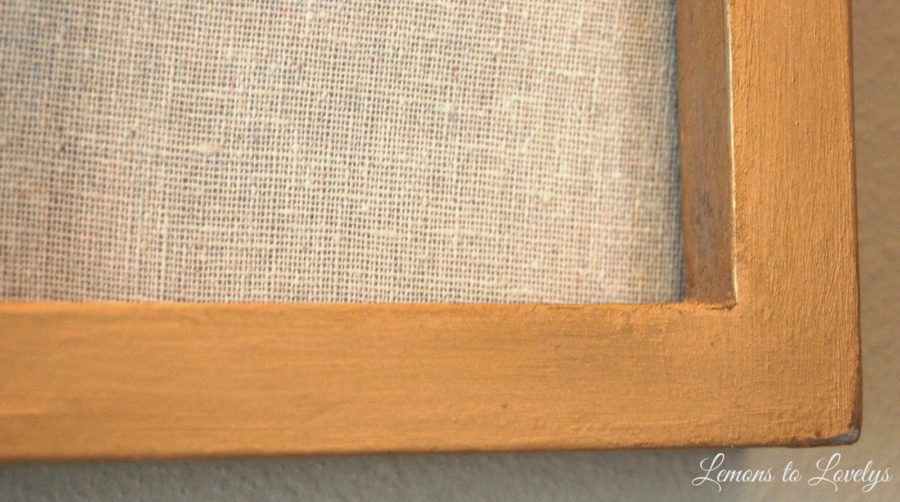
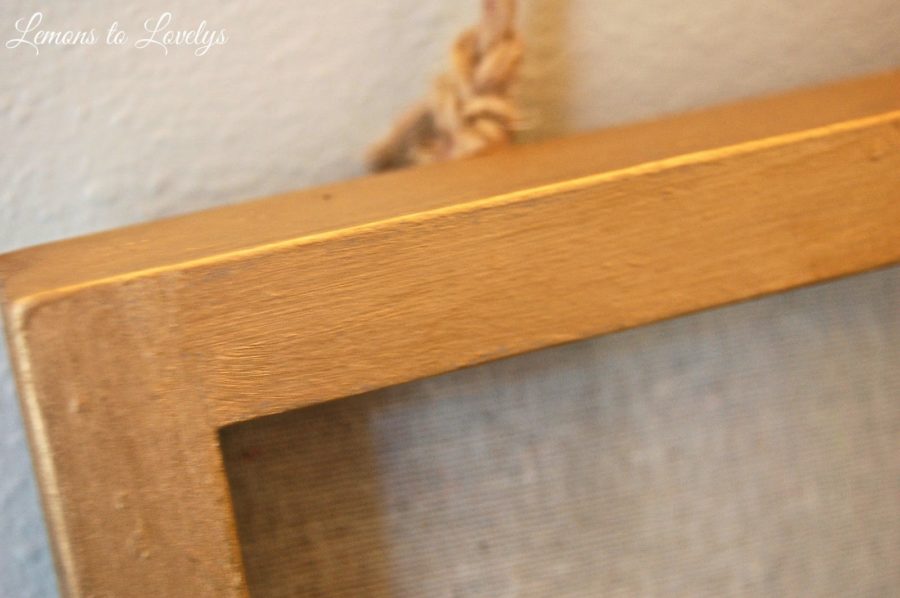
After I let the chalk paint thoroughly dry, I added 2 coats (letting the first coat dry in between) of Liquid Leaf in Classic Gold to the frames. Â Then I let them sit overnight.
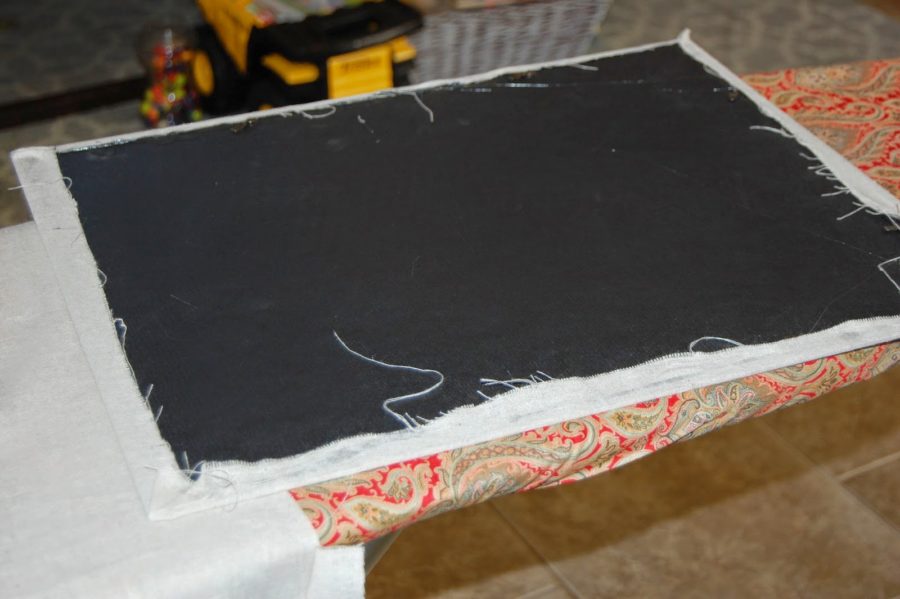
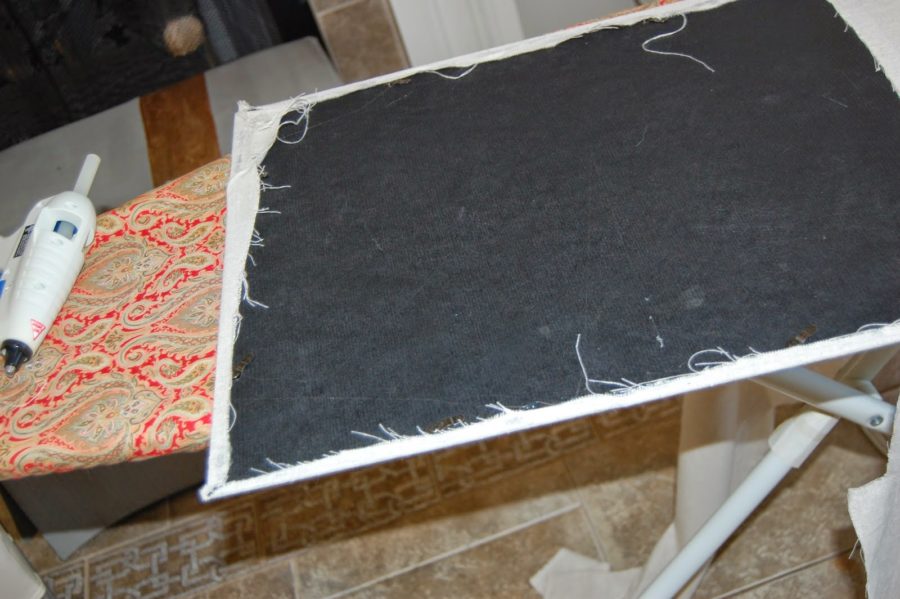
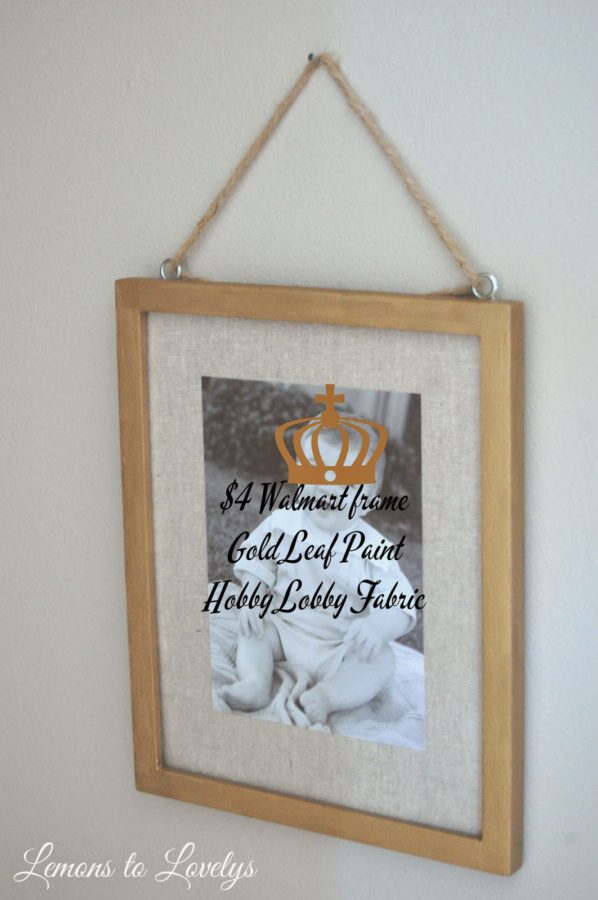
After the paint was completely dry, I covered the backing of each frame with some leftover fabric I had laying around from another project from Hobby Lobby. Â I chose this fabric because it was free and because it looked similar to the linen backing in the Anthropologie frames…
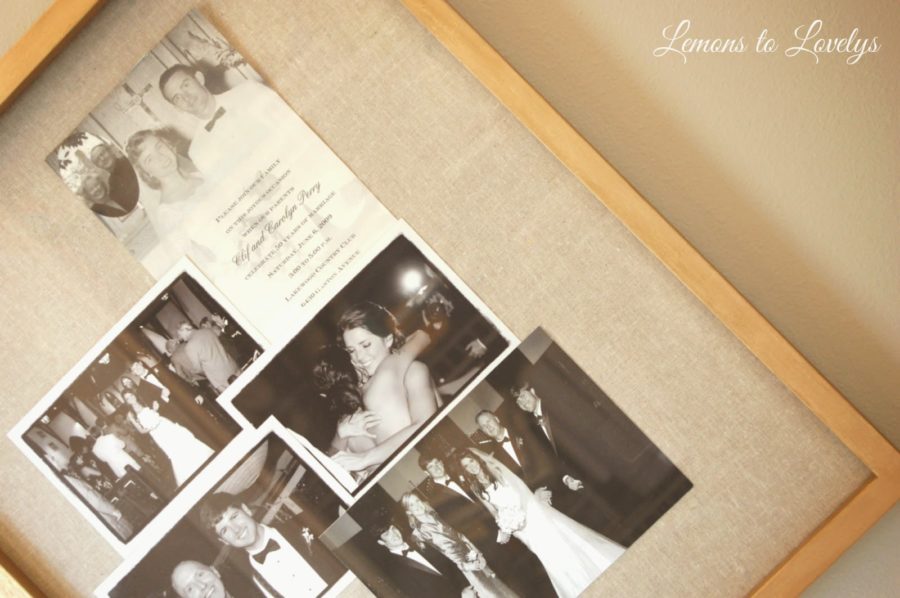
I secured the fabric to the frame backing with a hot glue gun. Â A small line of hot glue around the edge of the frame board was enough to keep the fabric tightly in place. Â I pulled the fabric as tight as possible around each side before securing it to the glue. Â Then, I placed the pictures on the fabric in the order that I wanted them and secured them to the fabric with some rolled up tape on the back.
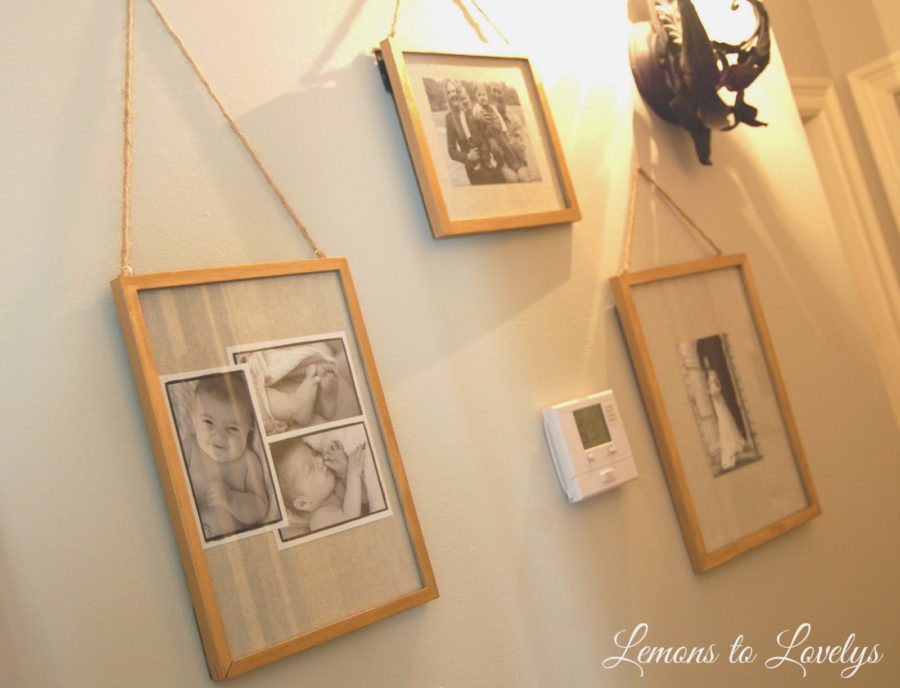
Last, I hammered in 2 picture hangers with loops on the top to each frame. Â Then, I threaded twine (leftover from Christmas packages) through the loops and tyed a knot to make a continuous circular strand of twine that the picture would hang from. Â (I forgot to take a picture of this from the back so I will add one as soon as I get a chance)
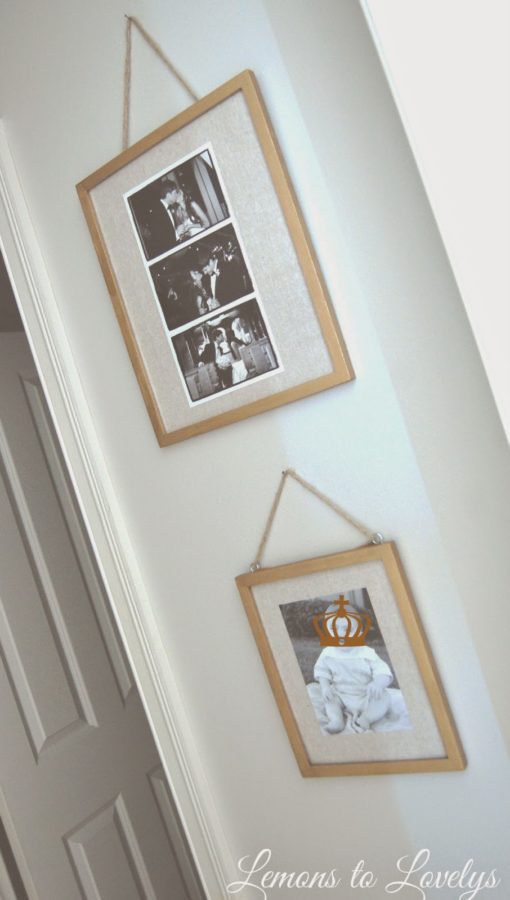
And ta dah…..
